My Pi A+ continues to impress me with its form factor and abilities but as I begin to settle it into a more permanent role its lack of case becomes a continued problem.
I would like to eventually get the Pibow Royale but being the Christmas season I can’t justify buying myself something at this time so maybe in the new year I’ll pick one up!
 Reduce, Reuse, Recycle
If you’ve read any of my arcade Pi posts you’ve probably noticed that both my original and current arcade are a reuse of a box. The first version where I followed the Adafruit tutorial I used the box Adafruit shipped the parts in. The second one I used my VMware 5 year service award box (there was a gift in the box they didn’t give me an empty black box for a service award)
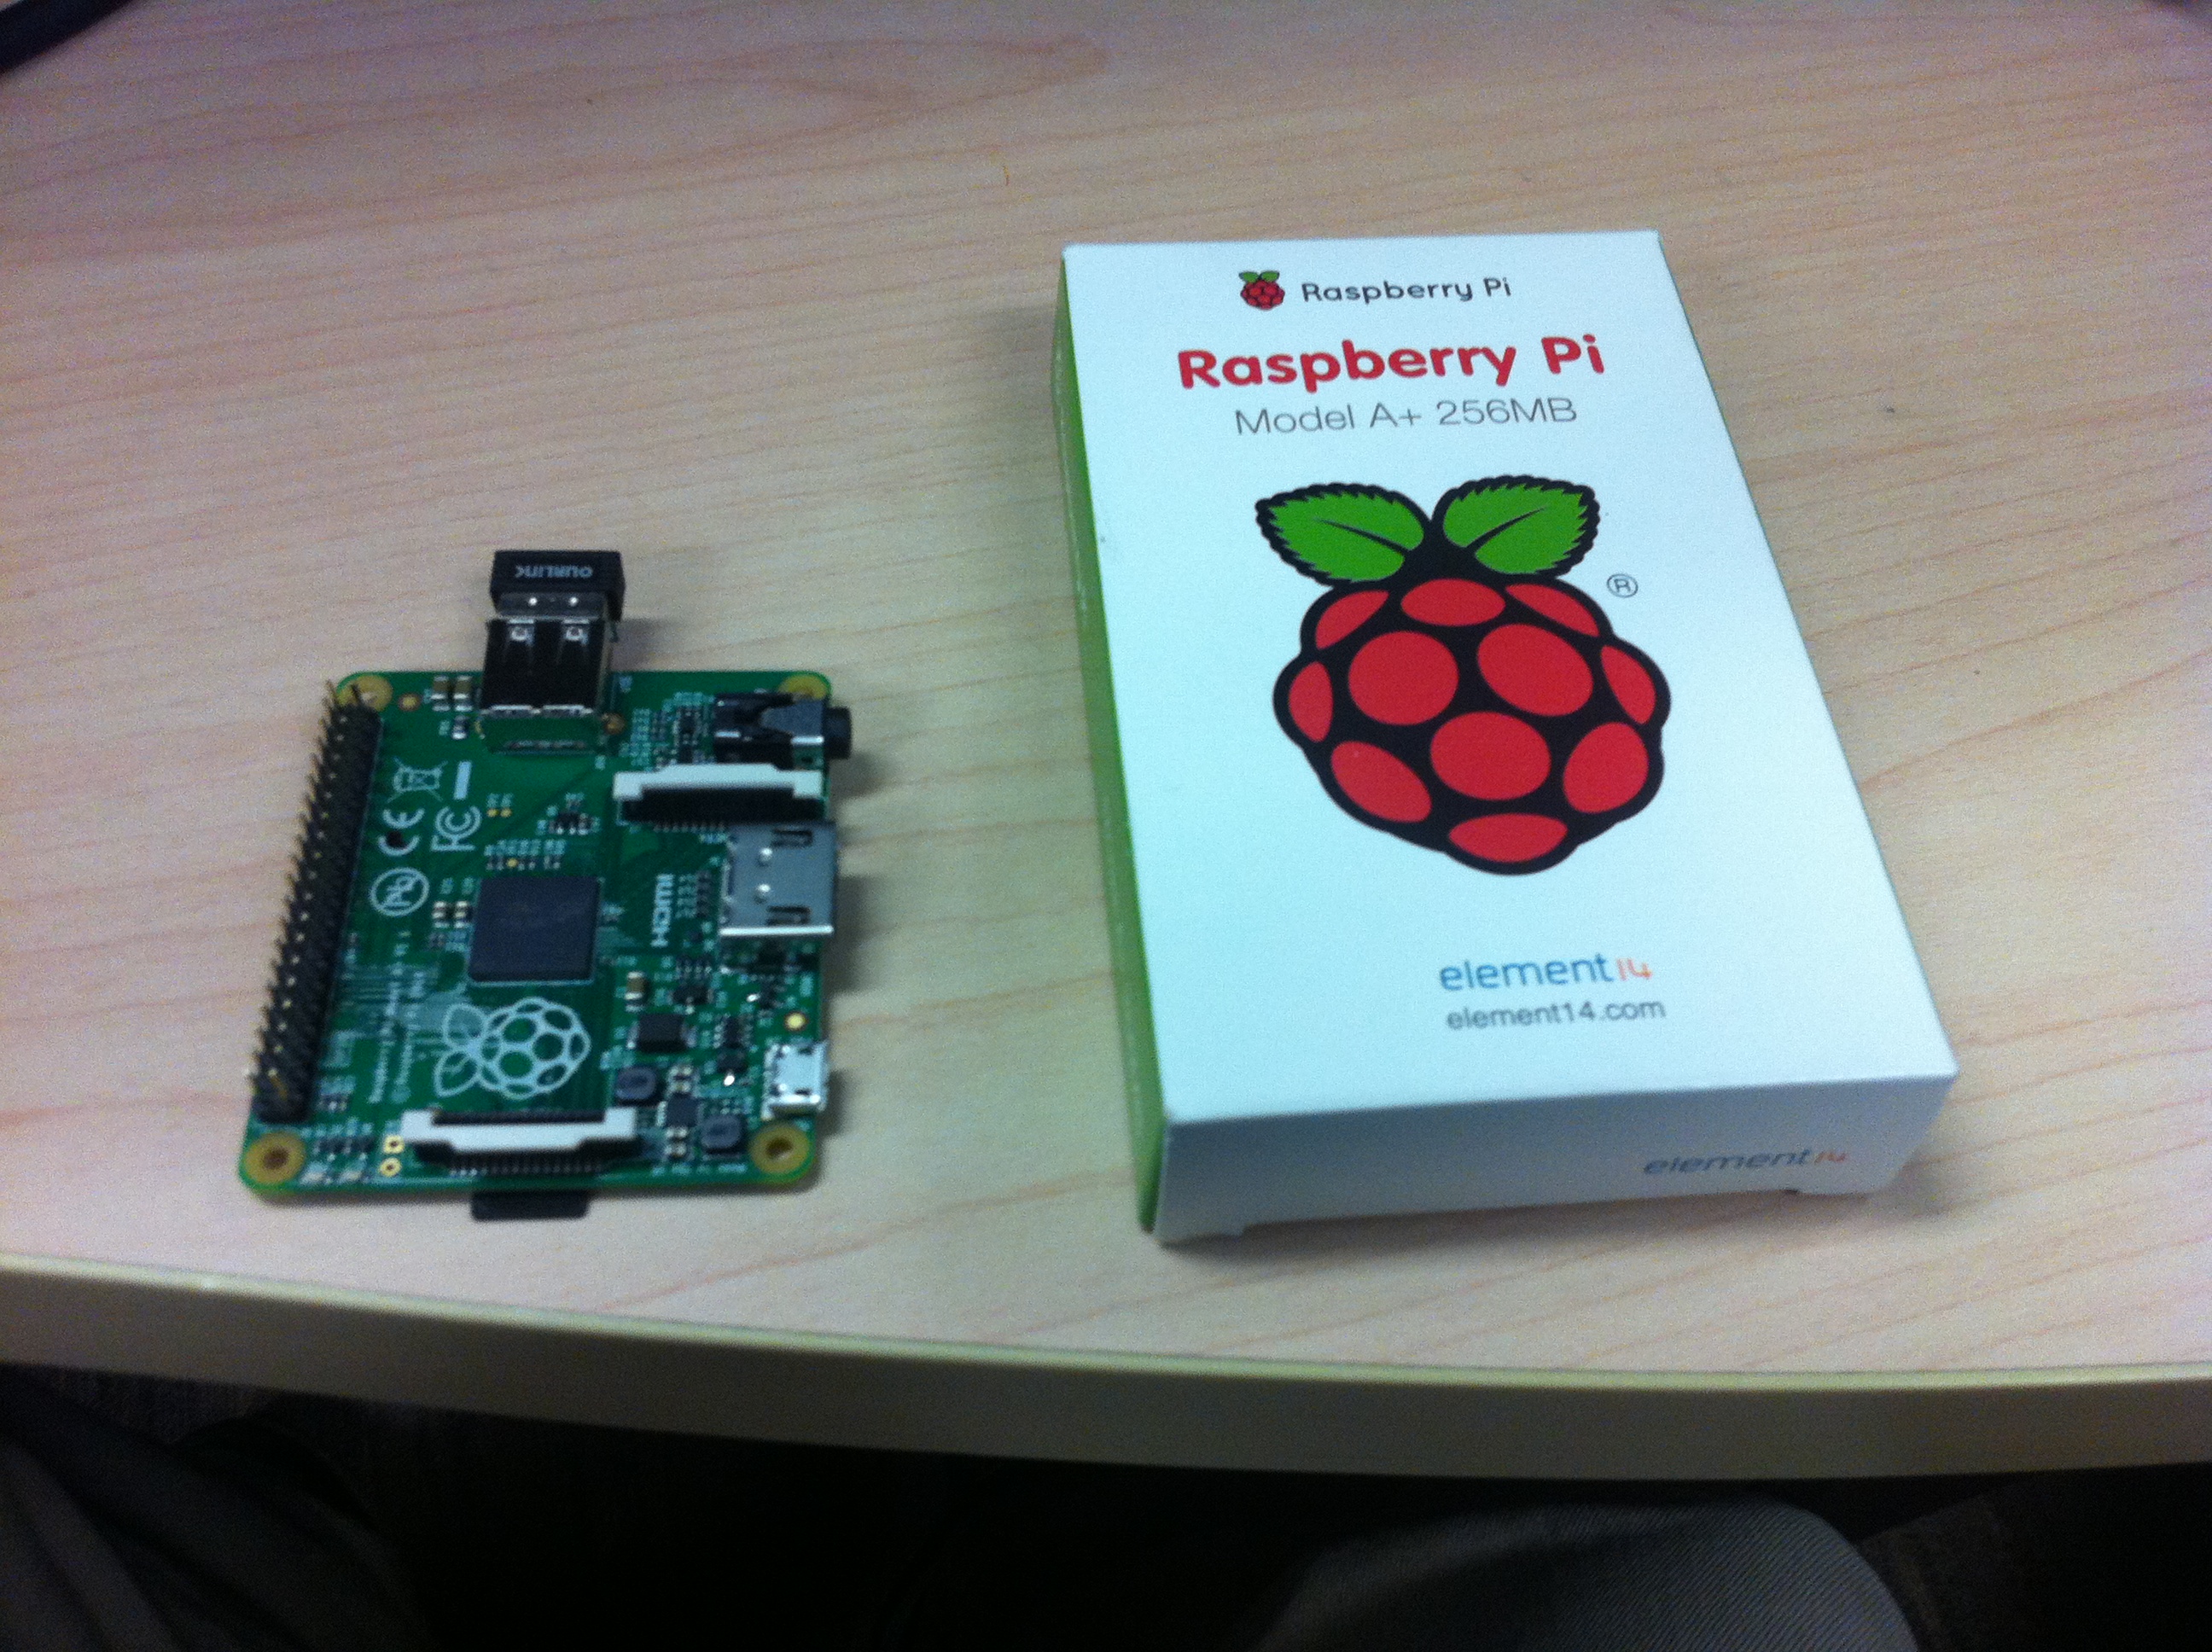
This time I am going to use the box the Pi came in. It has pretty Raspberry Pi and element14 branding on it, it’s mostly the right size and it’s easy!
Cutting edge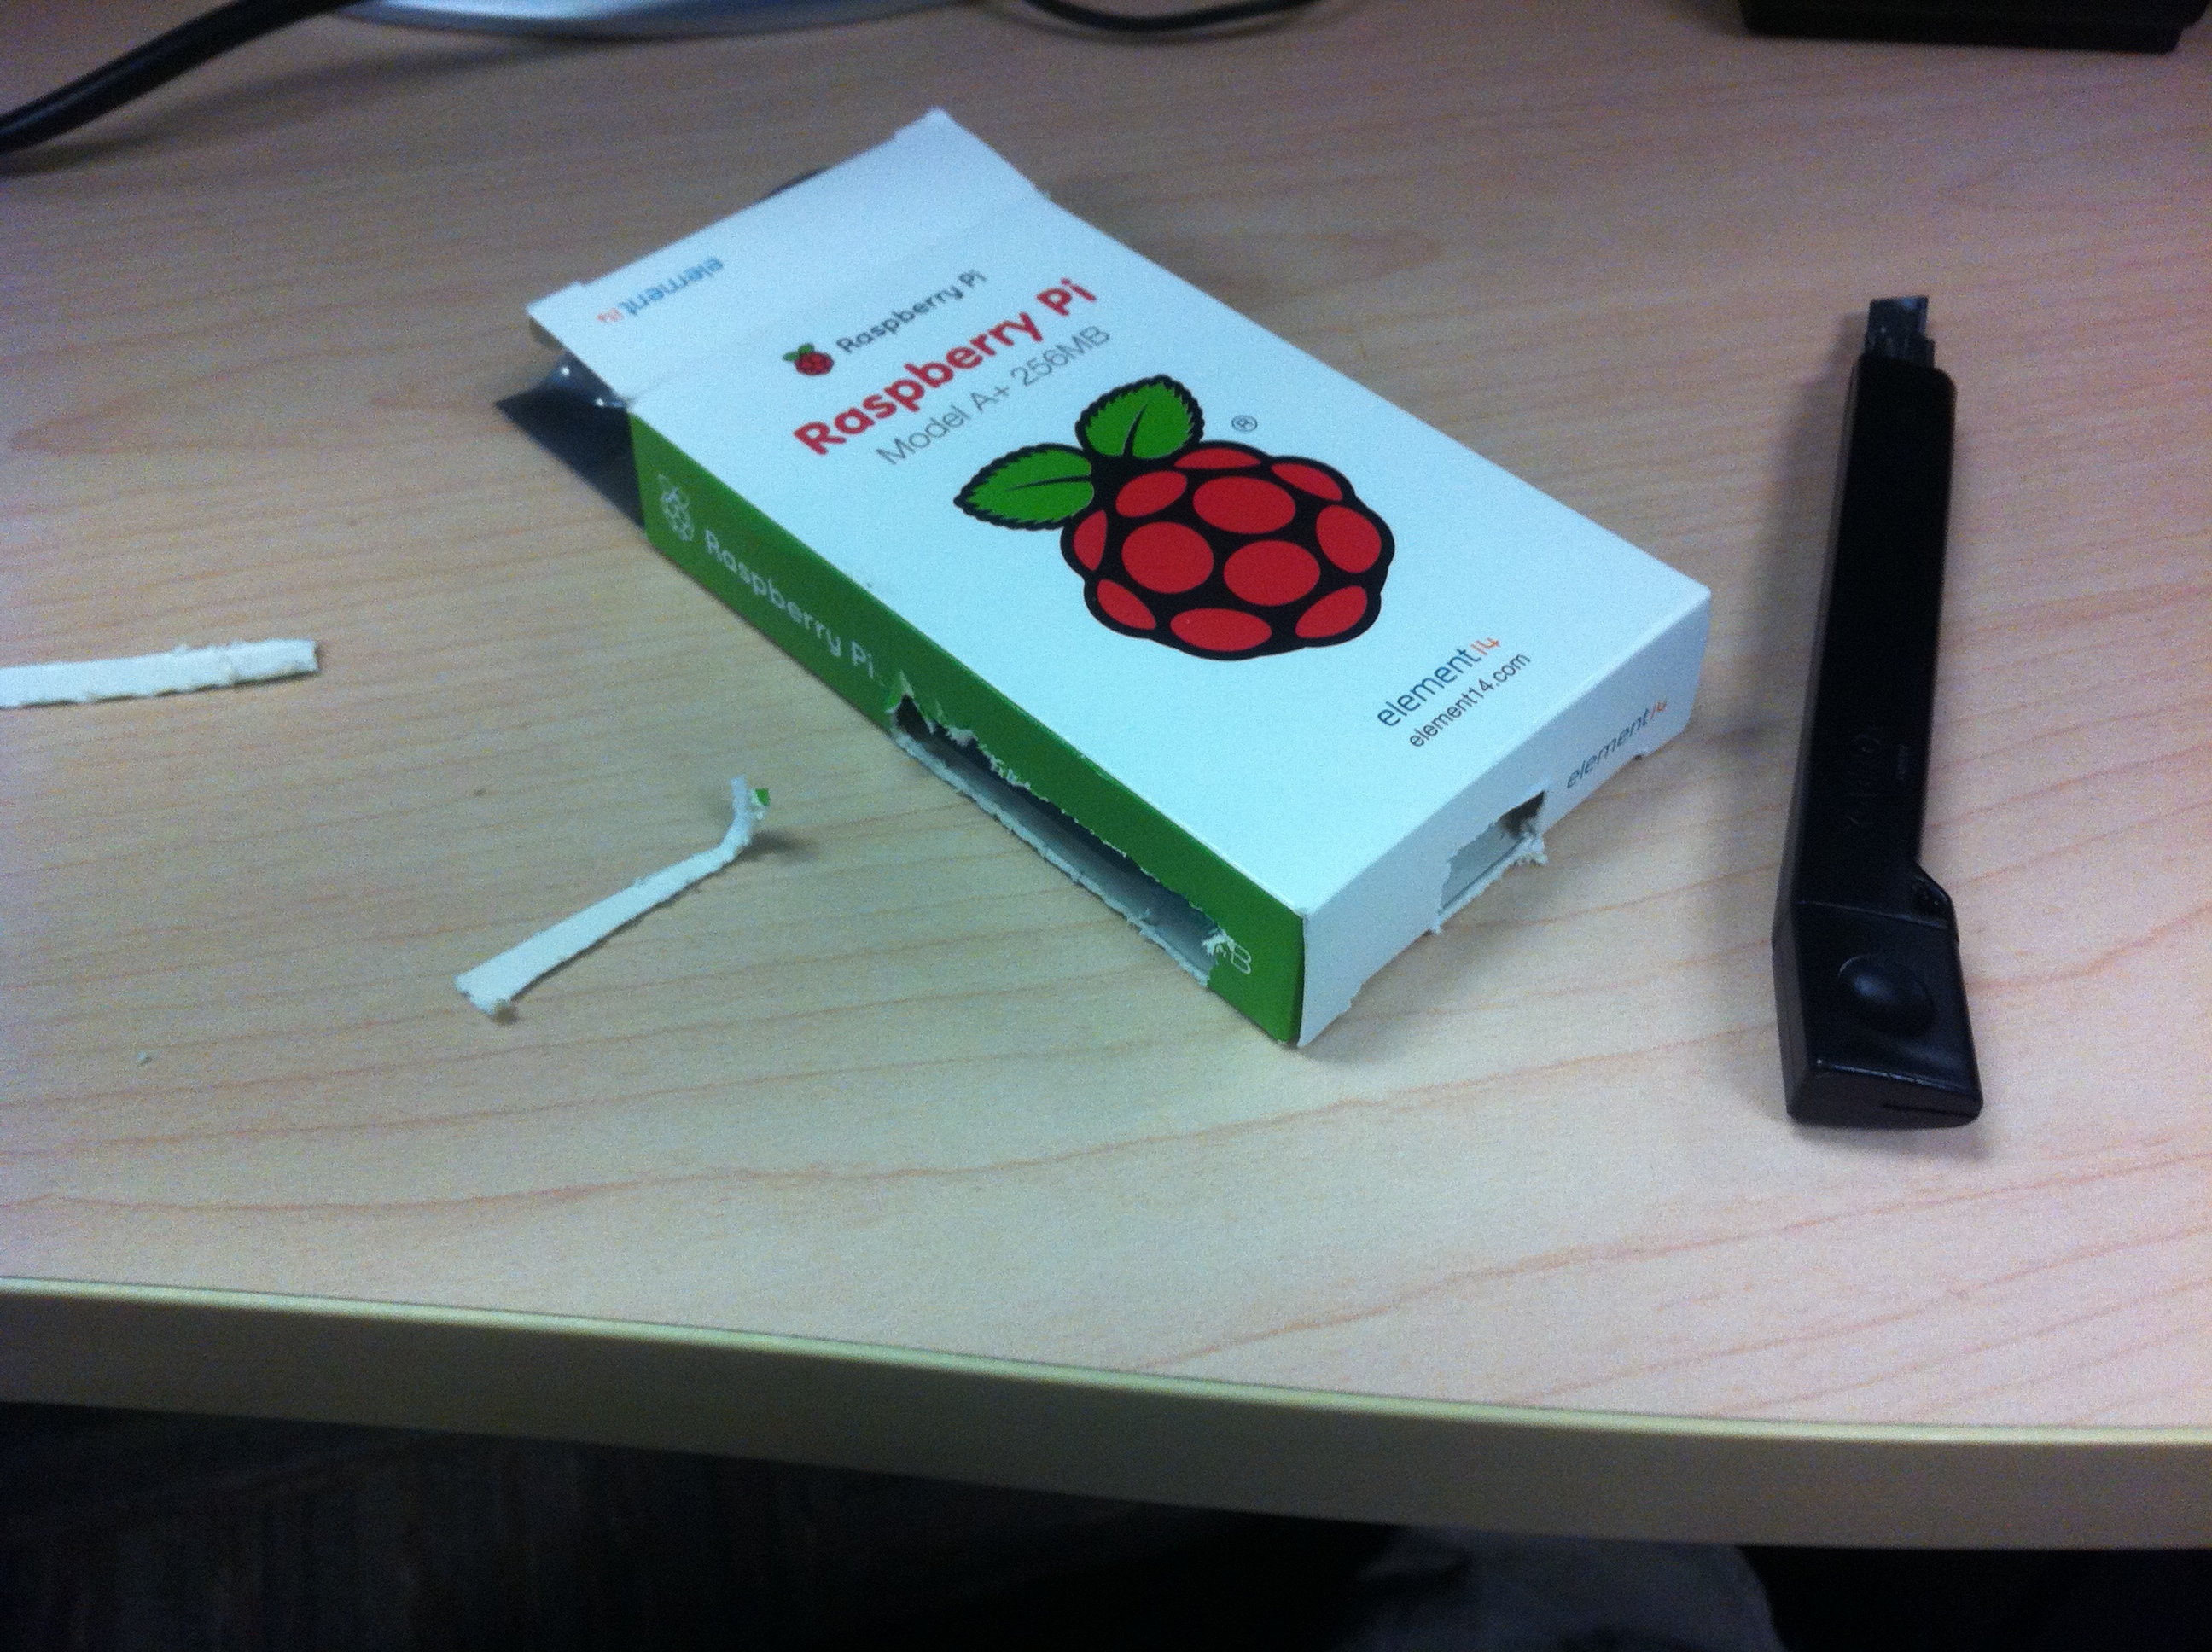
So for any box to case conversions your main…only tool is an exacto knife. It will allow you to easily carve whatever shapes you need into the box of your choosing. For the Raspberry Pi A+ you need to pick a corner for the Pi that will accommodate the single USB port and the power/HDMI/sound ports on the side. I cut a single hole for the USB port and a long slot of the side for the 3 other ports. If you plan to use GPIO as well you can cut a hole in the top of the box for this as well but in my case that was not required.
Keep it in place
Now this box is bigger than the Pi itself and it can move around freely so what I did is I rolled up the static bag the Pi came in and placed it behind the Pi to keep it from moving side to side. Then I folded the part of the roll sticking out the end length wise into the box to keep the Pi from moving back and forth. Keep in mind if you plan to unplug and plug things into the Pi a lot that this does not prevent all movement. You may want a more sturdy case for that. In my situation this Pi will be in a mostly static form with minimal cables coming and going so it will work.
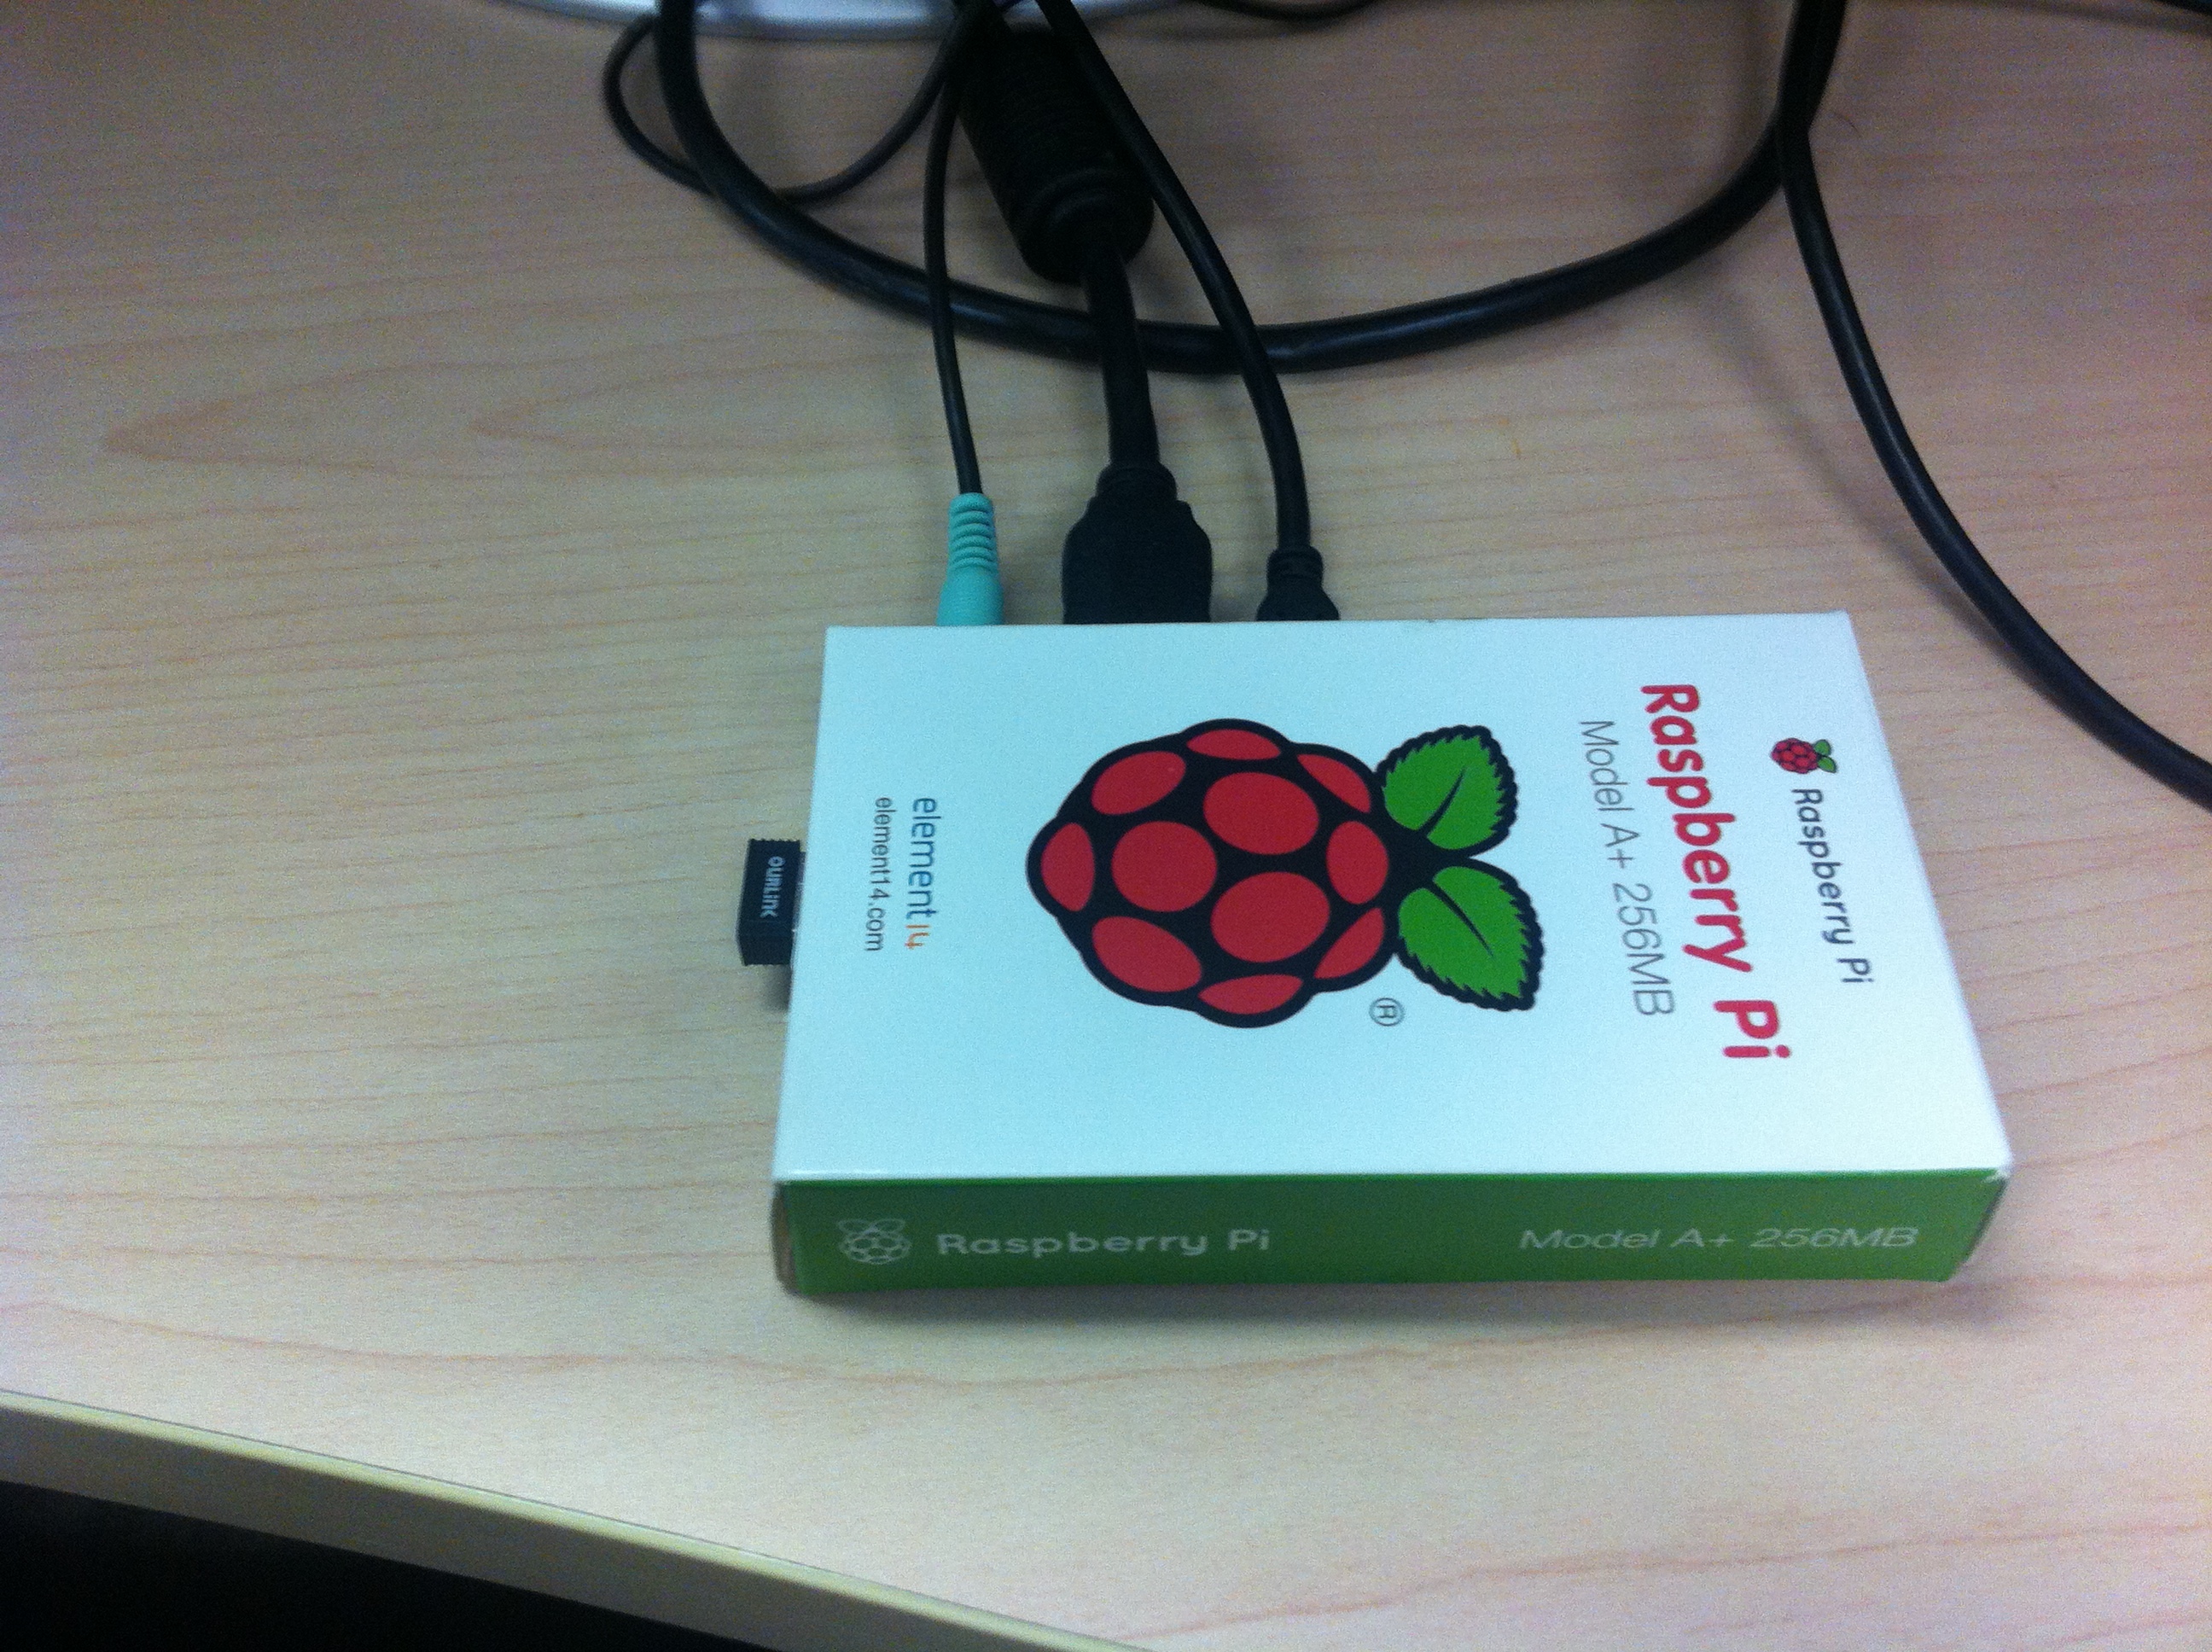
If you are worried about heat you can cut holes into the top of the box but the A+ is pretty decent in that respect and the ventilation provided by the USB and HDMI slots I made appears to be sufficient. Now as you can see I have a functional case for my Pi at 0 cost to me other than 5 minutes of my time. It isn’t perfect but it works
Facebook Comments