My model B has been sitting mainly unused now for about 10 months since I got my 2 and then a 3 in the last year. It has been sitting on my desk in its shiny PiBow reminding me of yesteryear’s of tinkering and projects. I decided I needed to give it a purpose and since it was now 3 years old it had to be a good one.
Cupcade
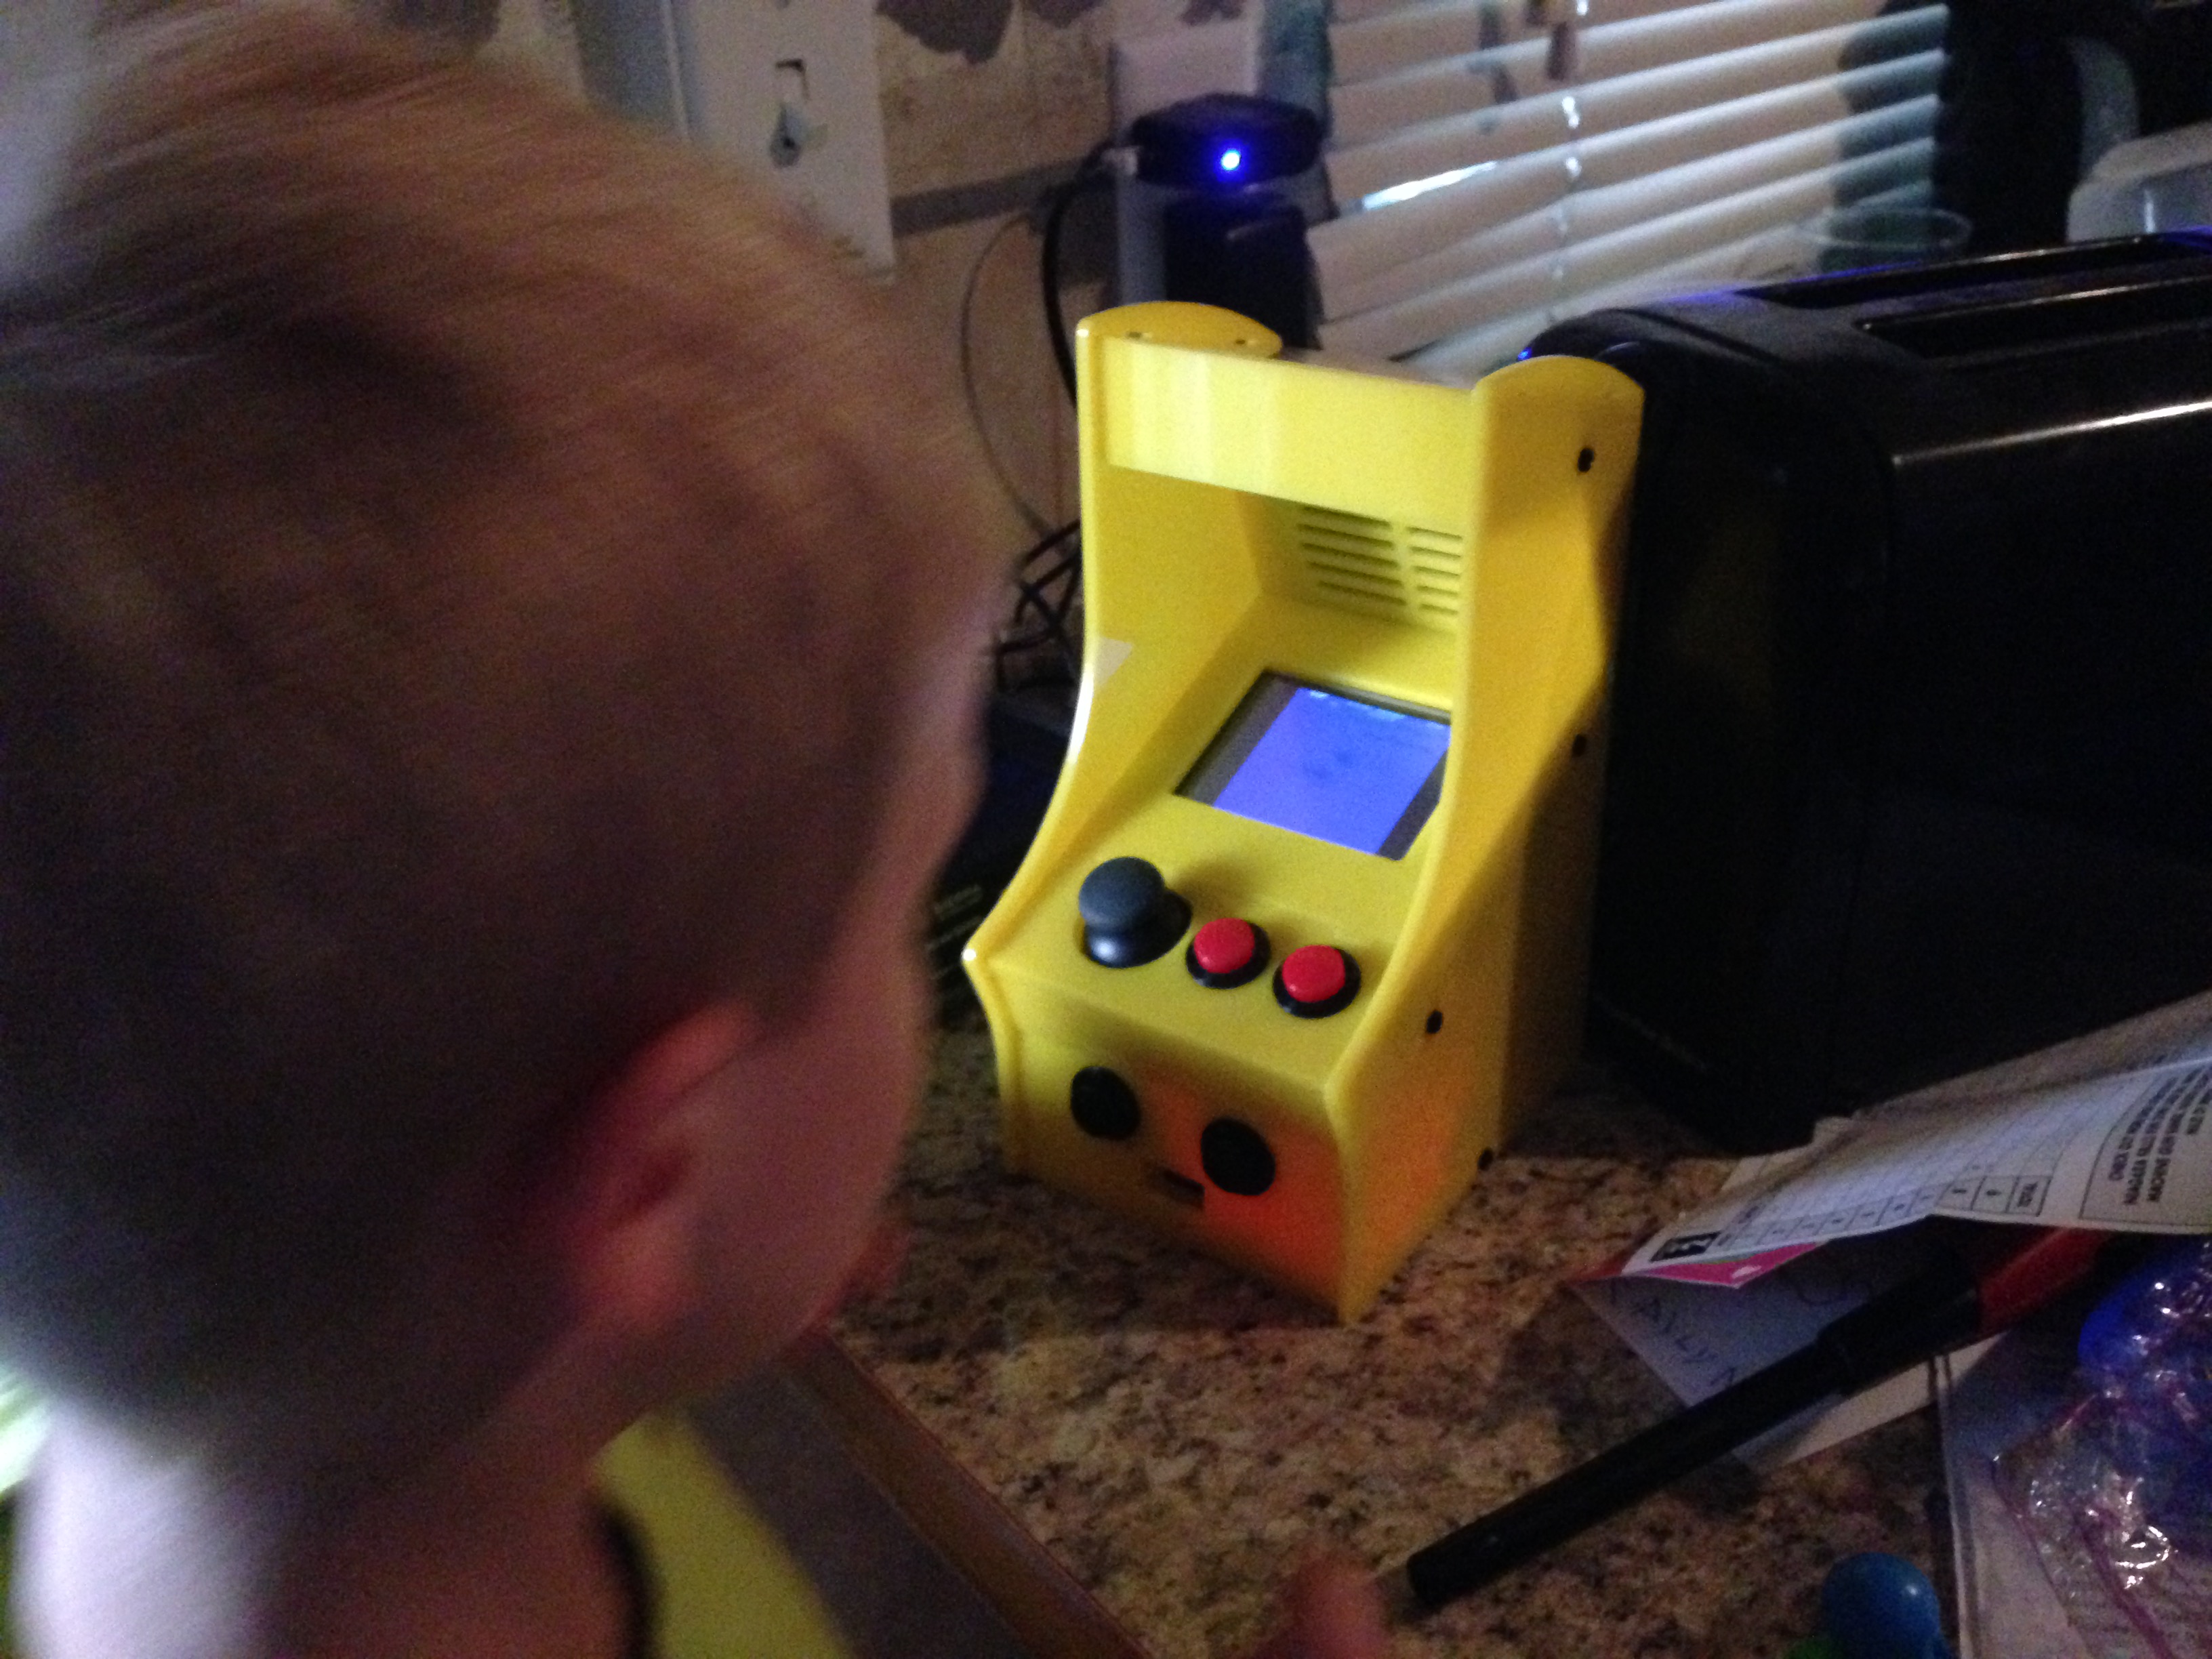
The Adafruit cupcade was the perfect project for the task. Not only was it a challenging and potentially fun project but if successful it would mean this old gal would have a home that would attract the attention of anyone who saw it and lead to countless conversations about the coolness of the Pi.
My model B would LIVE again
The package arrived
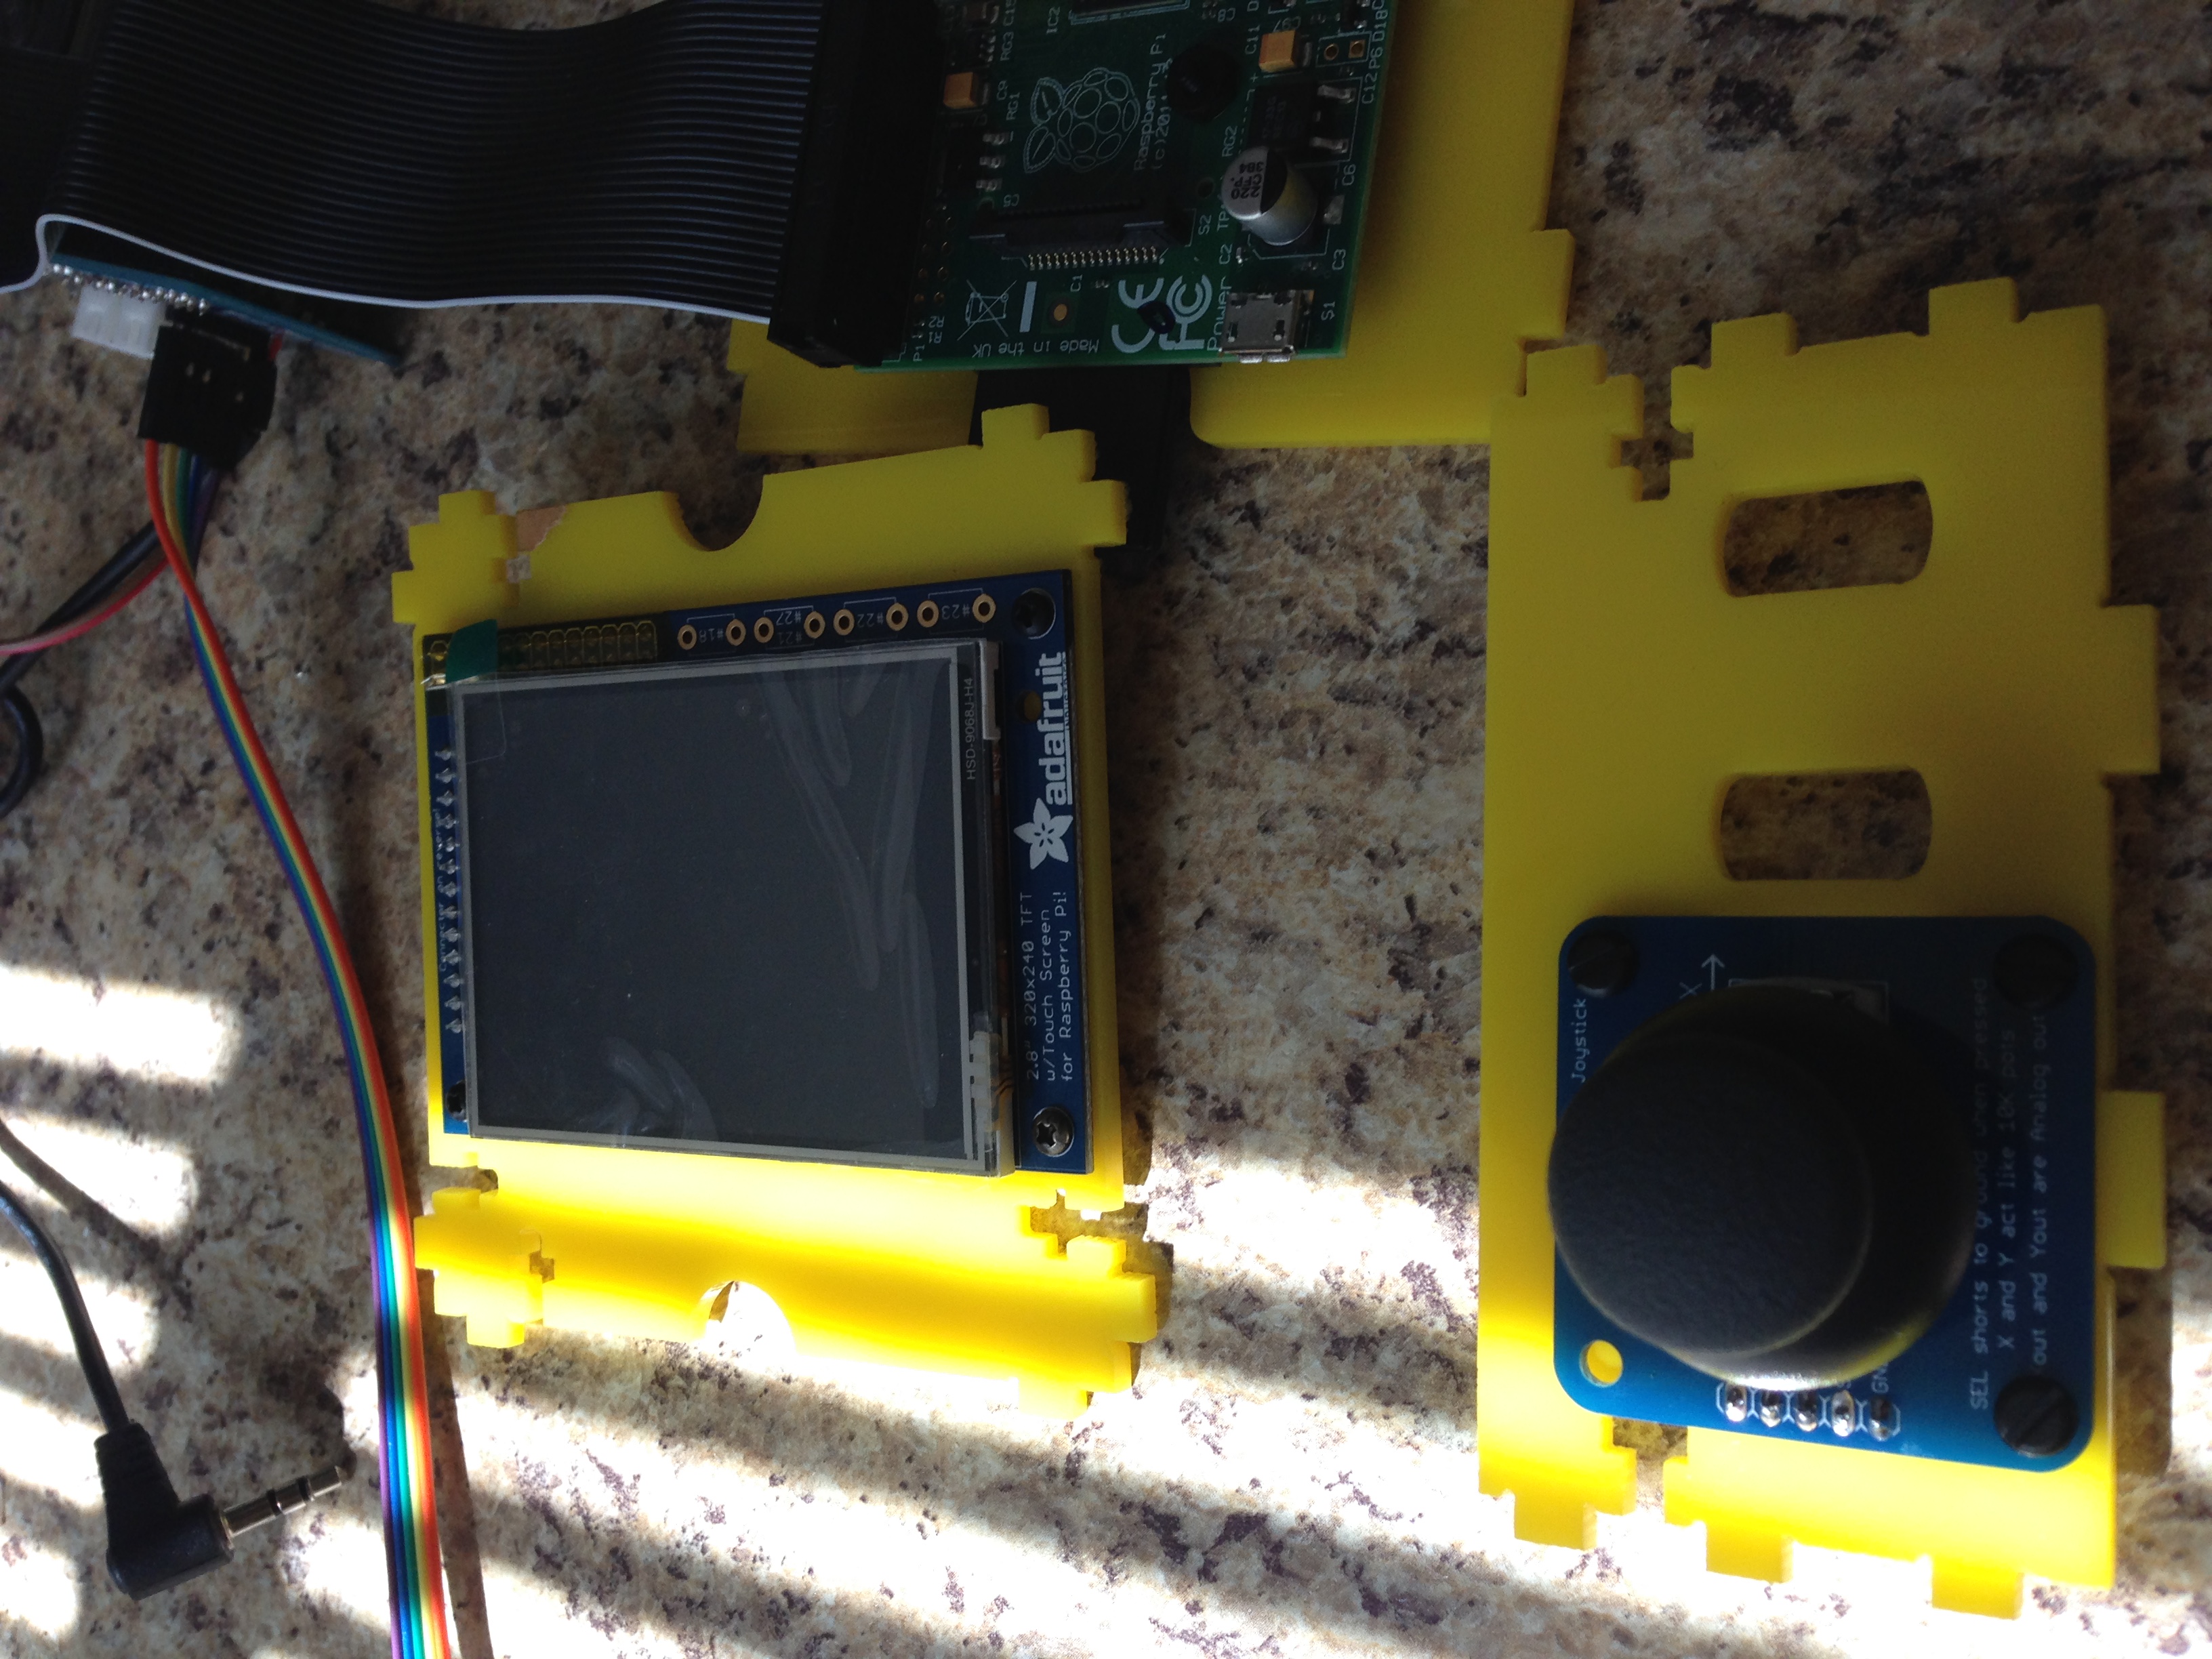
This is the largest project I’ve undertaken so far with a lot of components that would need to be combined to make the final product I was a bit nervous after the package arrived.
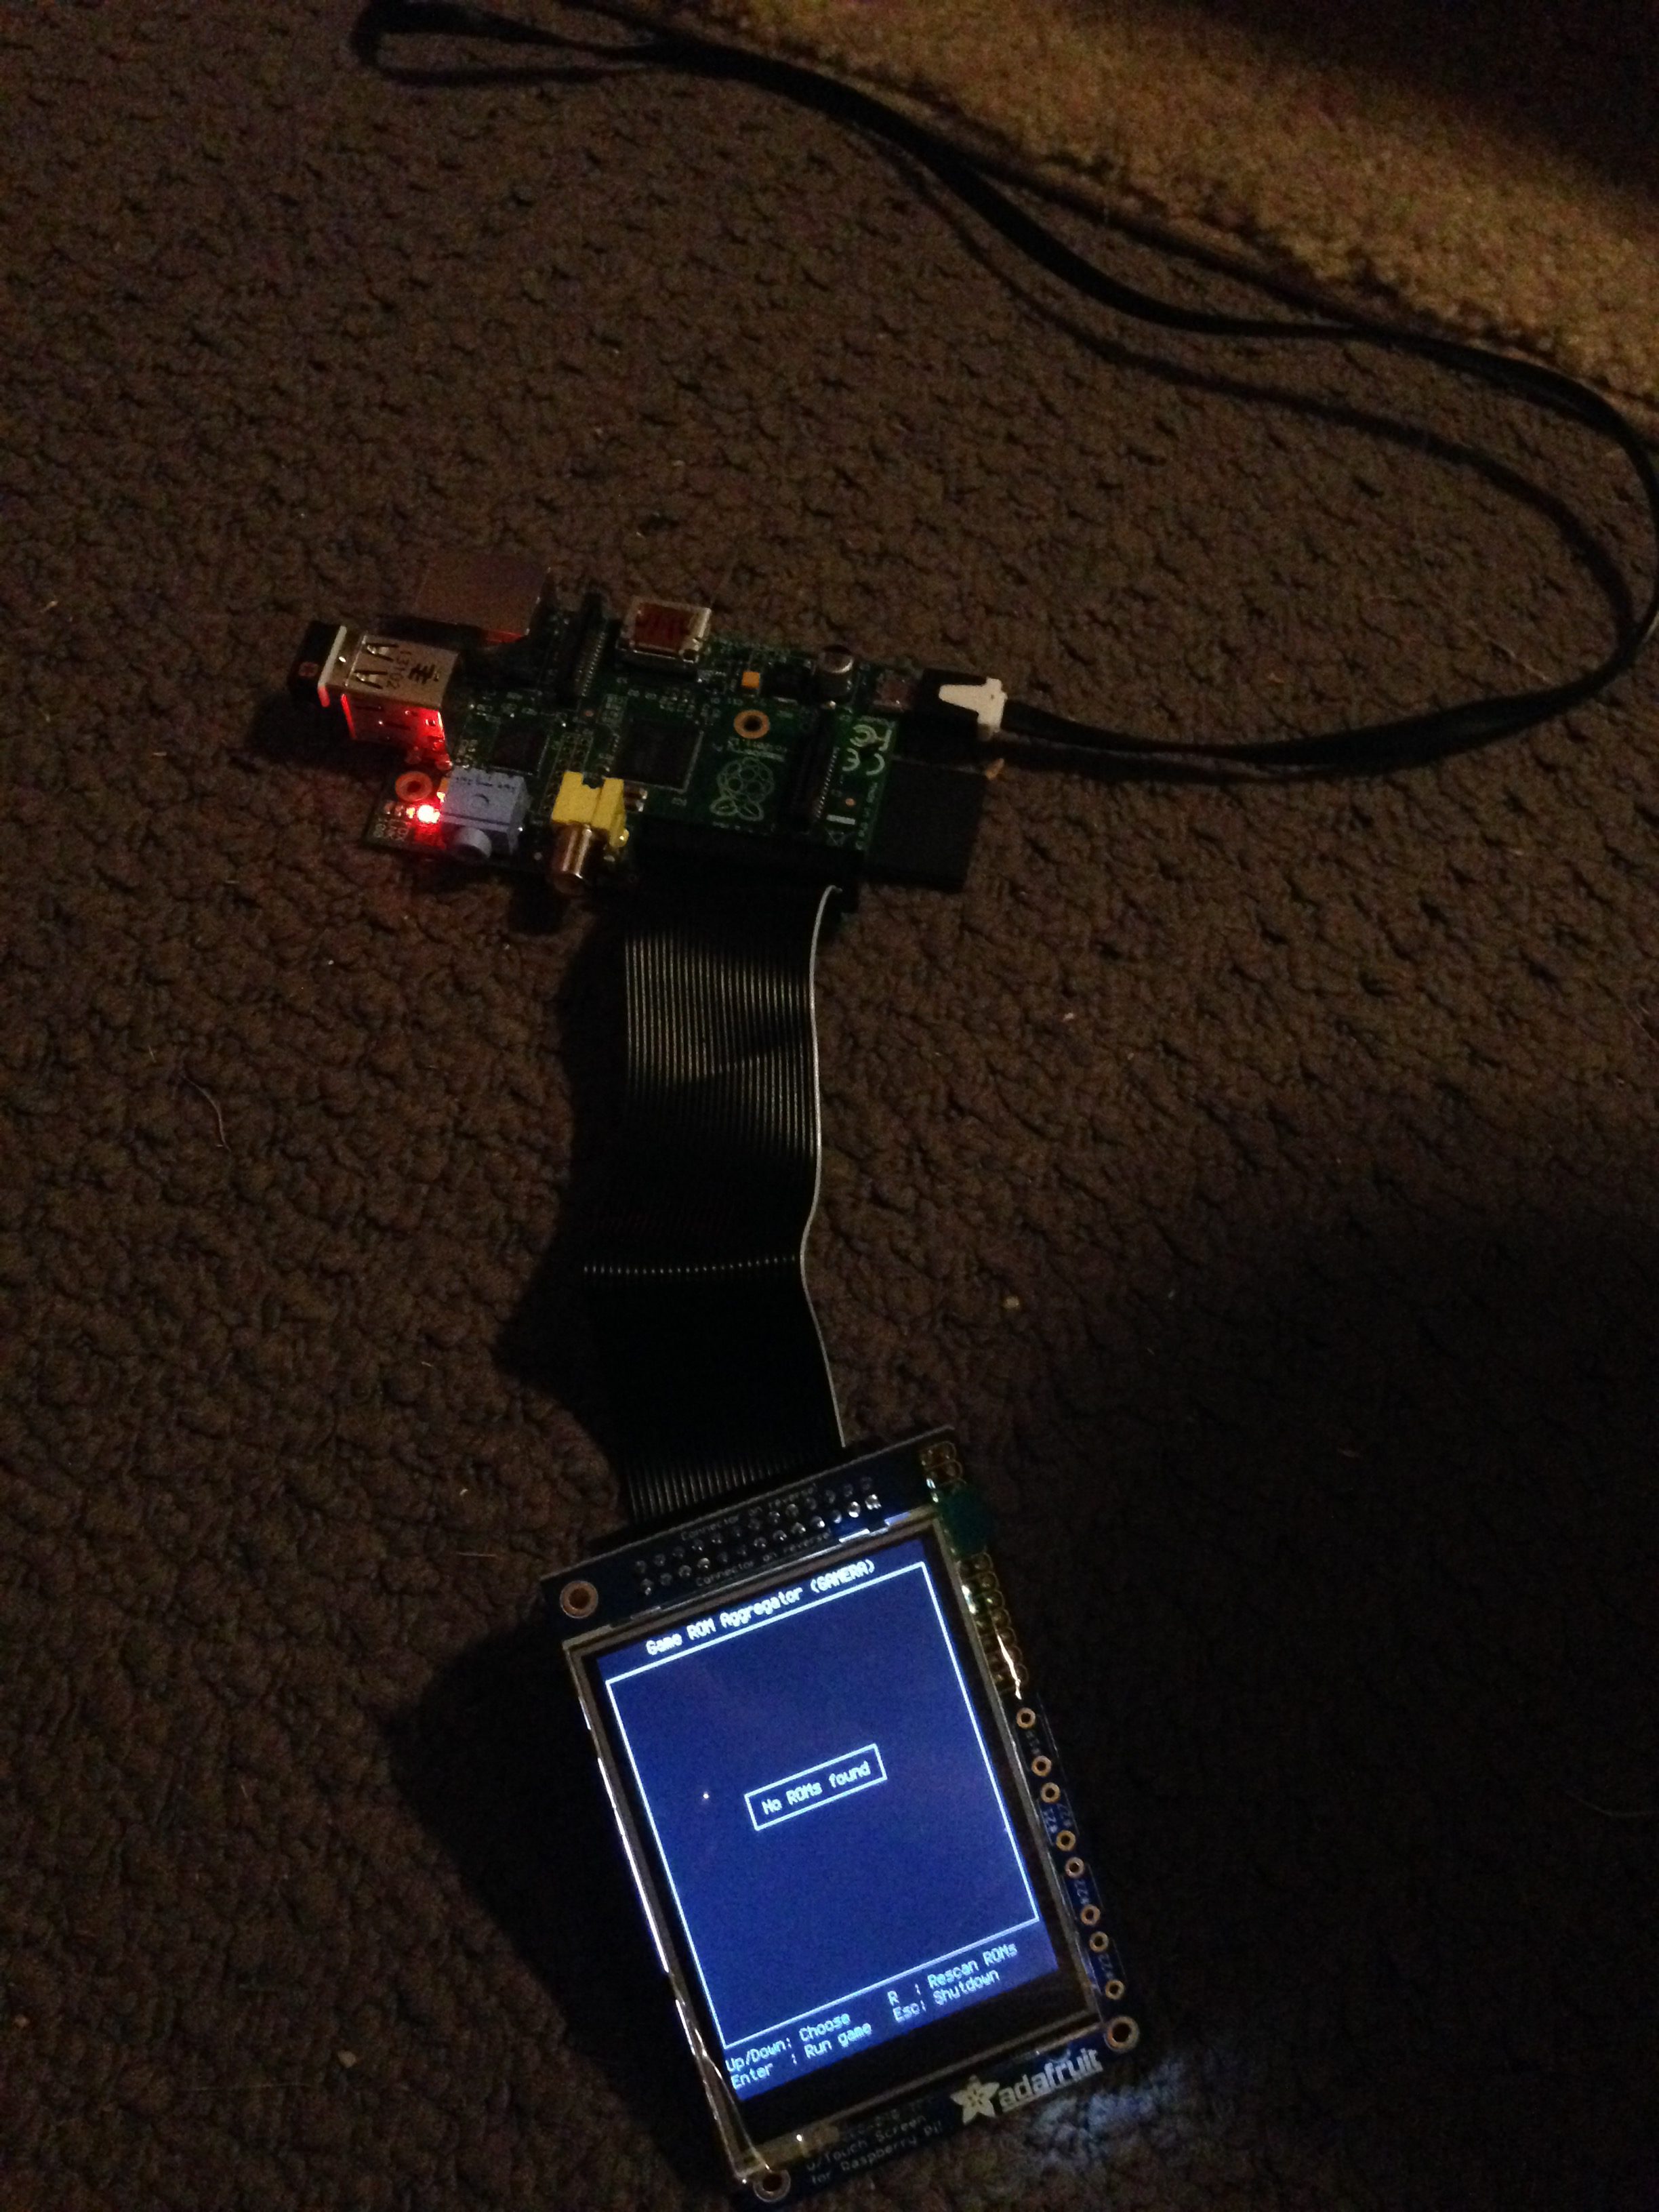
First thing I did was download the prebuilt cupcade image and imaged the SD card with it. This was so I had a known good OS to test the hardware with before I started any assembly. I put the PiTFT onto the GPIO of the Pi and powered up the image.
No problem, screen came on and booted to gamera. The screen and Pi were good to go.
Electronics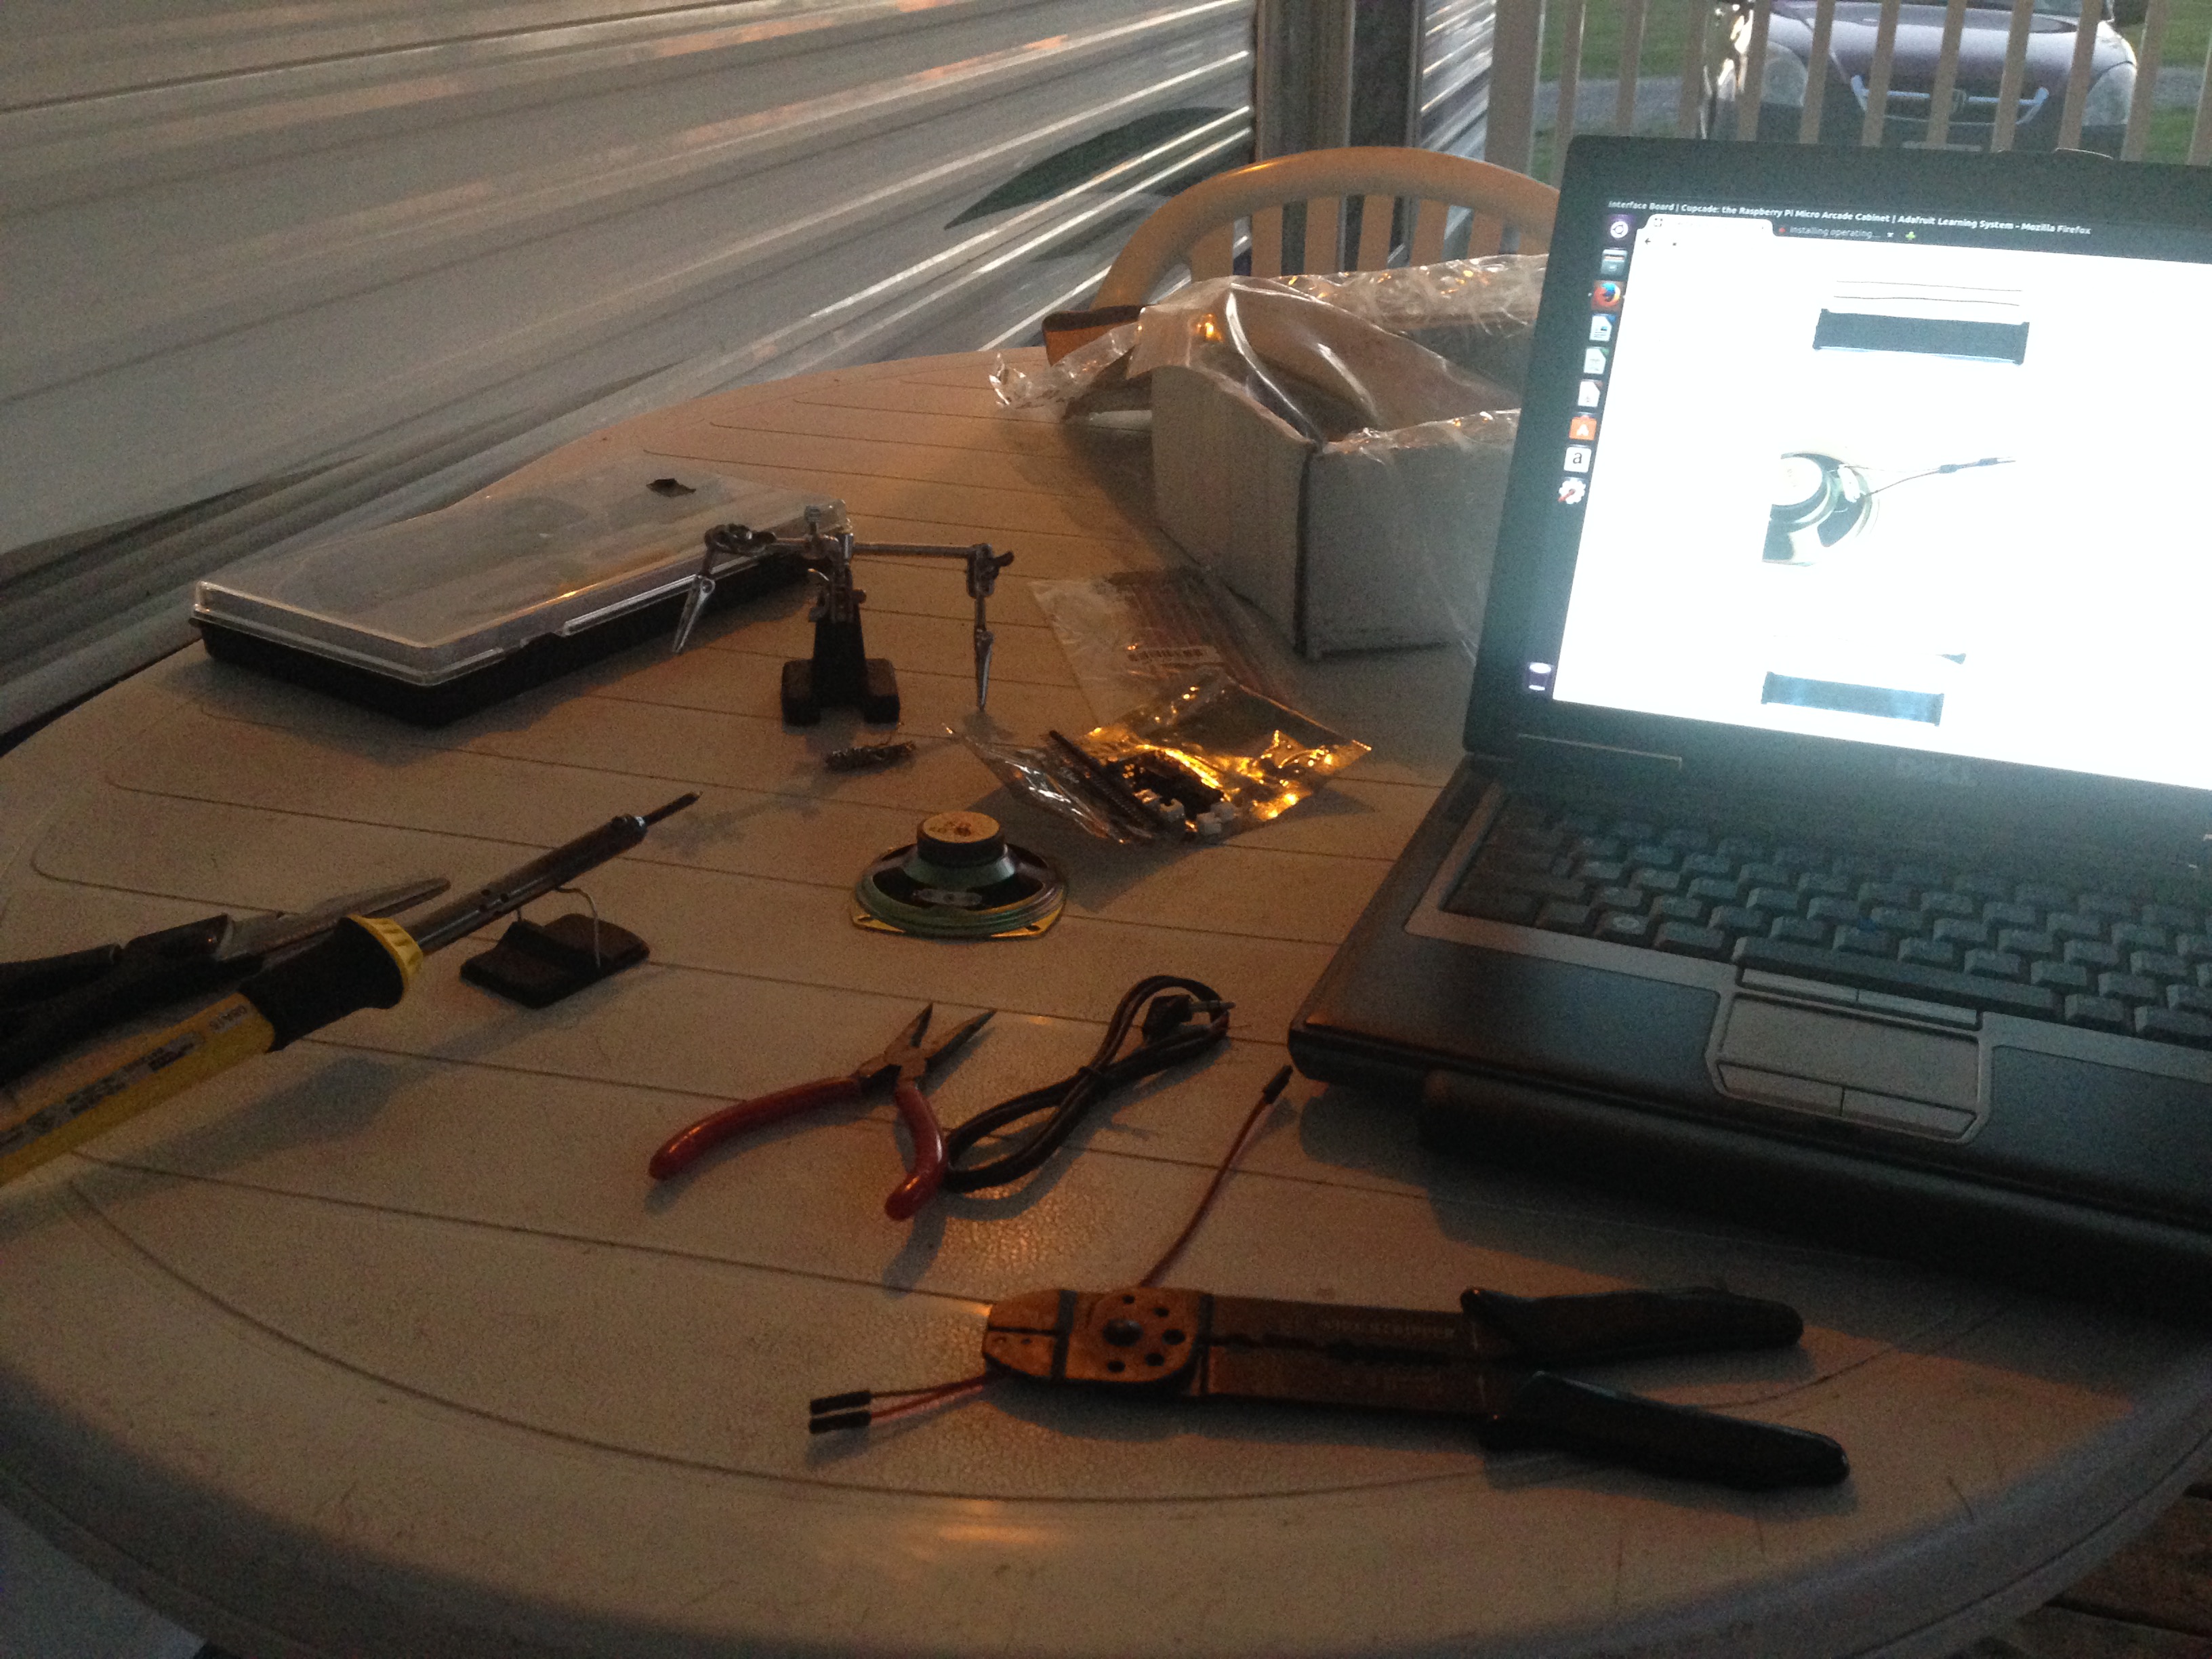
I had my laptop with the assembly guide opened and my iron heated and just dove into it with the guide.
This was only my second significant project with a soldering iron the last being my bluetooth controller with the Bluefruit. That project I ran into may soldering challenges and it was not at all pretty but I did prevail in the end.
This time around I was handling the soldering much better. I wasn’t making perfect hershy kiss style joins yet but it was a vast improvement over the last attempt and I had no horrid cross connection blobs to deal with. Soldering went fairly quickly starting with the speaker, then the amp/button pcb and the thumb stick pcb.
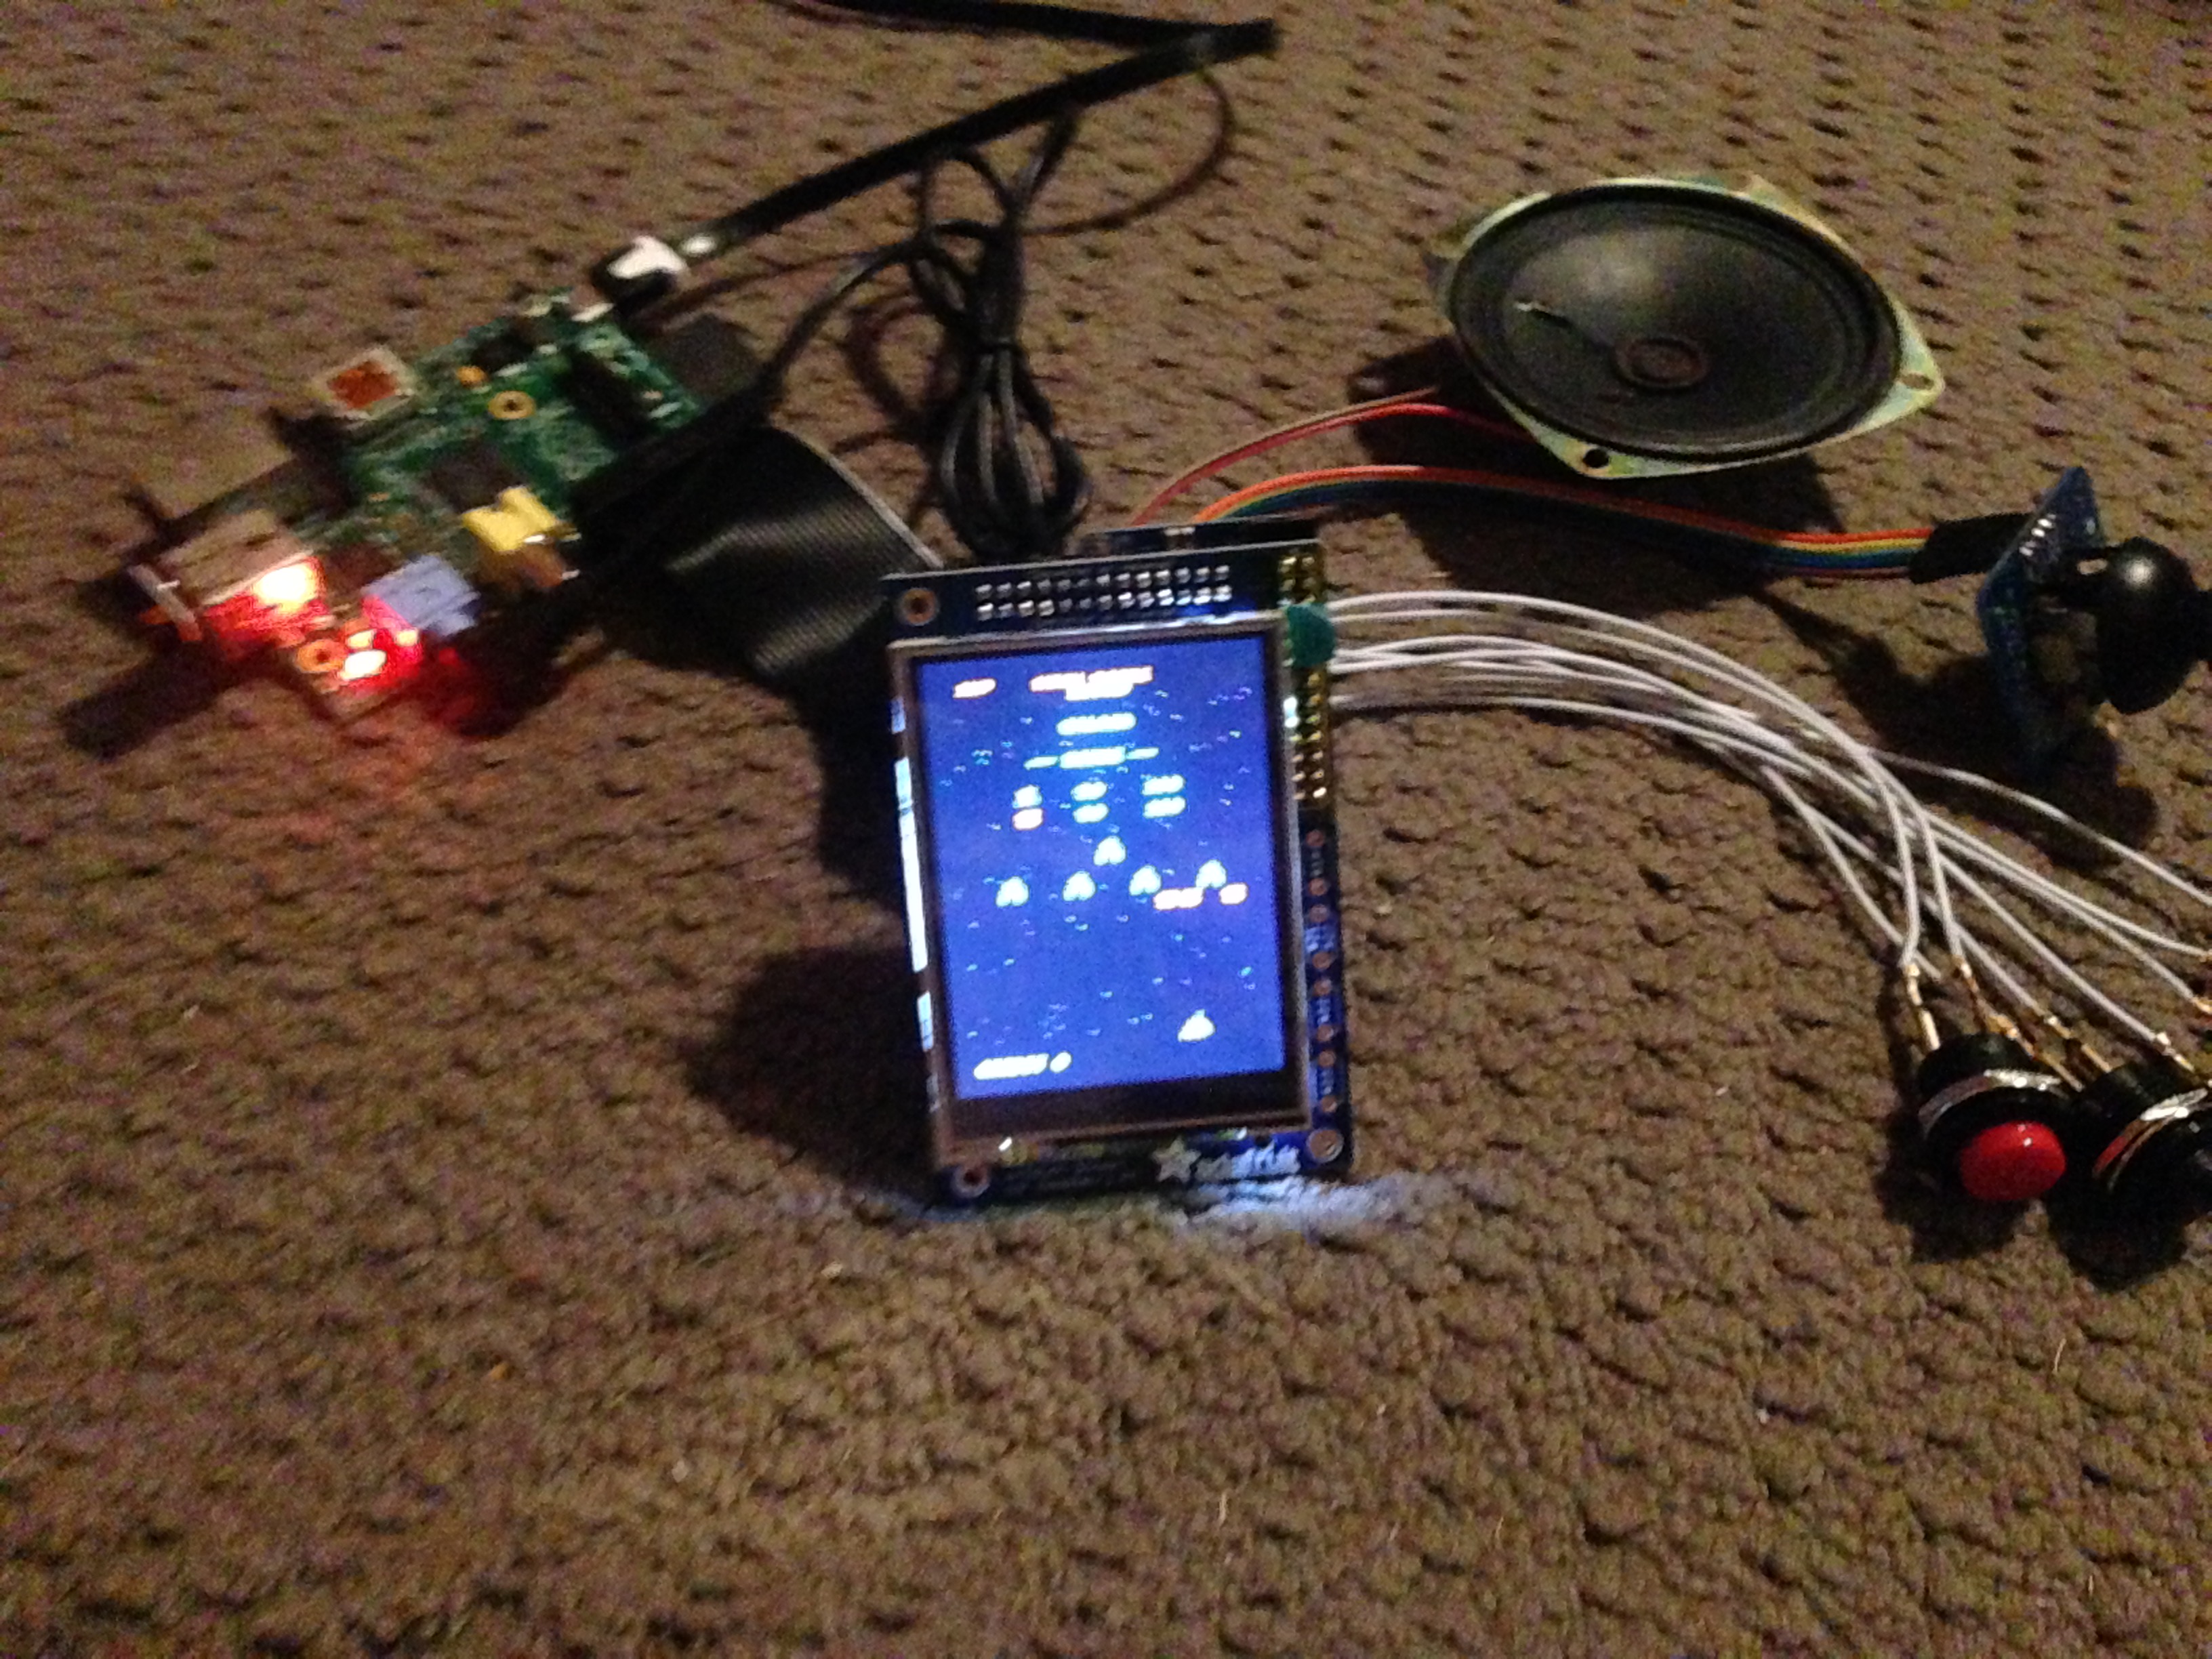
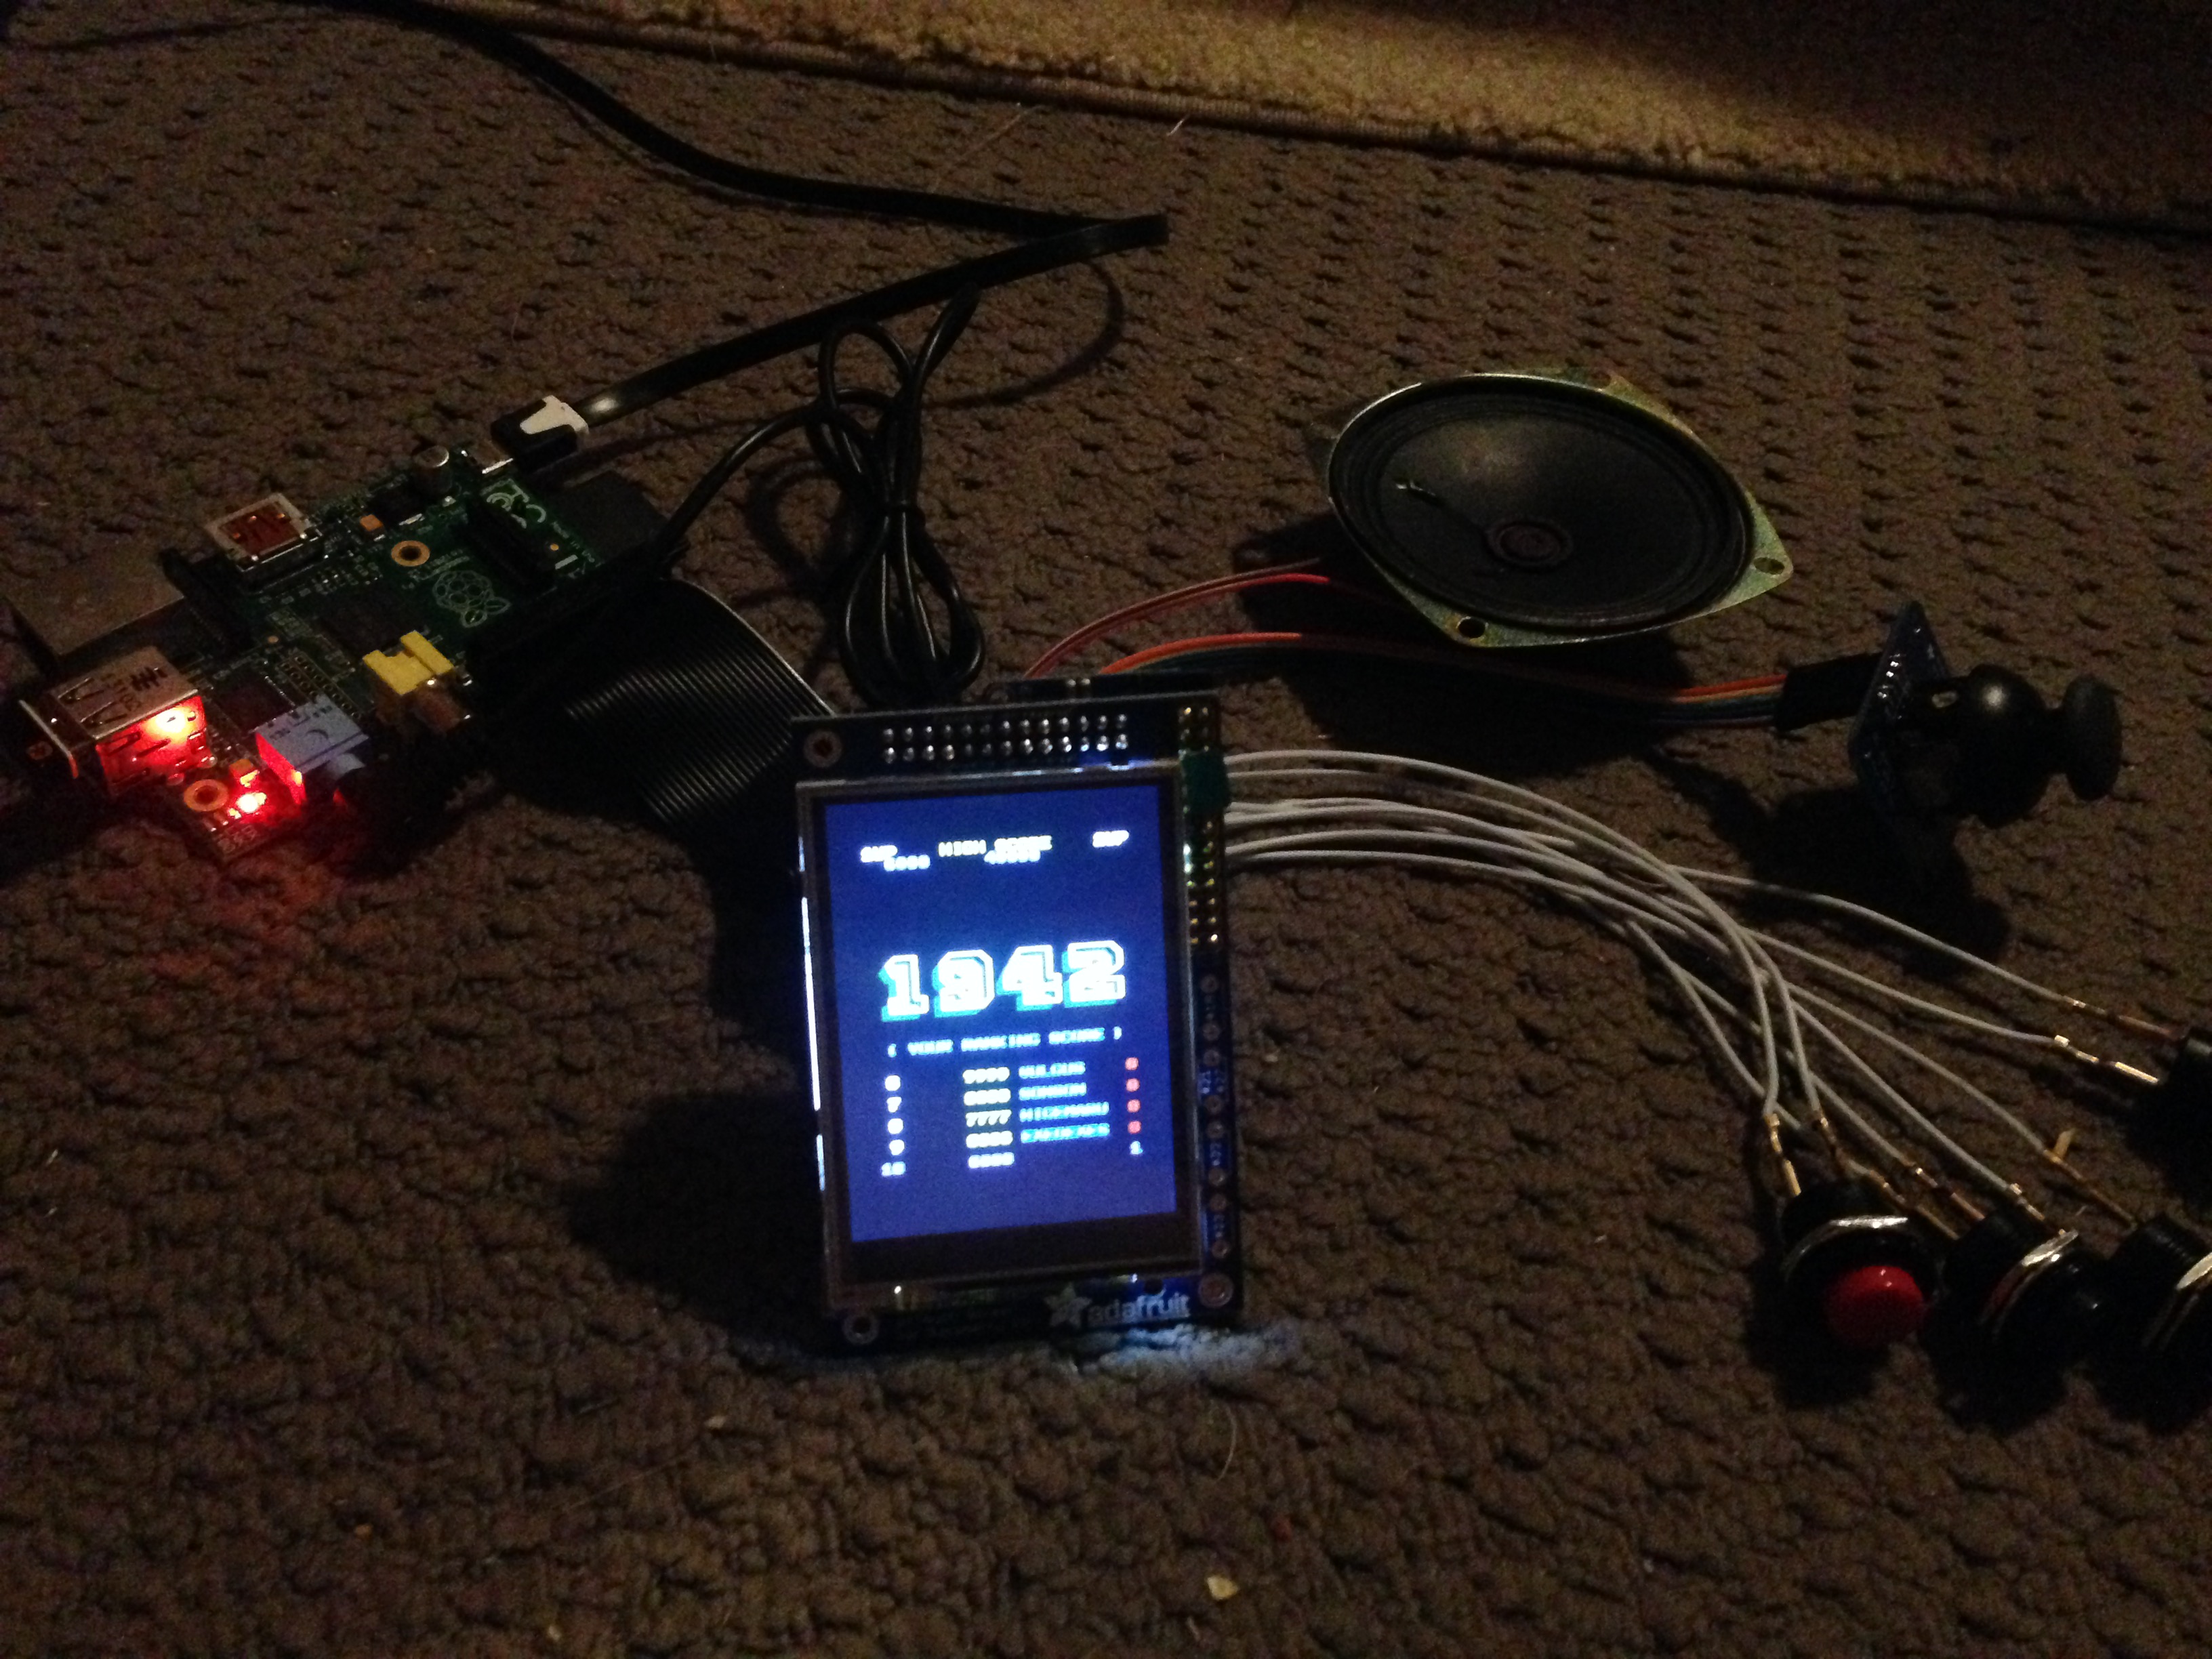
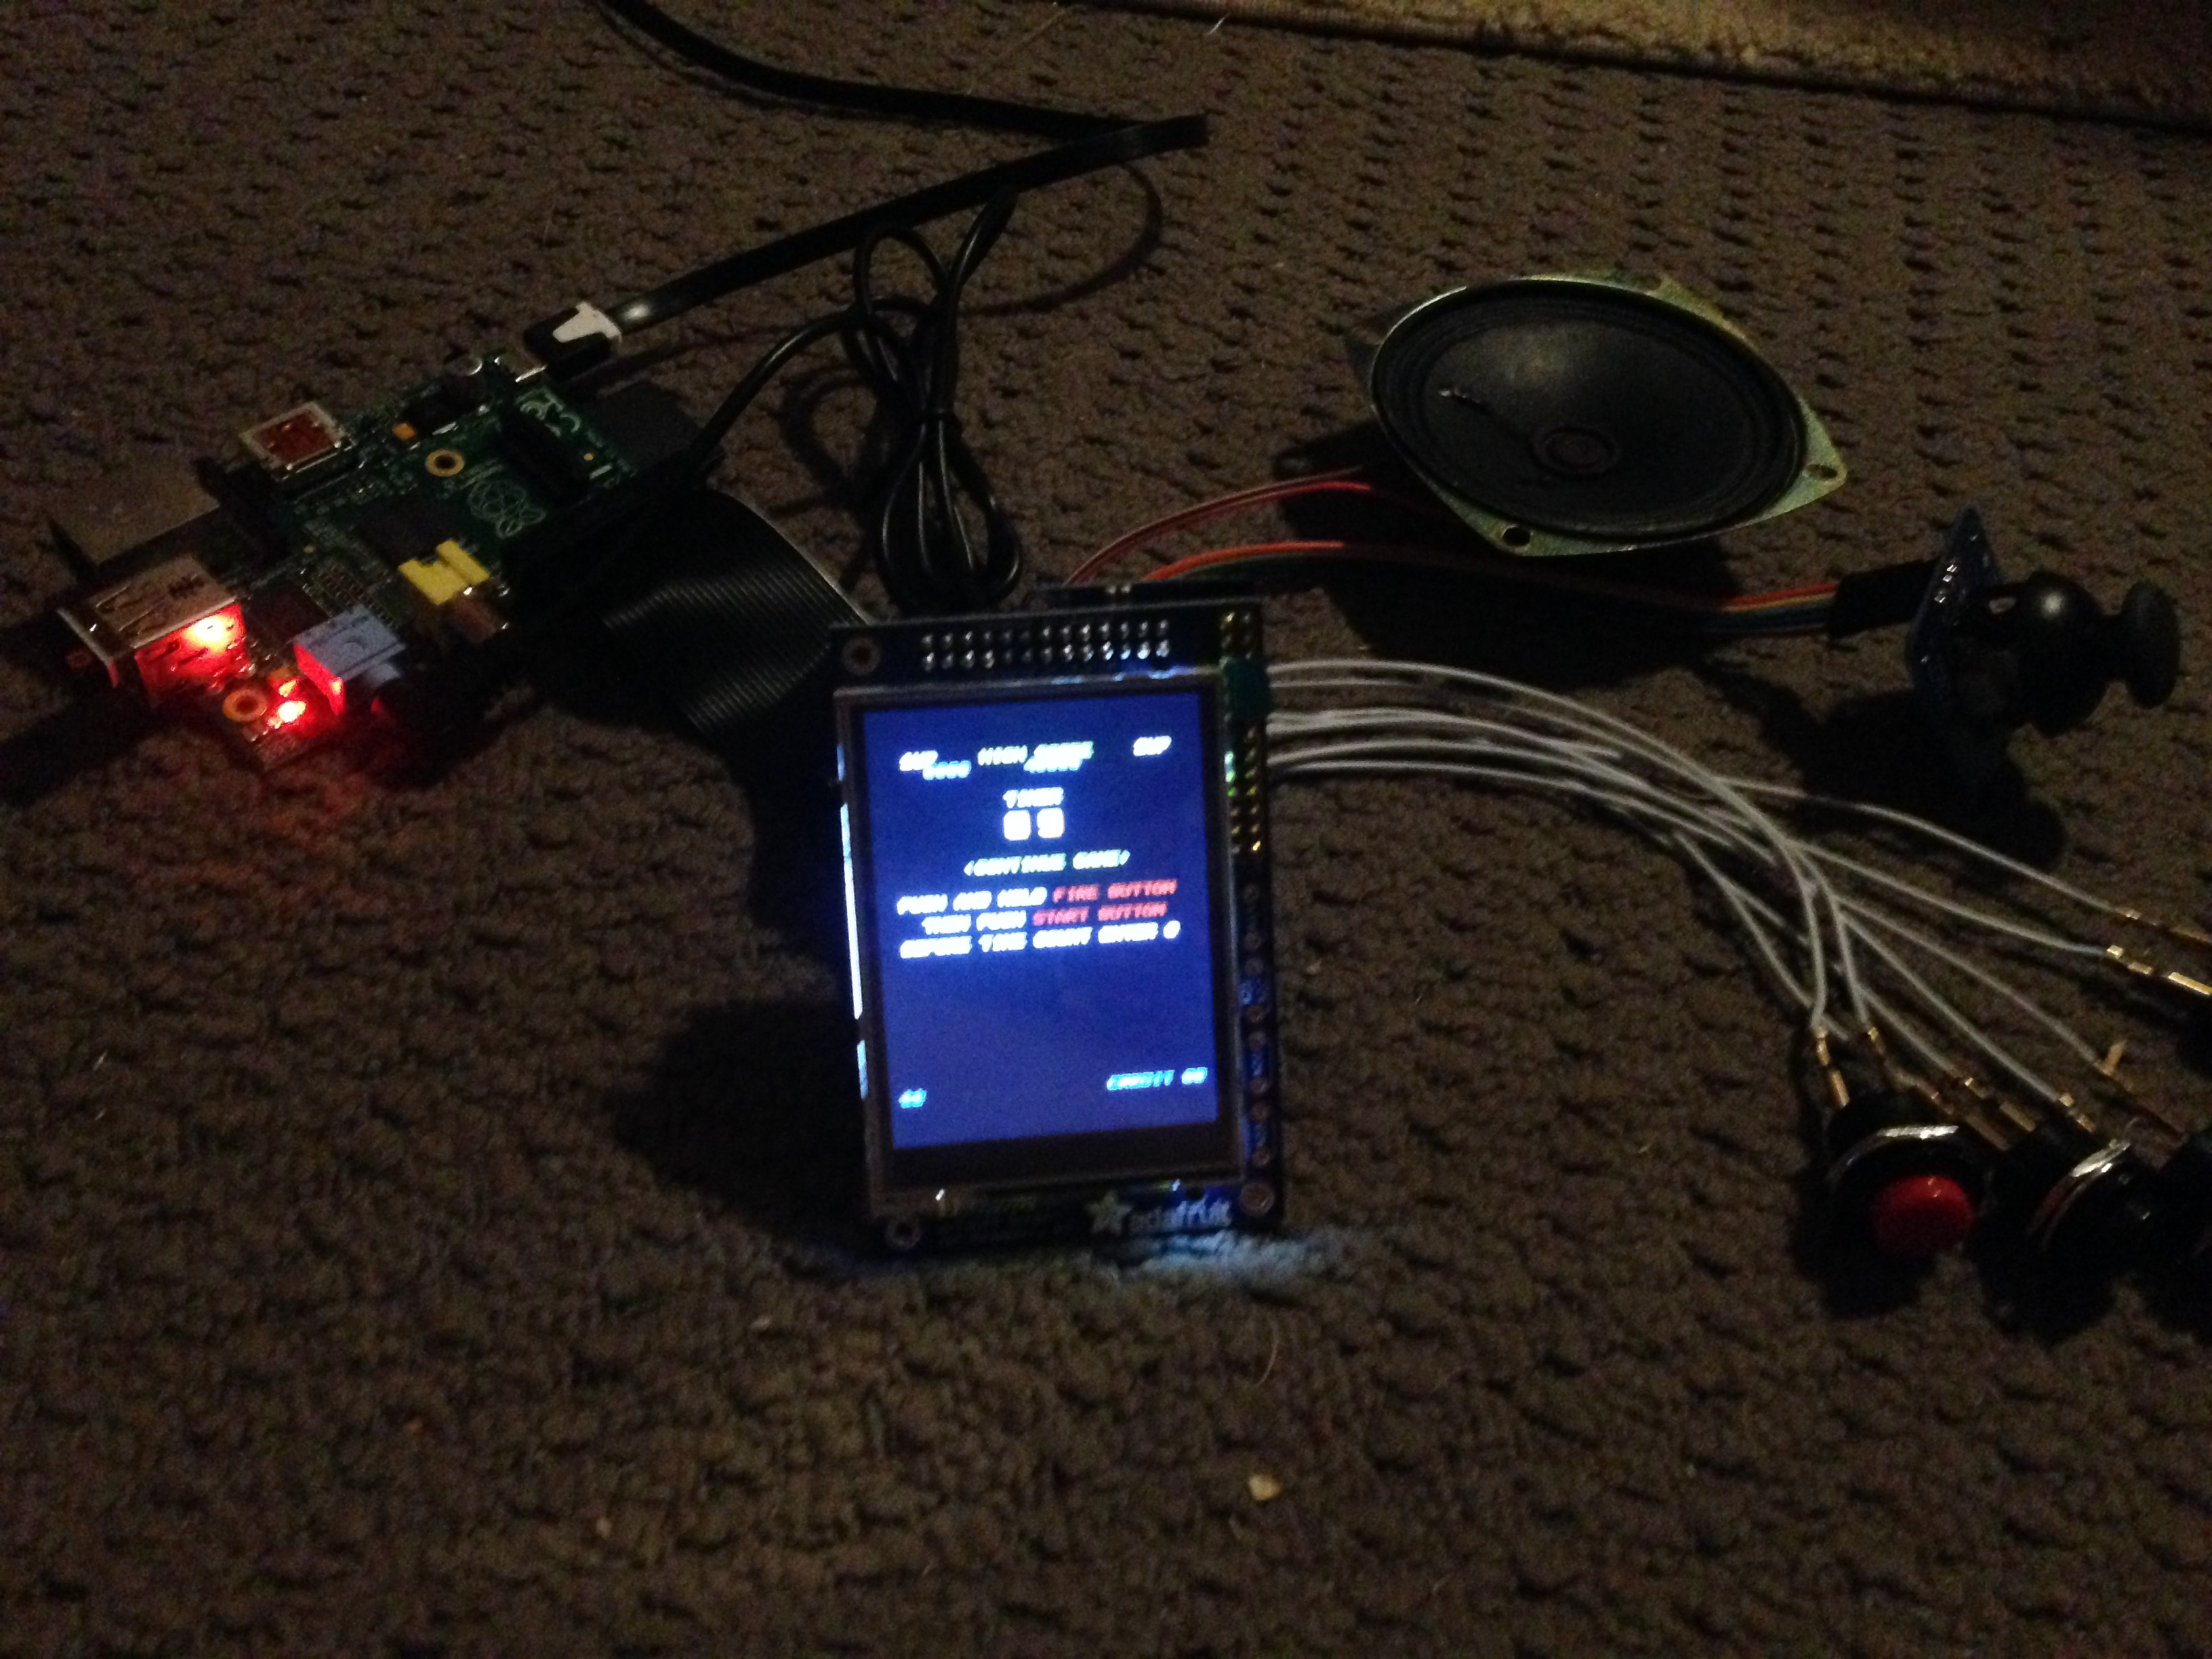
Dry run
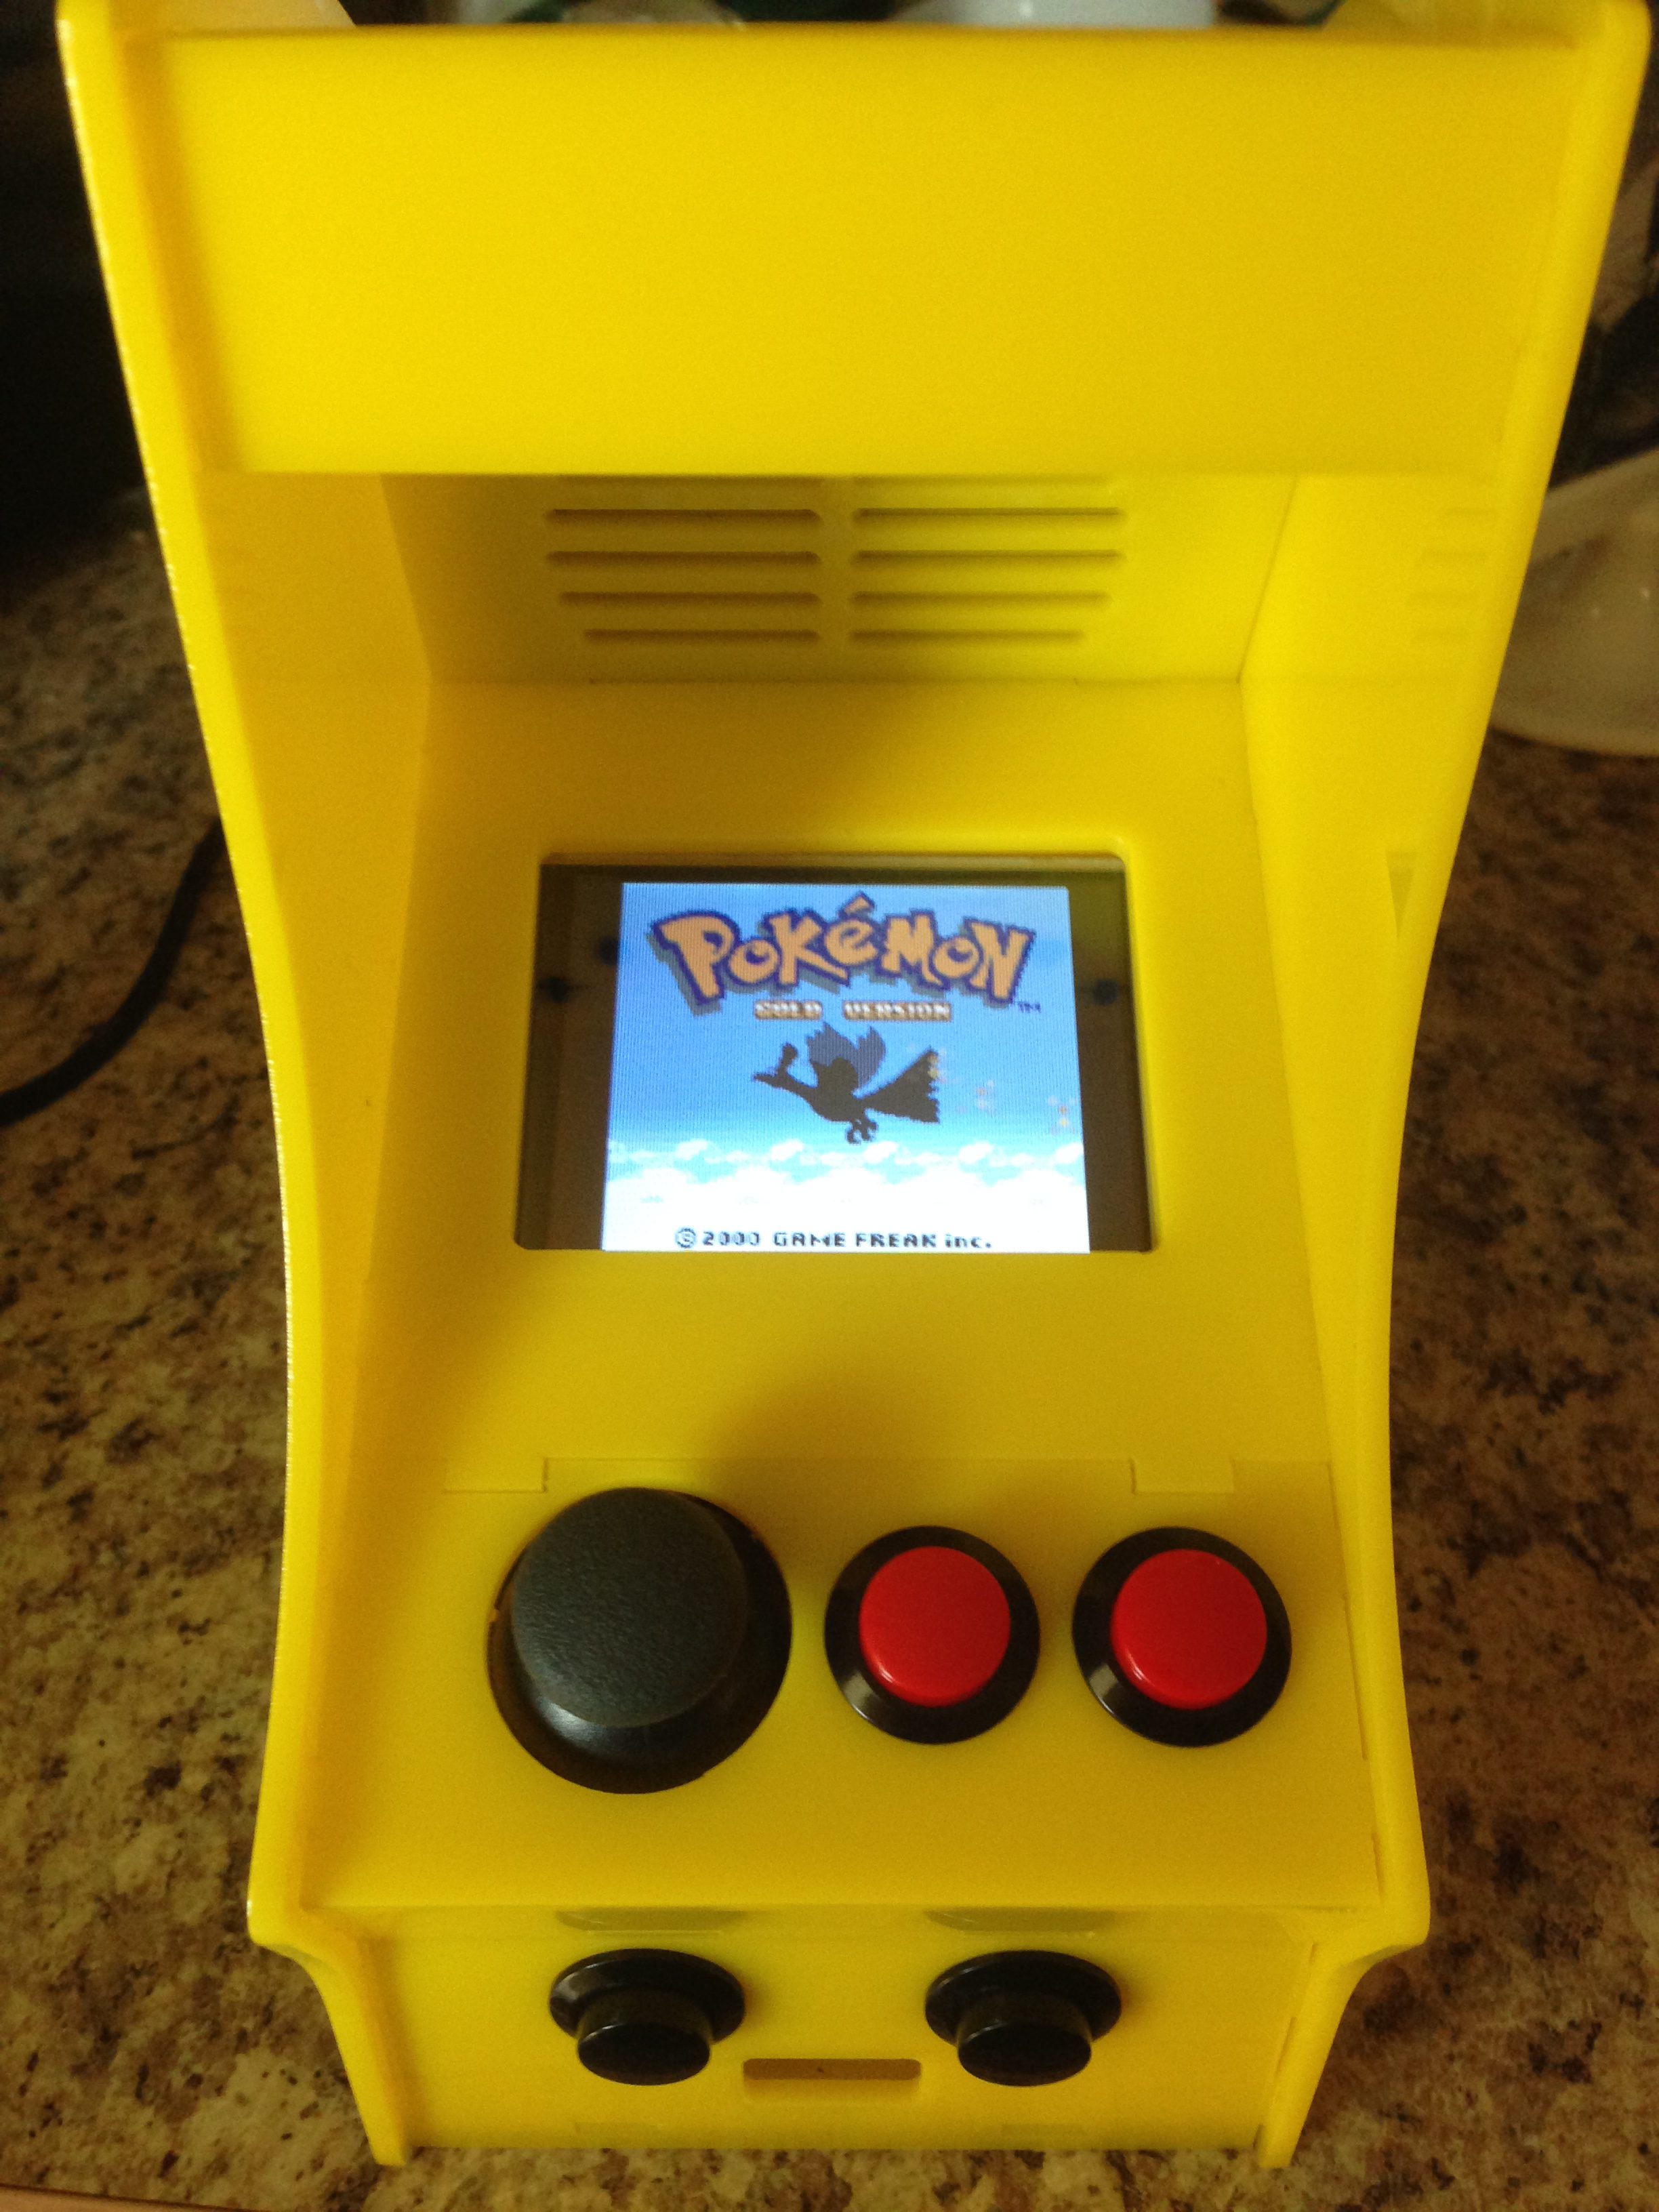
This was it, did I do it right or did I have to troubleshoot my connections. Much to my surprise the whole system worked first try. The buttons responded, the screen turned on and the speaker also functioned very well. Onto the cabinet
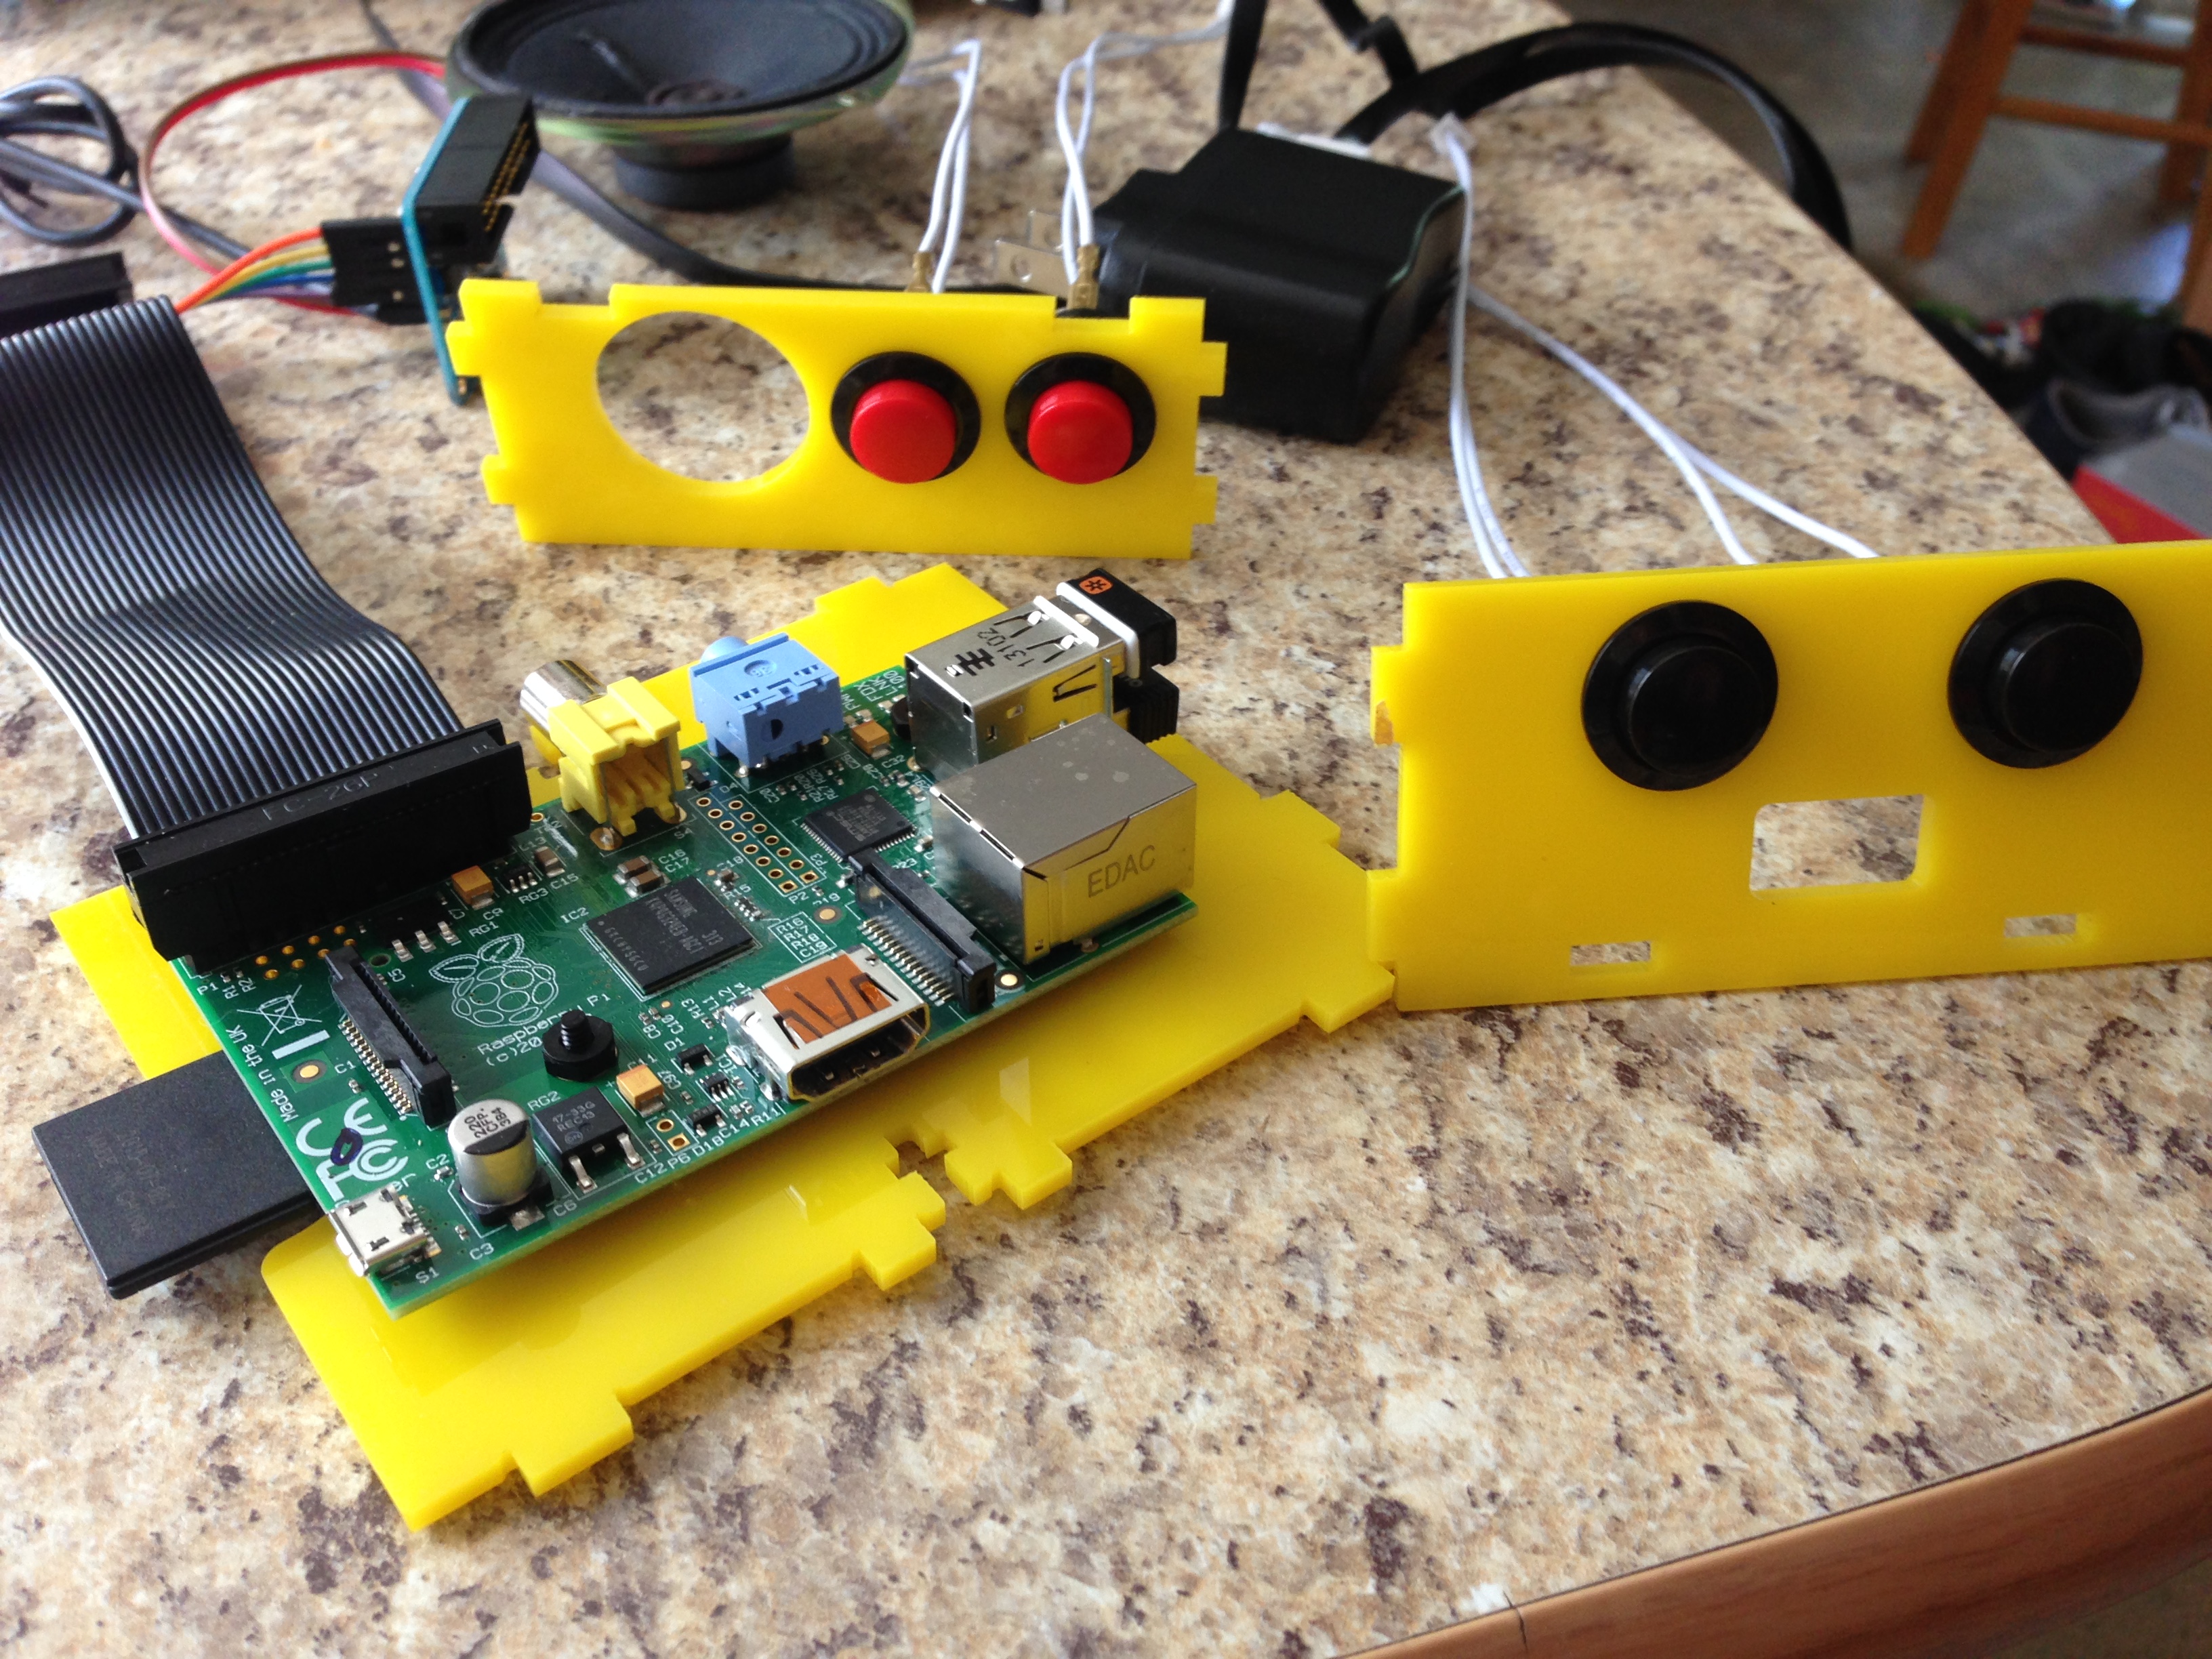
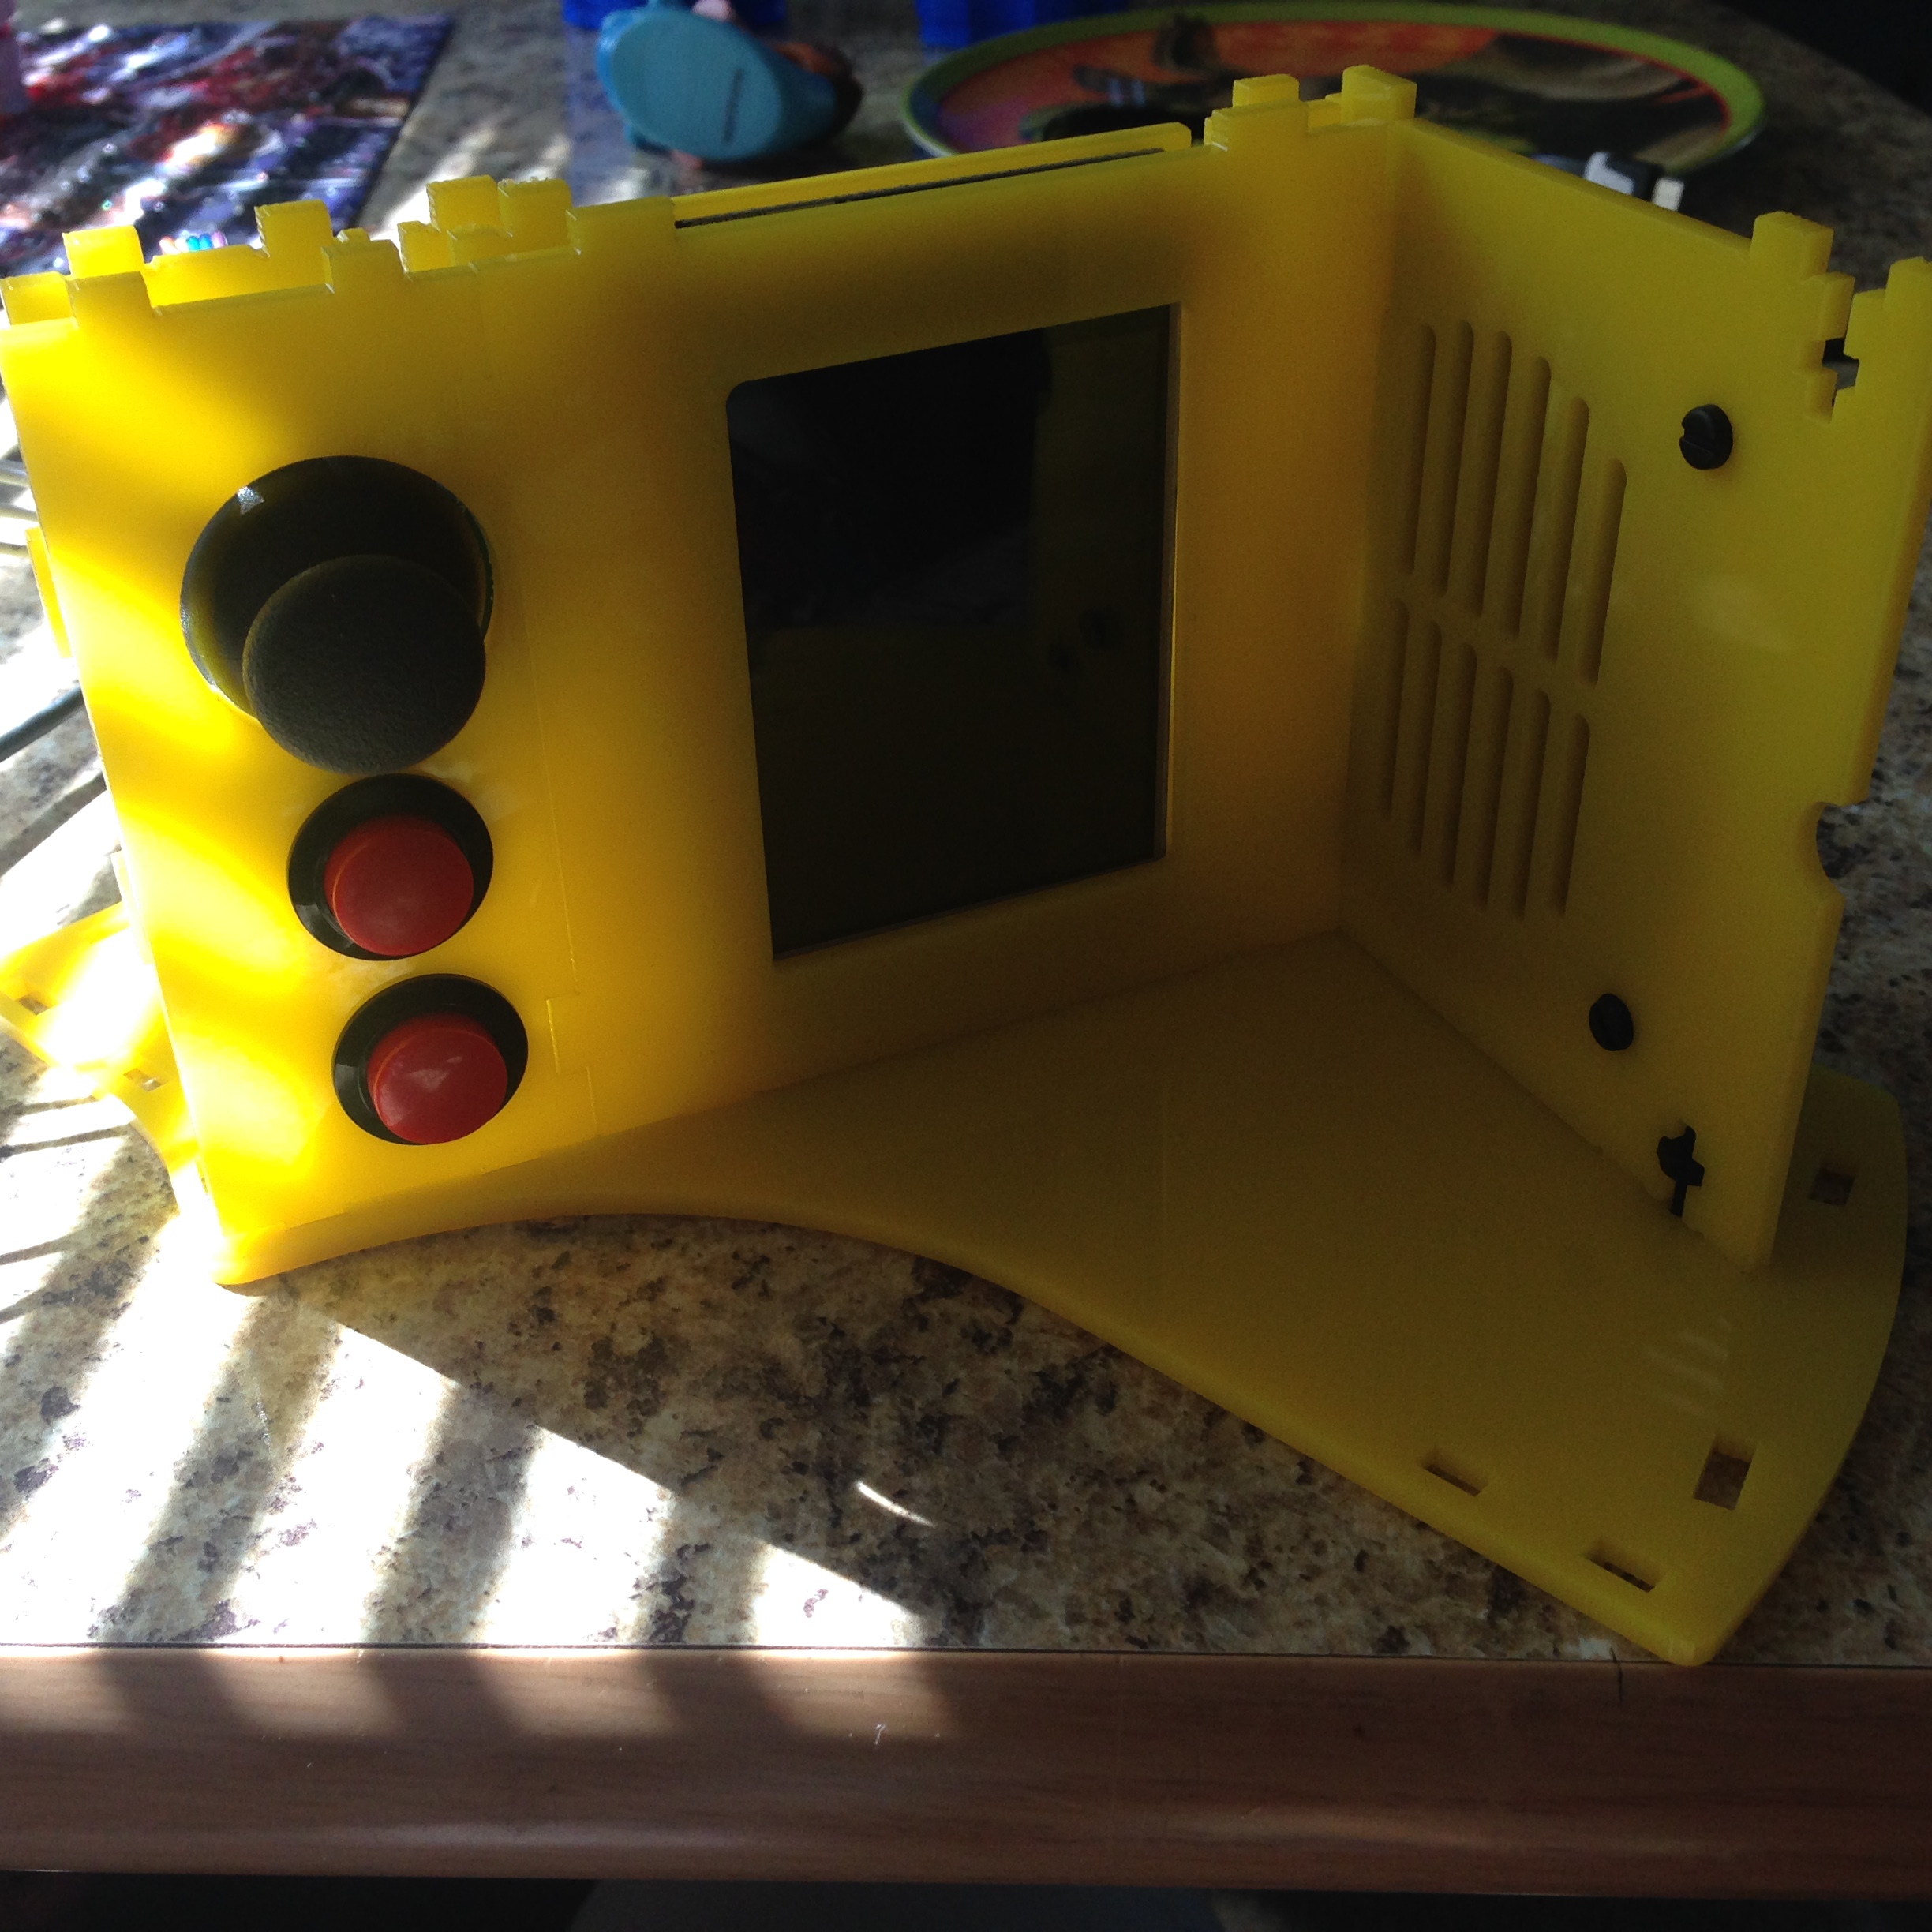
Cabinet
The Adafruit cupcade cabinet is a wonderful micro cab but it is probably the most challenging part of the whole damn project. They very cleverly designed it so that the nuts just slot into the + cross joints and the bolt comes in from the adjoining panel to connect. The unfortunate part is you have to take your dry run apart completely then rebuild it as you assemble the case which caused some issues I’ll explain later on. Getting the first half of the cab on its side together was fairly easy getting the second half on required some balance and prayer. Leave one side a little bit loose so you can get the front, banner and back panels in then tighten the whole thing once all the pieces are in.
Problems!
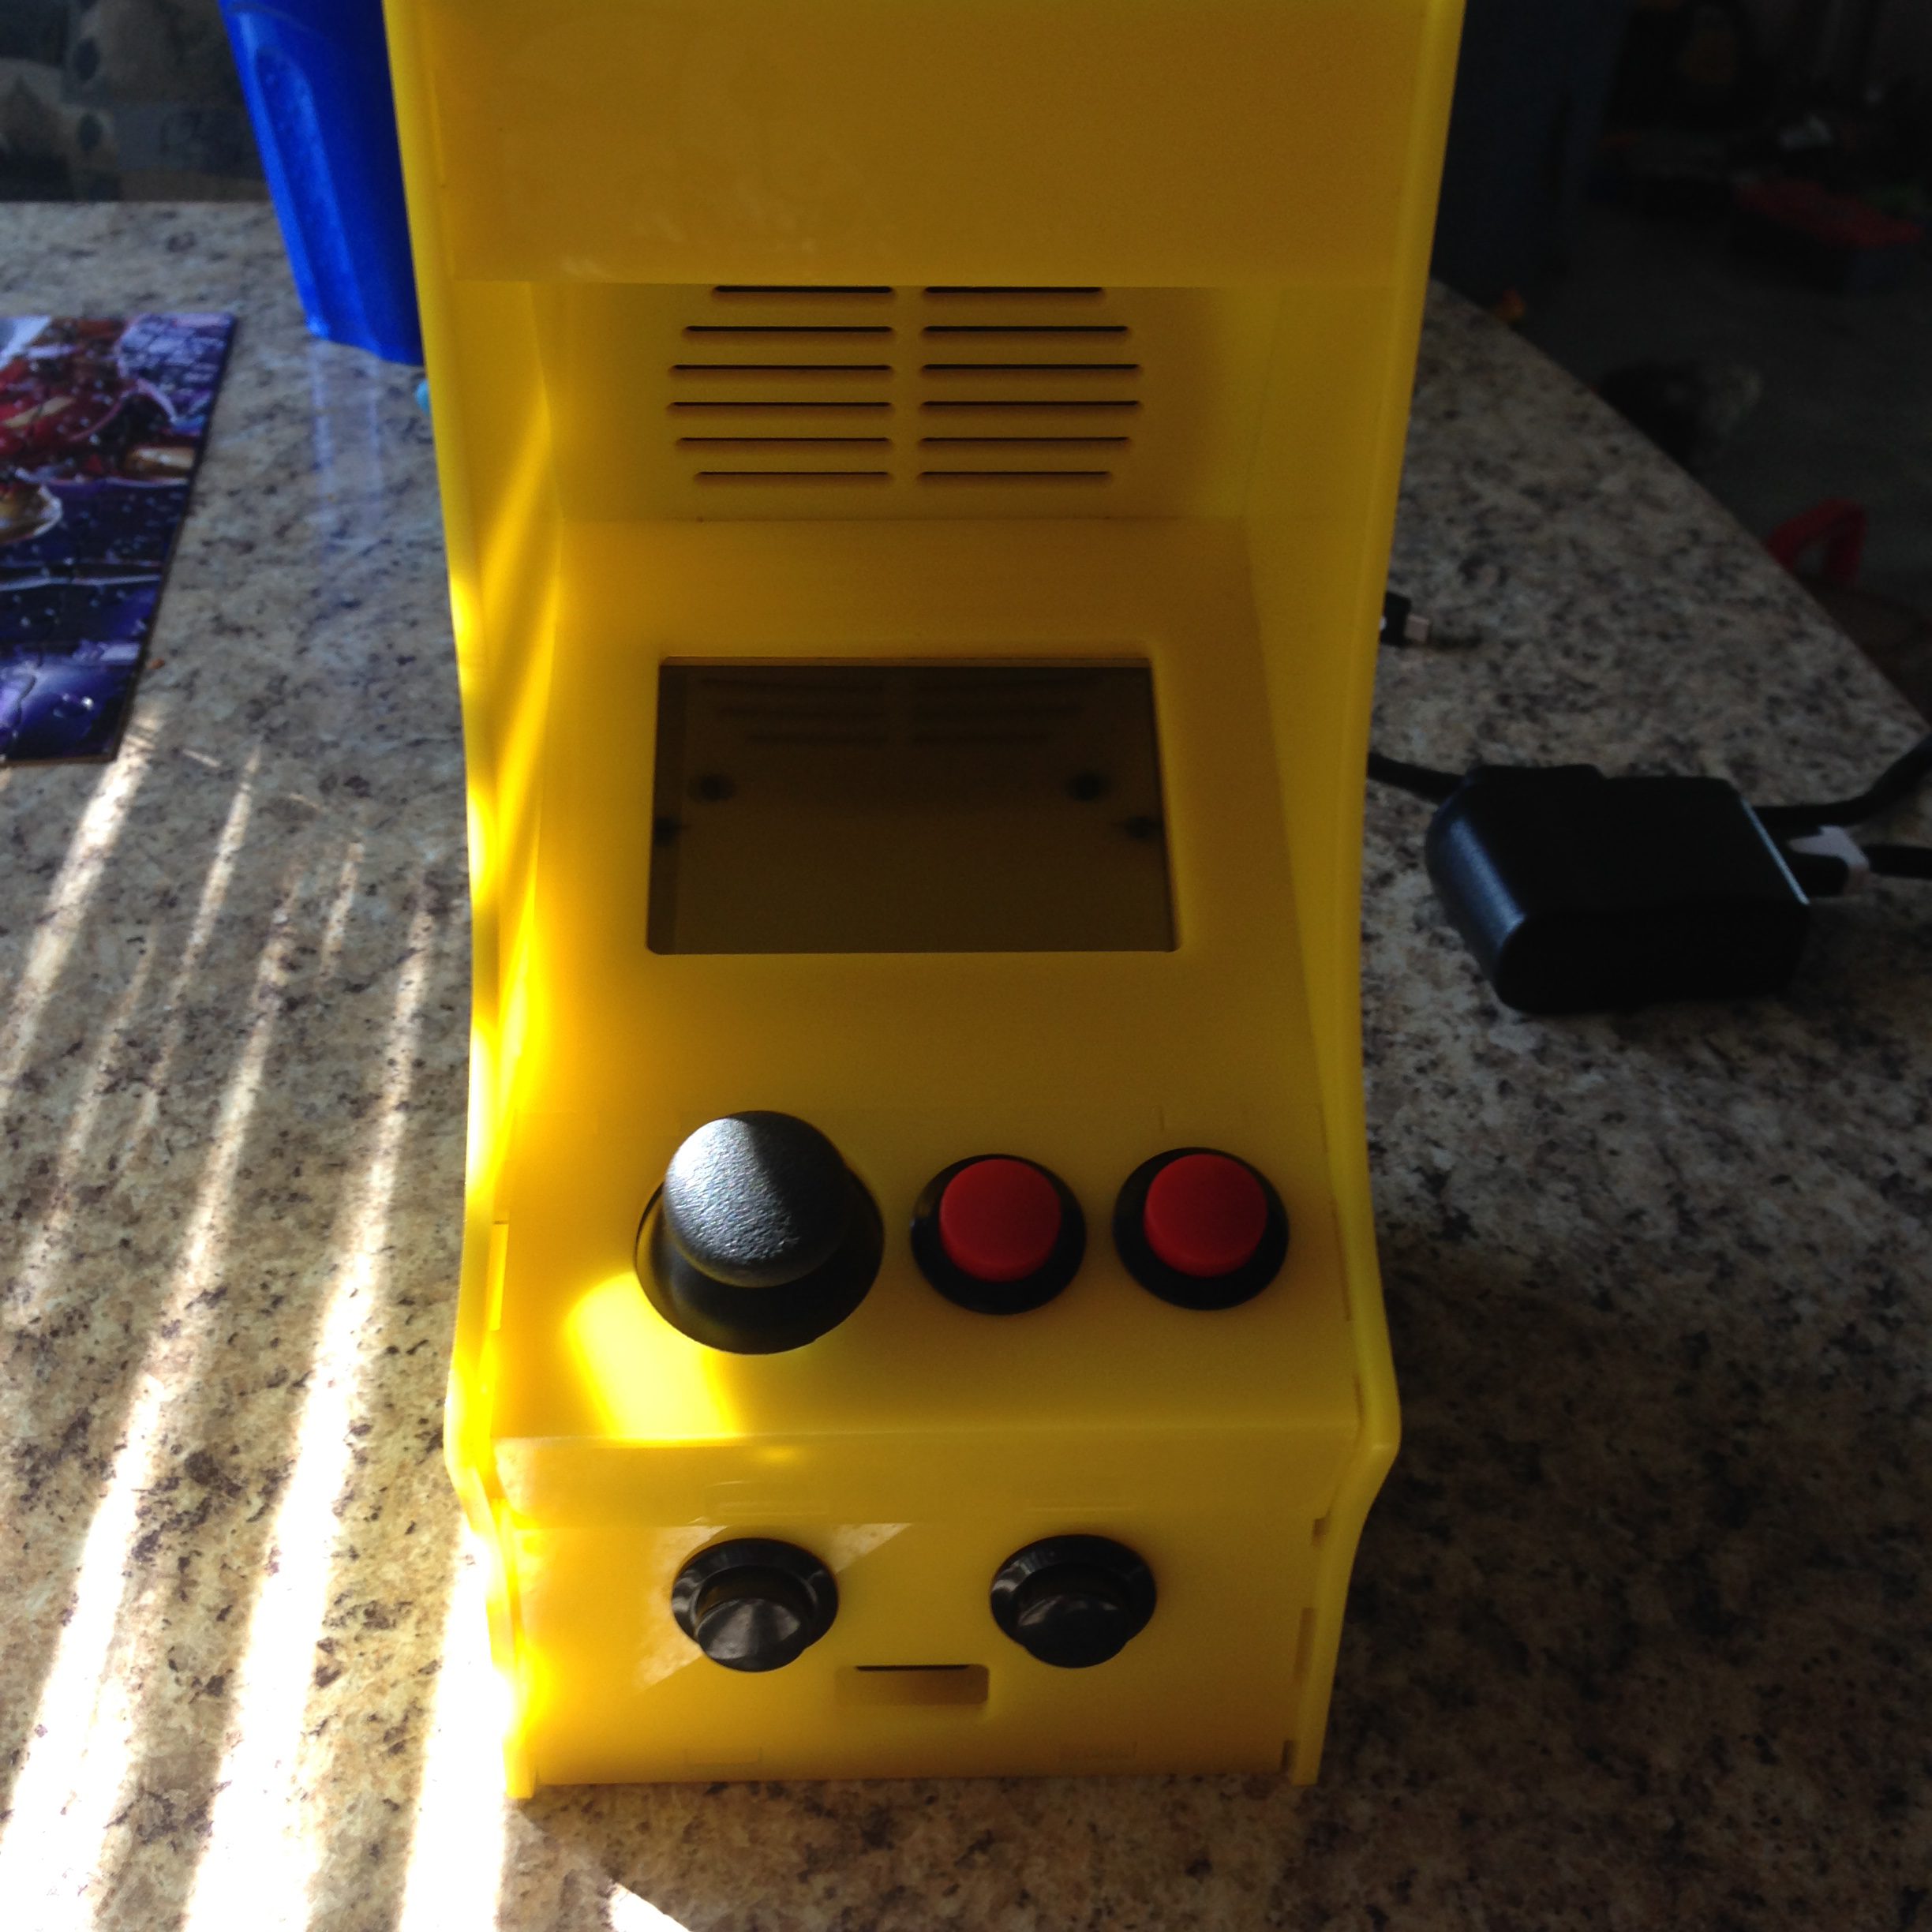
So after all that I plug it in and nothing happened. I turned it off and then back on. Smelt terrible. Immediately off again. I laid the cab down on its side and took the one panel off. Everything looks ok. I look at my Pi cabling and compare it to a picture I took earlier. Pin 1 on the ribbon is in the wrong place!!!!
- Swapped it
- Powered it
- Still starts (lucky)
Make sure you put your Pin 1 where it belongs!!! Good thing I took a picture of the working one…
Second problem, the game buttons and stick aren’t working now. The PCB wasn’t connected to the underneath of the PiTFT correctly. It took some time but I managed to get it seated correctly without having to take the whole thing apart again. This is why it is kinda of a bummer you have to take it all apart after the perfectly working dry run 😉
Now everything works so I put the cab back together and tightened the screws.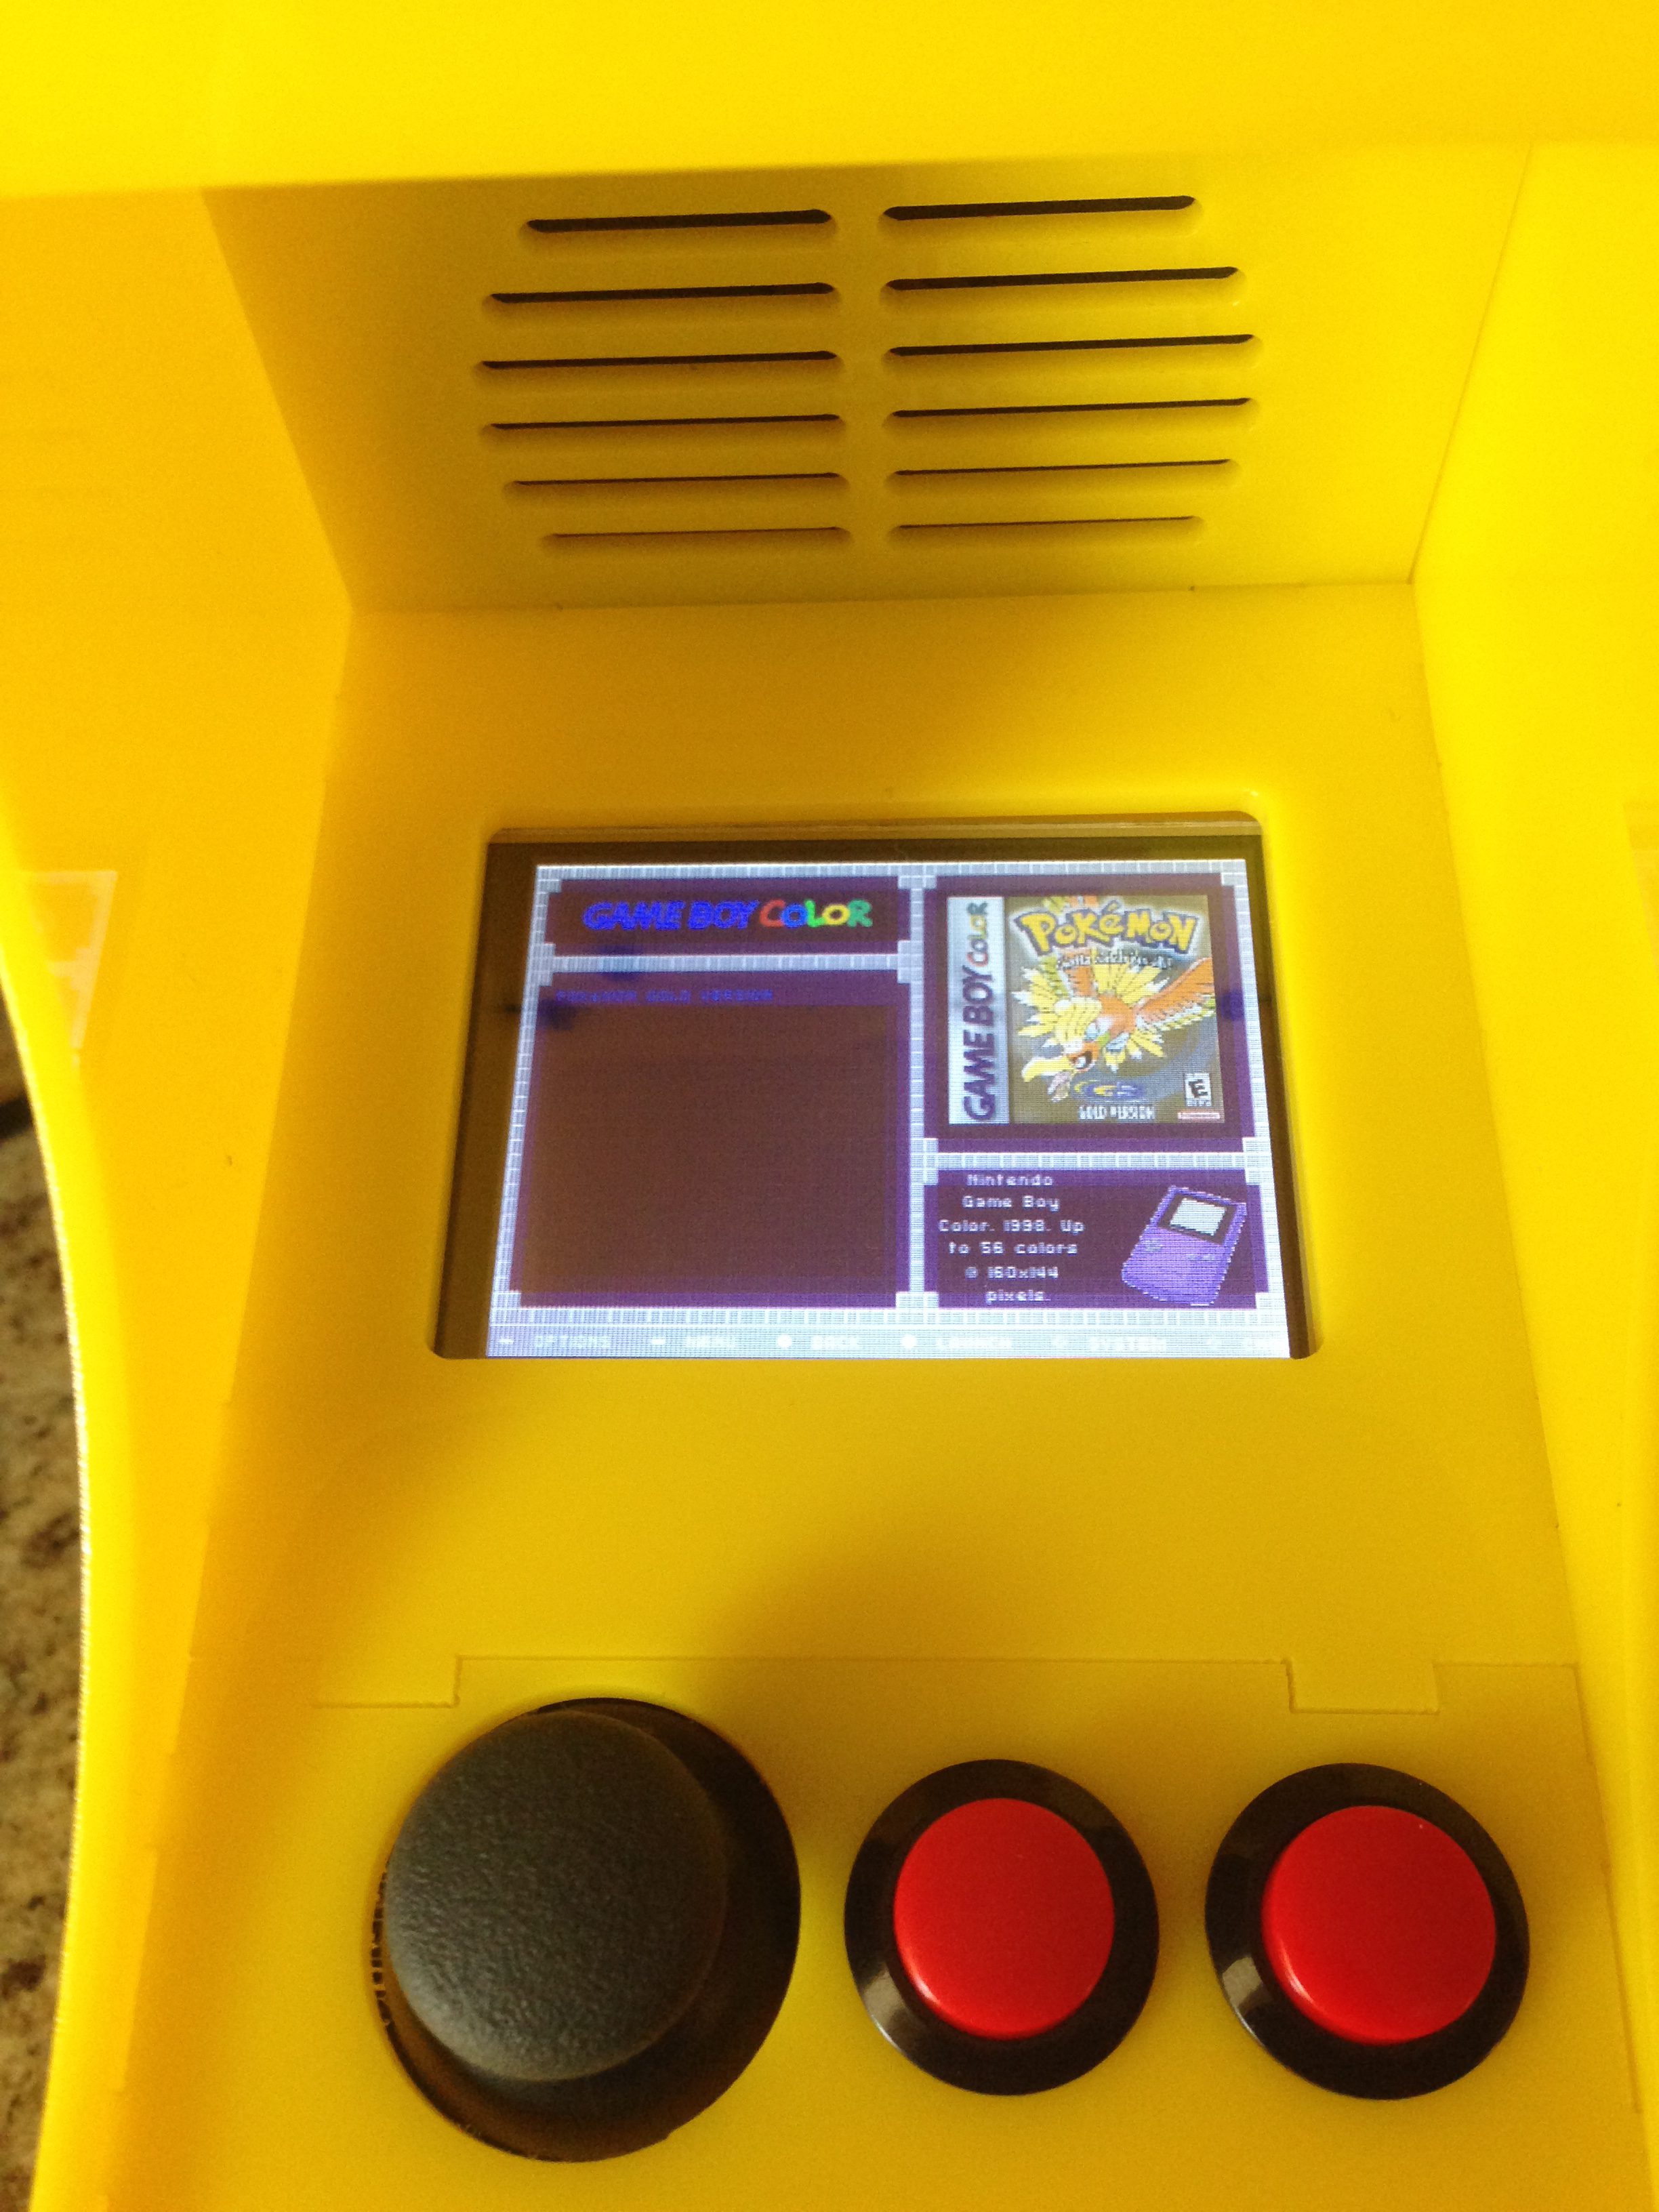
Software
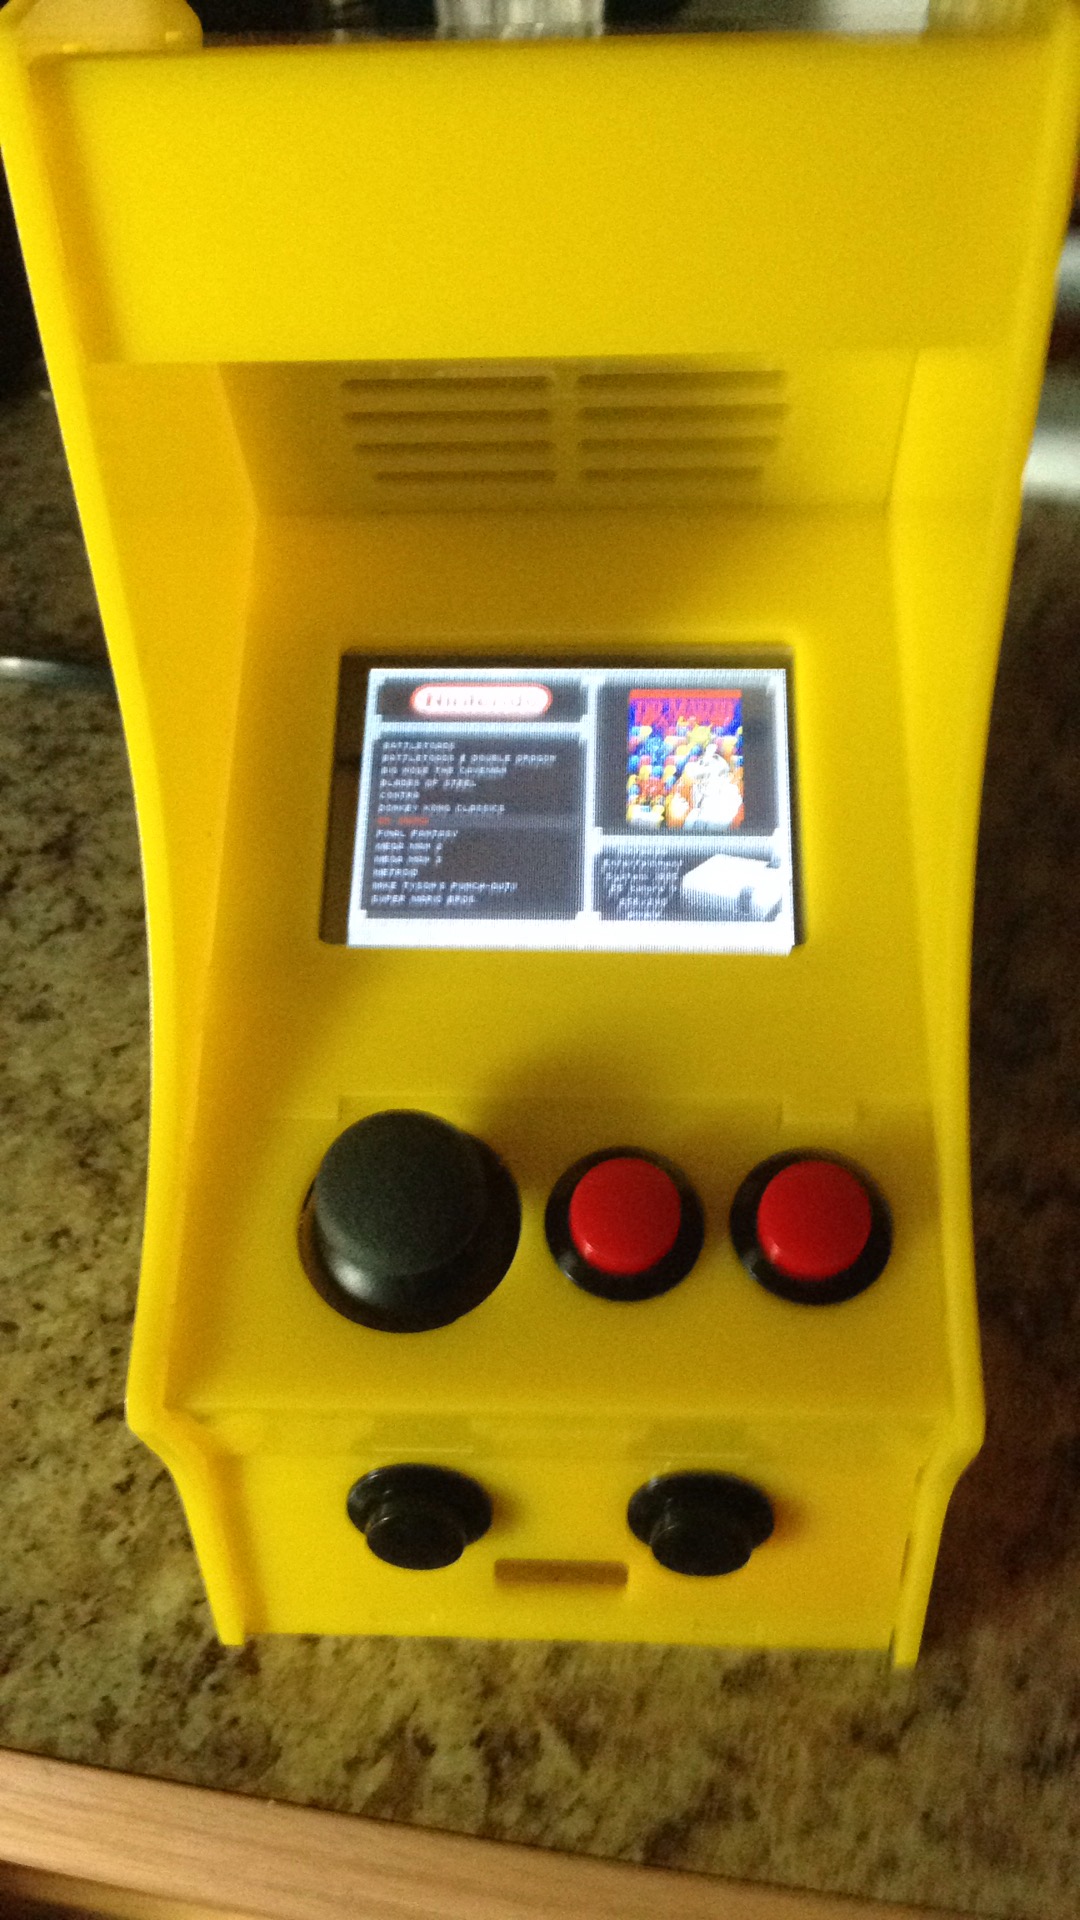
The cupcade has its own image of Raspian Wheezy, retrogame, gamera, adv mame but the problem is that this is all seriously out of date and does things in not the best way anymore. Adafruit has several newer TFT guides that do screen accelerating with FBCP which means your software options are way more open that they used to be.
I updated the image to Jessie, downloaded Retropie 4’s setup script and installed the core packages, lr-quicknes, mame4all, lr-picodrive (genesis), lr-gambatte(gameboy), lr-beetle-pce-fast(tg16) and the pixel theme (looks the best)
I also installed and enabled the usb daemon so I could do hands free rom upload.
I overclocked the model B to 1GHZ with a 500mhz core. This allows for the widest possible emulation on this Pi.
Why FBCP?
Without it you would have to either pick portrait or landscape mode in the beginning of your build AND you would be very limited in what you could emulate since you’d be wasting a lot of cpu drawing by not making use of the PI’s GPU. With it I can run arcade games made upto the early 90’s and all the 8 and 16 bit era systems.
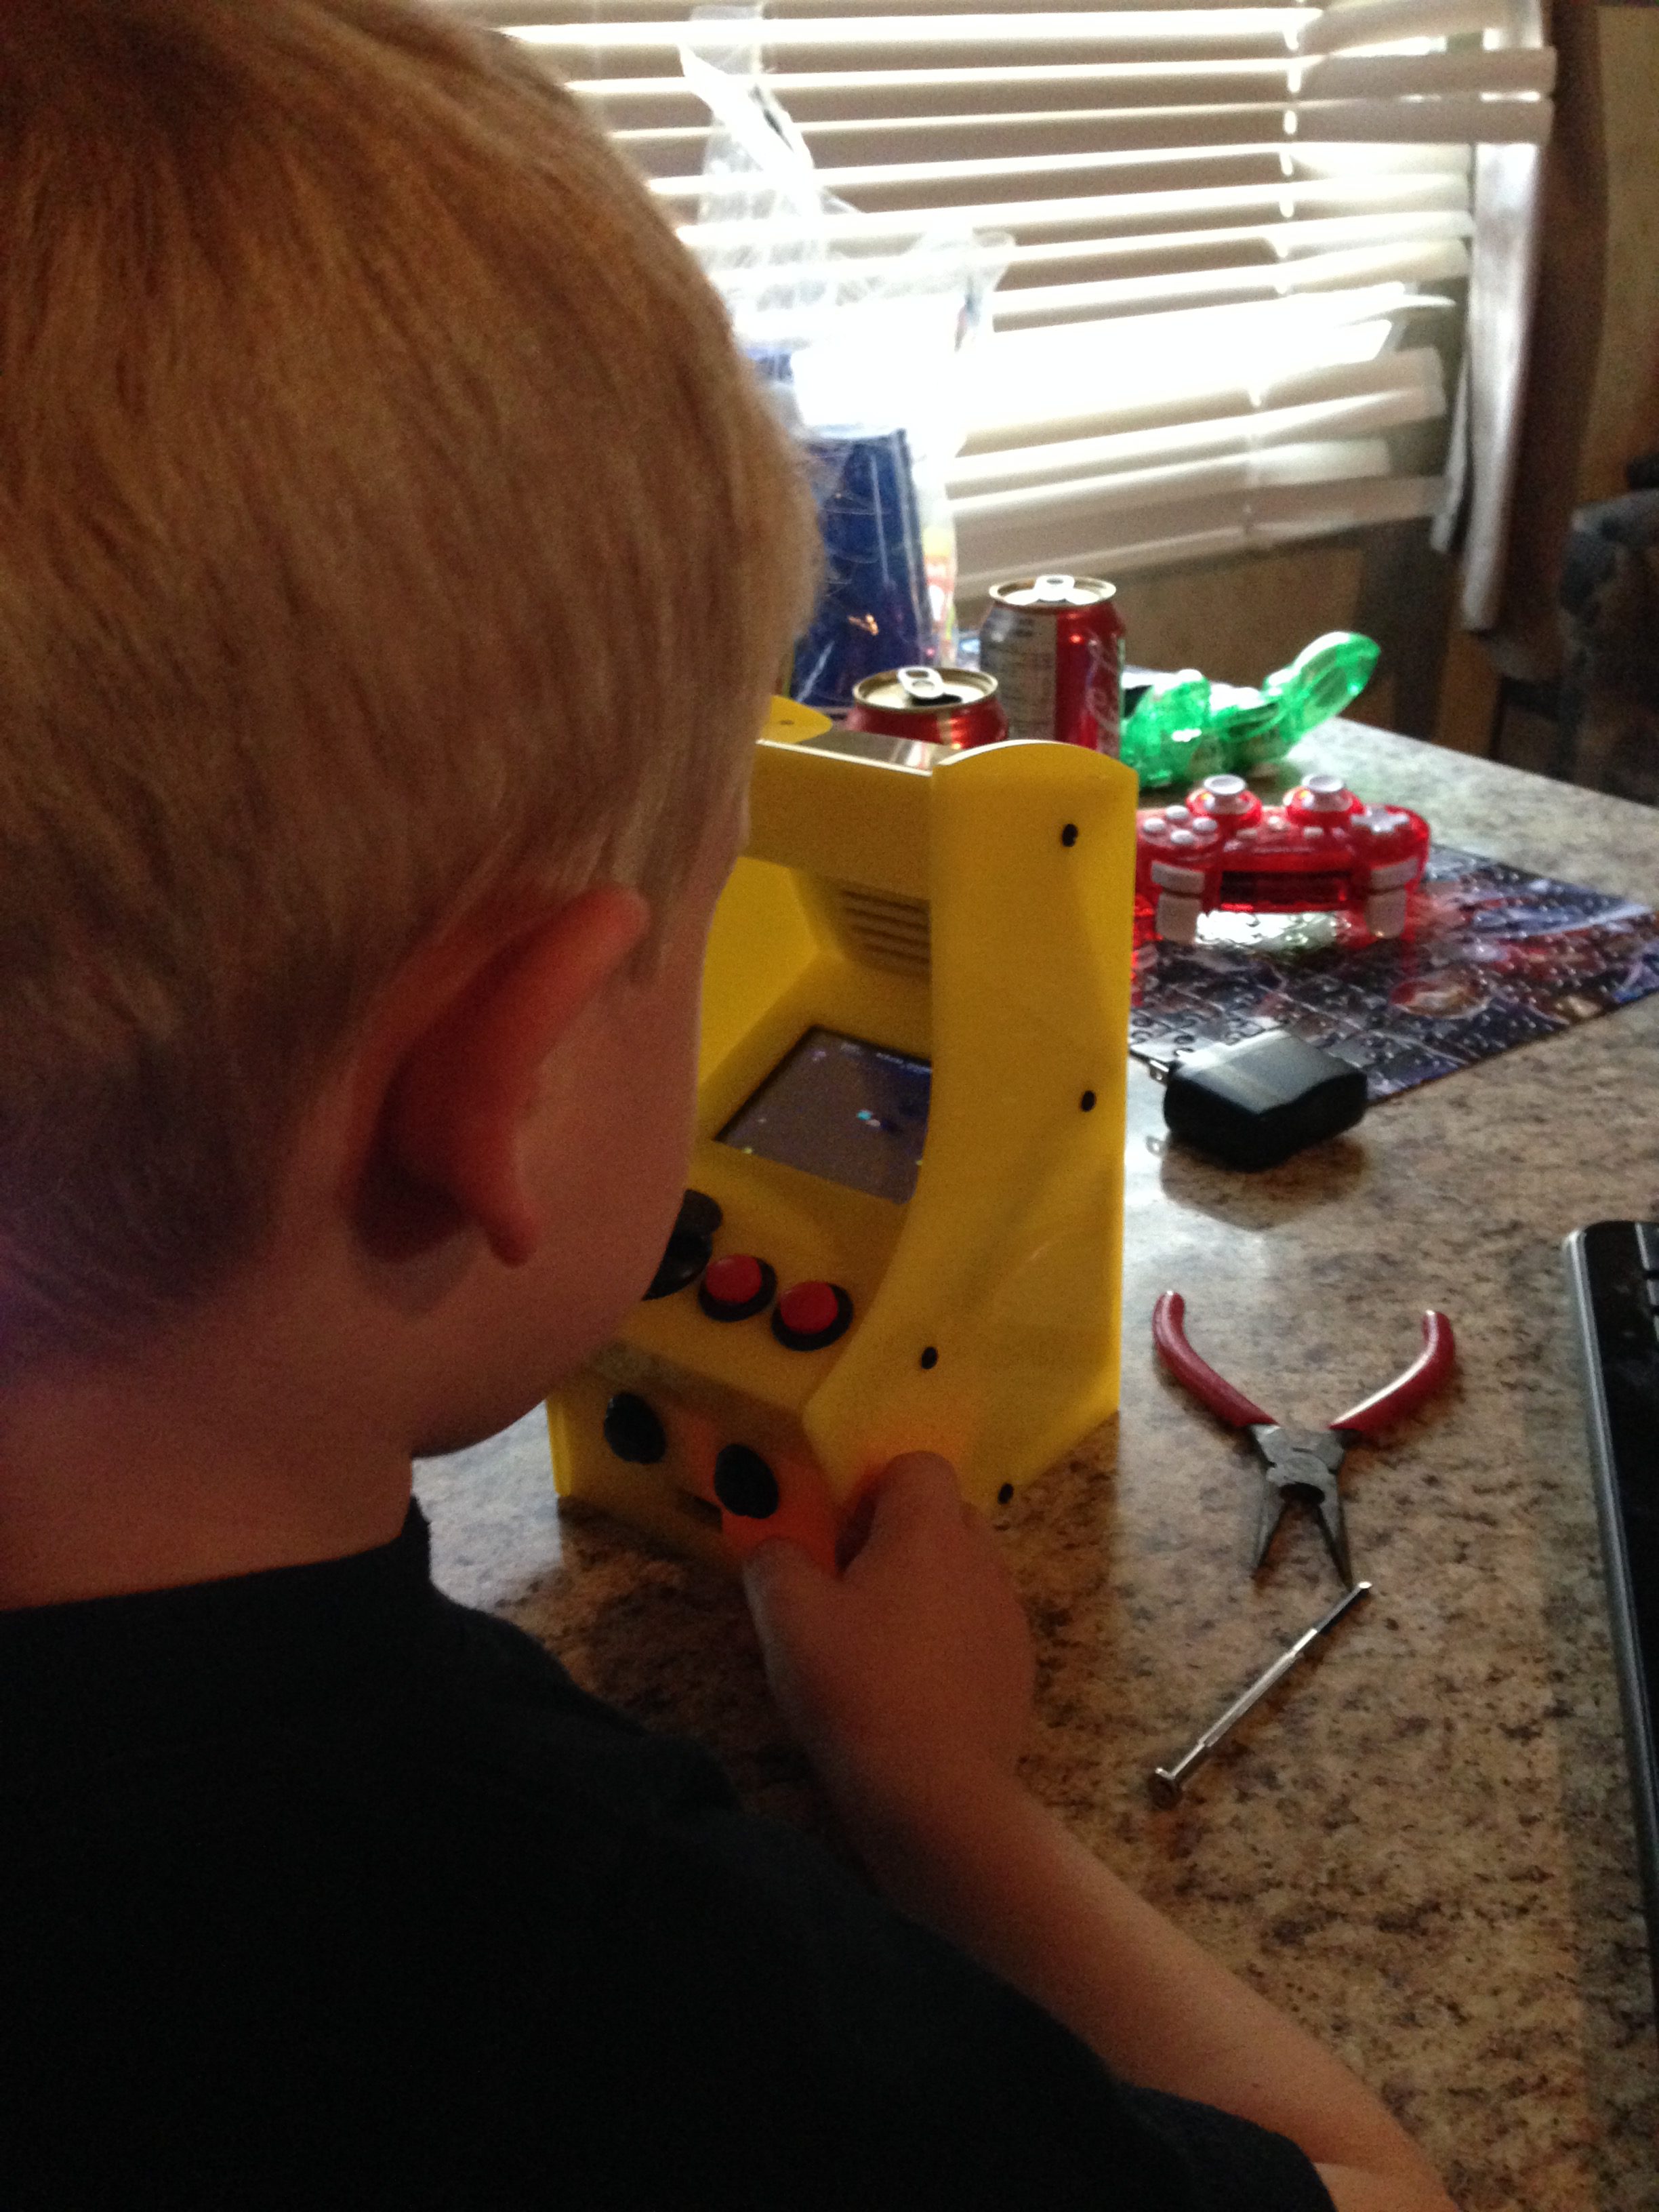
Gameplay
It’s surprisingly easy to get into playing on this and not even notice the size. Wrap your hands around the cab, thumbs on the stick and 2 buttons and it’s perfectly enjoyable and engaging. The mono speaker works very well and with Retropie you can control the volume from the emulationstation menu or Retropie Menu. The emulators above I specifically named because lr-mame4all proved to be a lot slower than stock mame4all and the other 2 NES emulators available were in fact slow on the model b (and probably a pi 0 too).
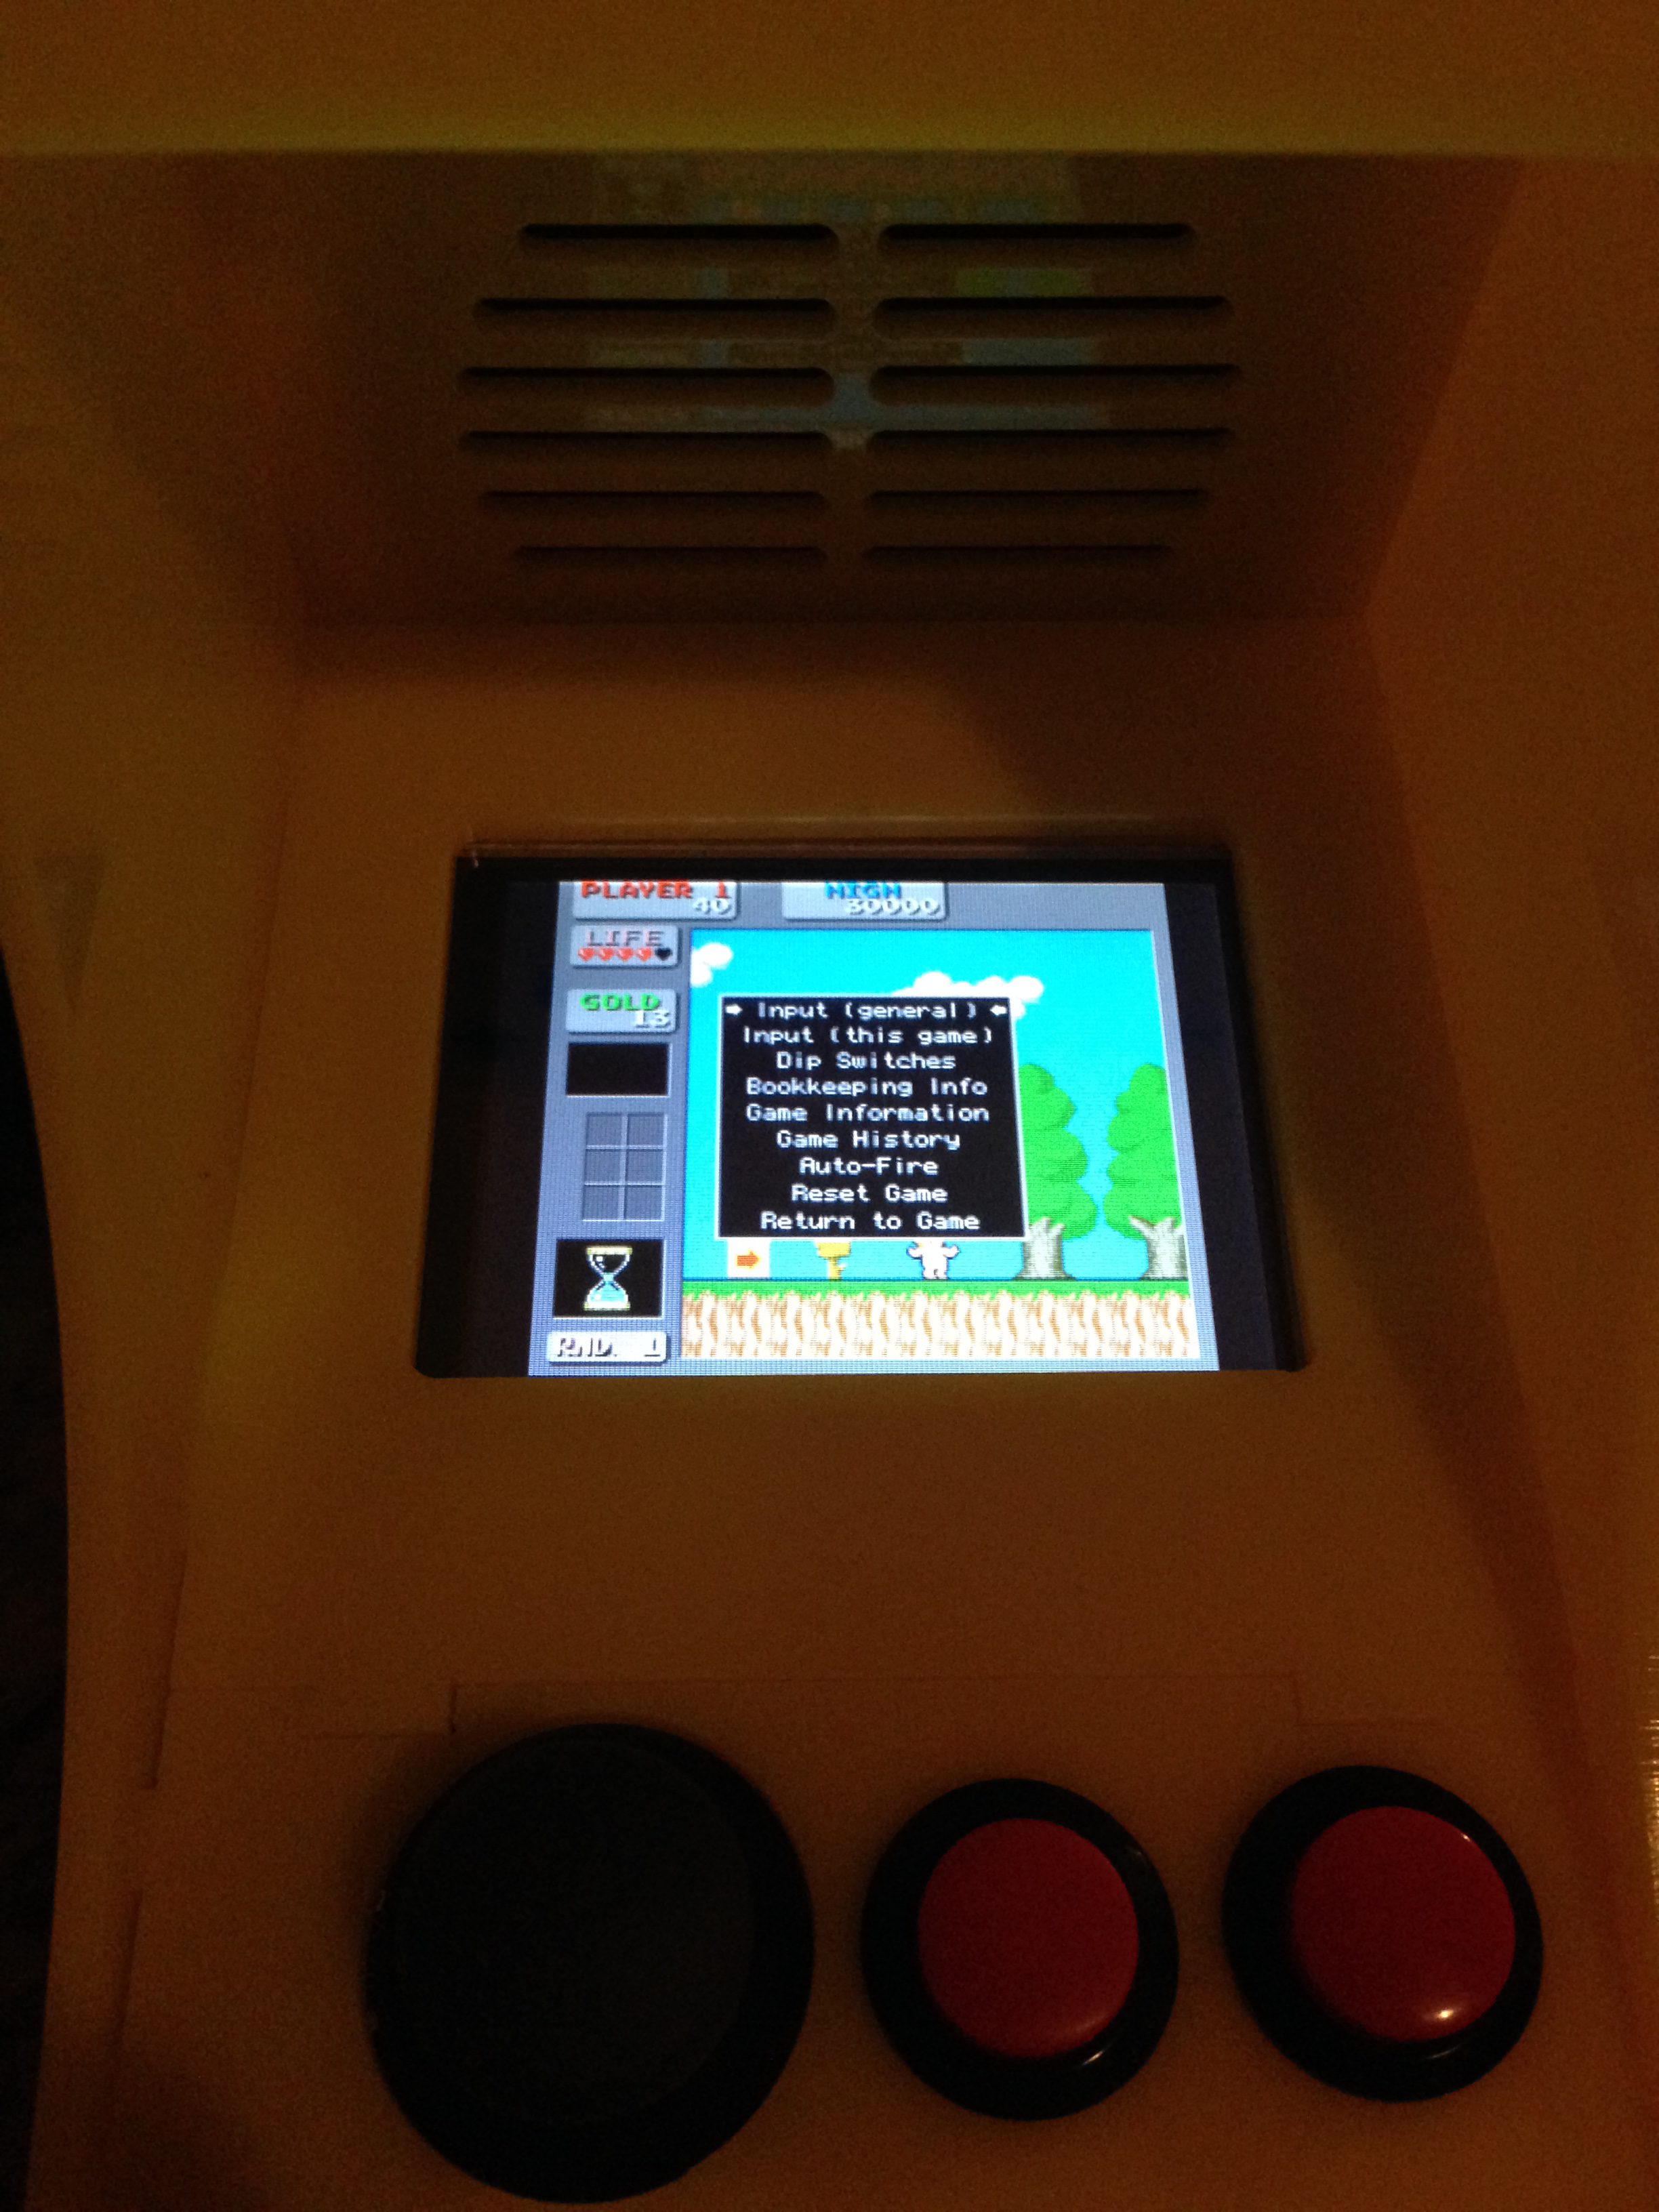 mame4all controls
If you use stock mame4all you’ll need to change the controls through mame you can do this by pressing [tab] when a game is running on an attached keyboard and selecting input general. You can navigate to each button you want press enter on the keyboard then hold the corresponding button on the cupcade until it shows up.
For UI exit you can mimic the emulationstation start+select by holding the 2 black buttons it will detect them both as a combo
The cupcade was a lot of fun to build and even more fun to play I recommend it to anyone with an old model B that needs a home.

Facebook Comments