Some time ago I made a post about adding a shut down button to my Raspberry Pi which I then followed up with how to set it up to also be the power on button. It’s a very popular post but it used a goofy large arcade button for the task. In a recent order to Adafruit I decided to but some small tactile buttons to see if I could come up with a better solution.
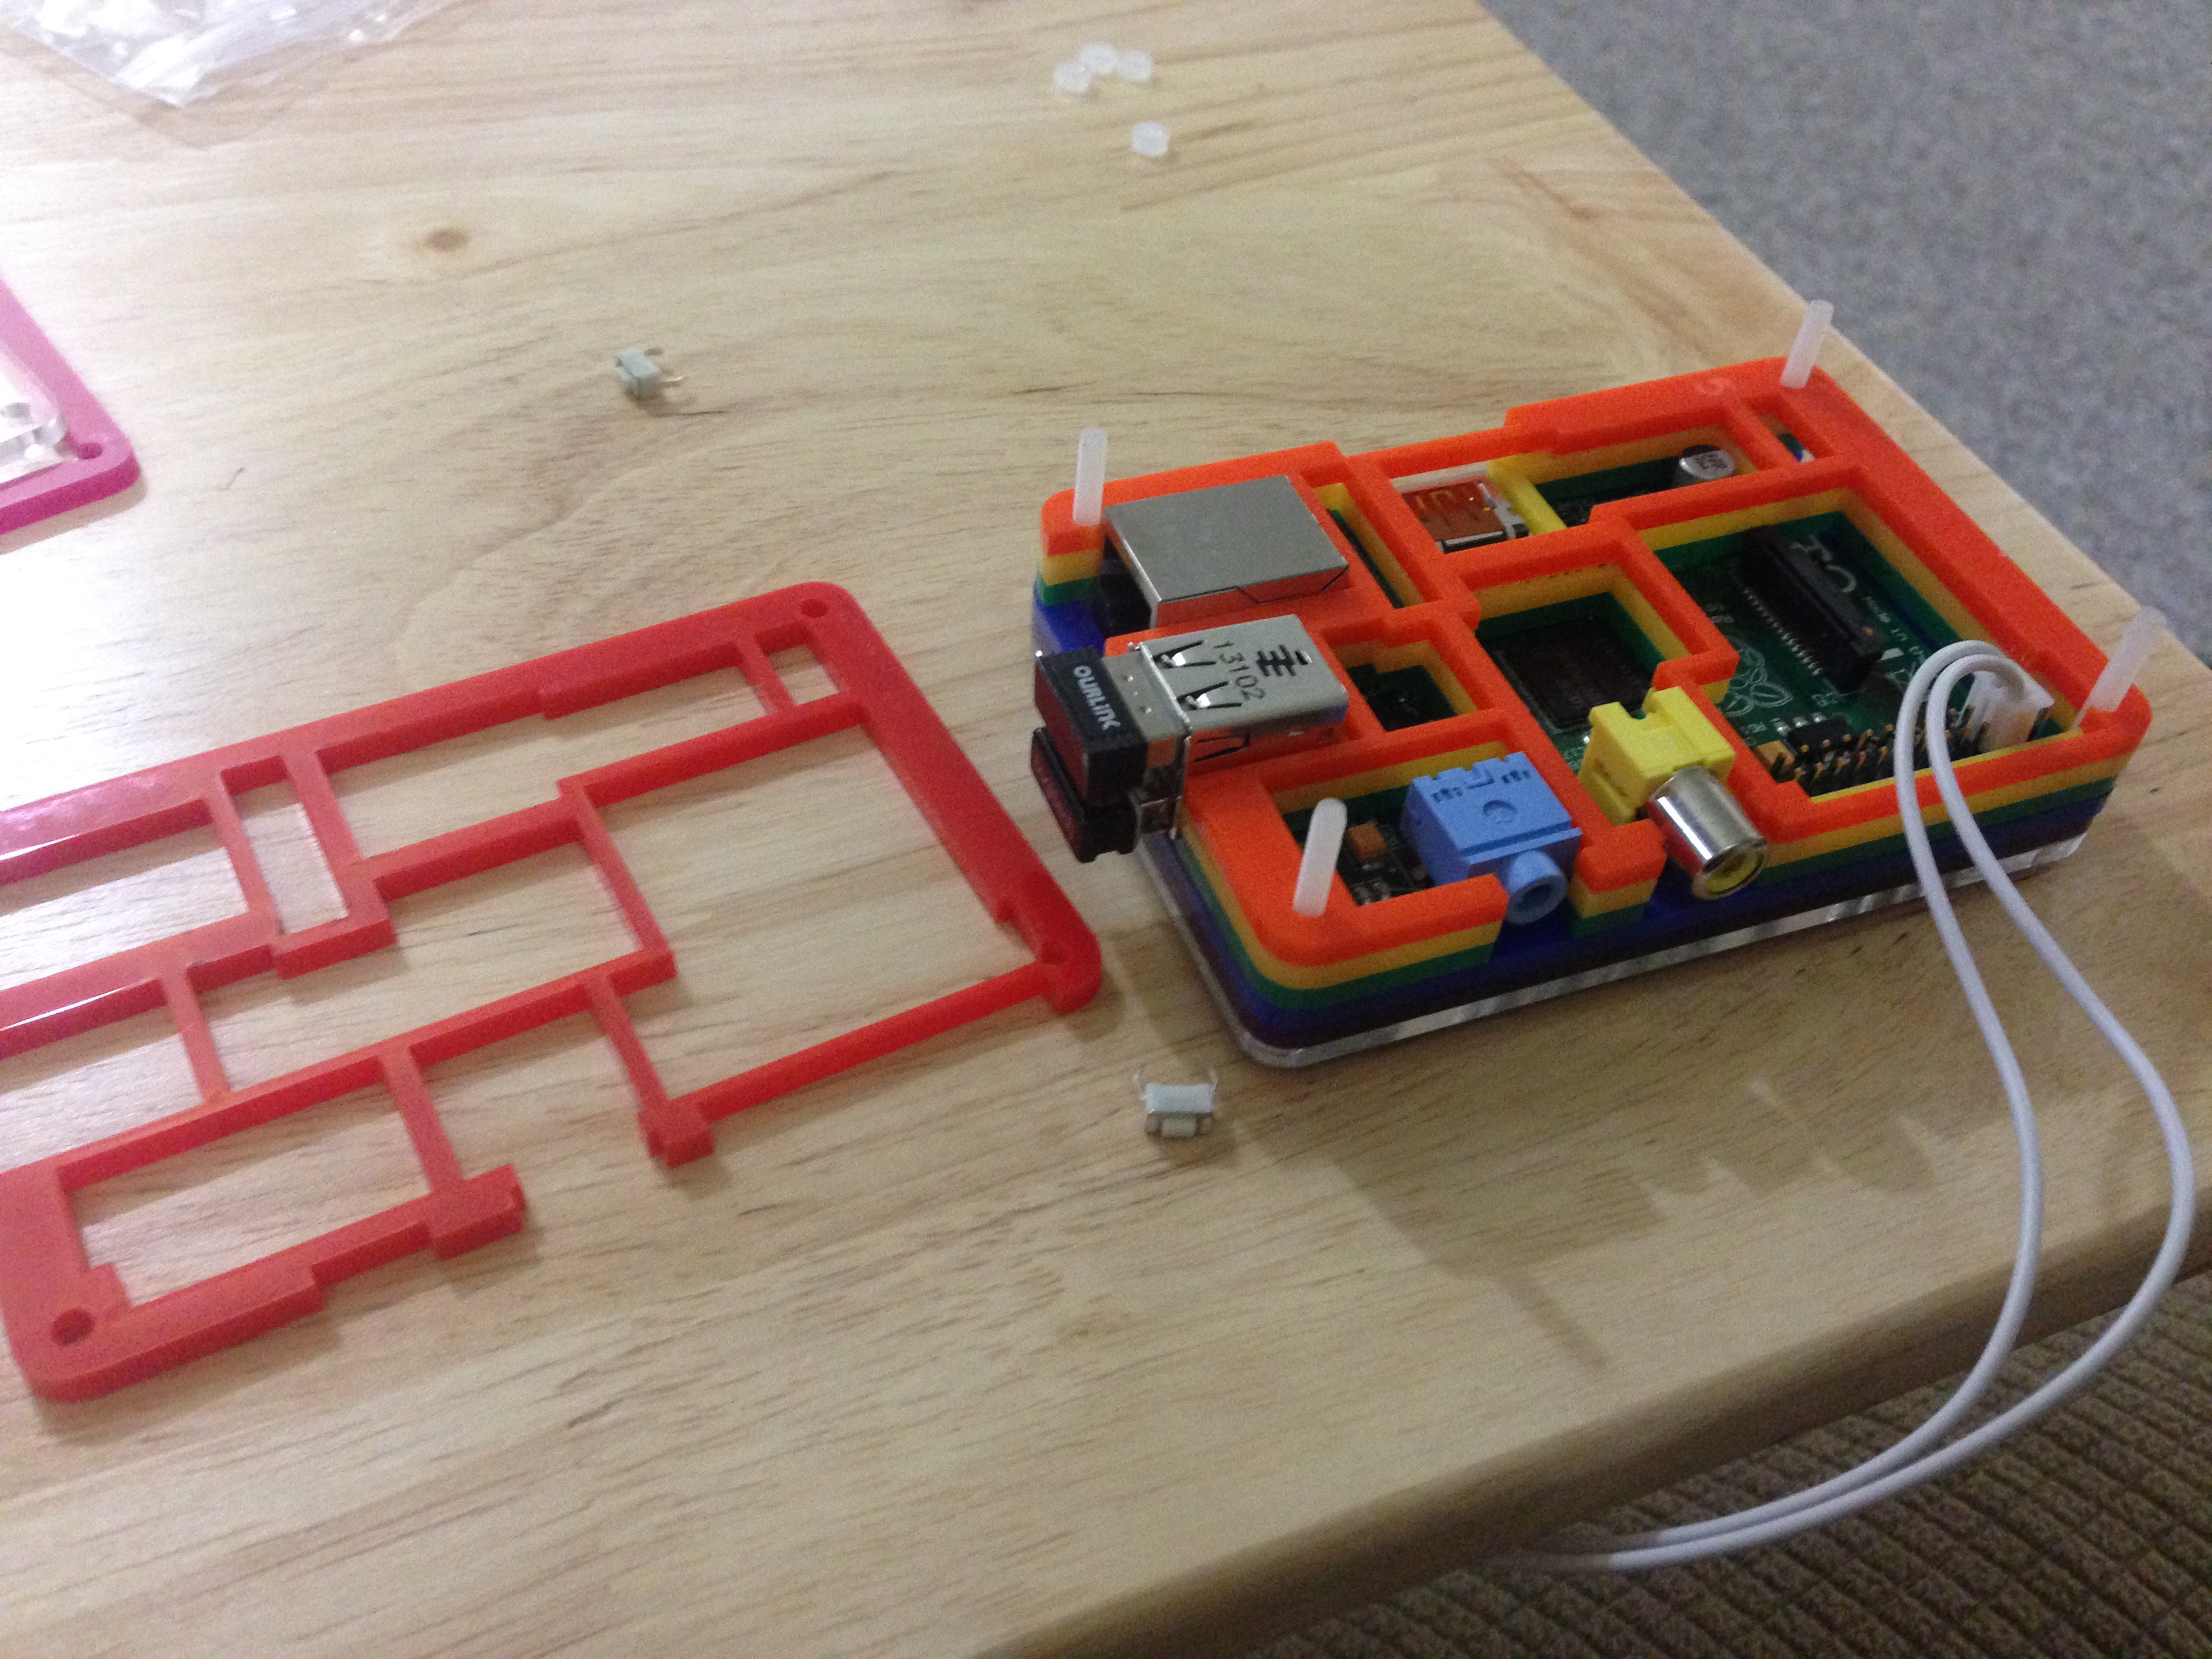
When the order arrived I was hoping that the buttons would fit in the PiBows ribbon slot which would have been the ideal solution. What I found was that the 2 pins were longer than the slot so I decided to modify the PiBow a bit to make this work.
Construction
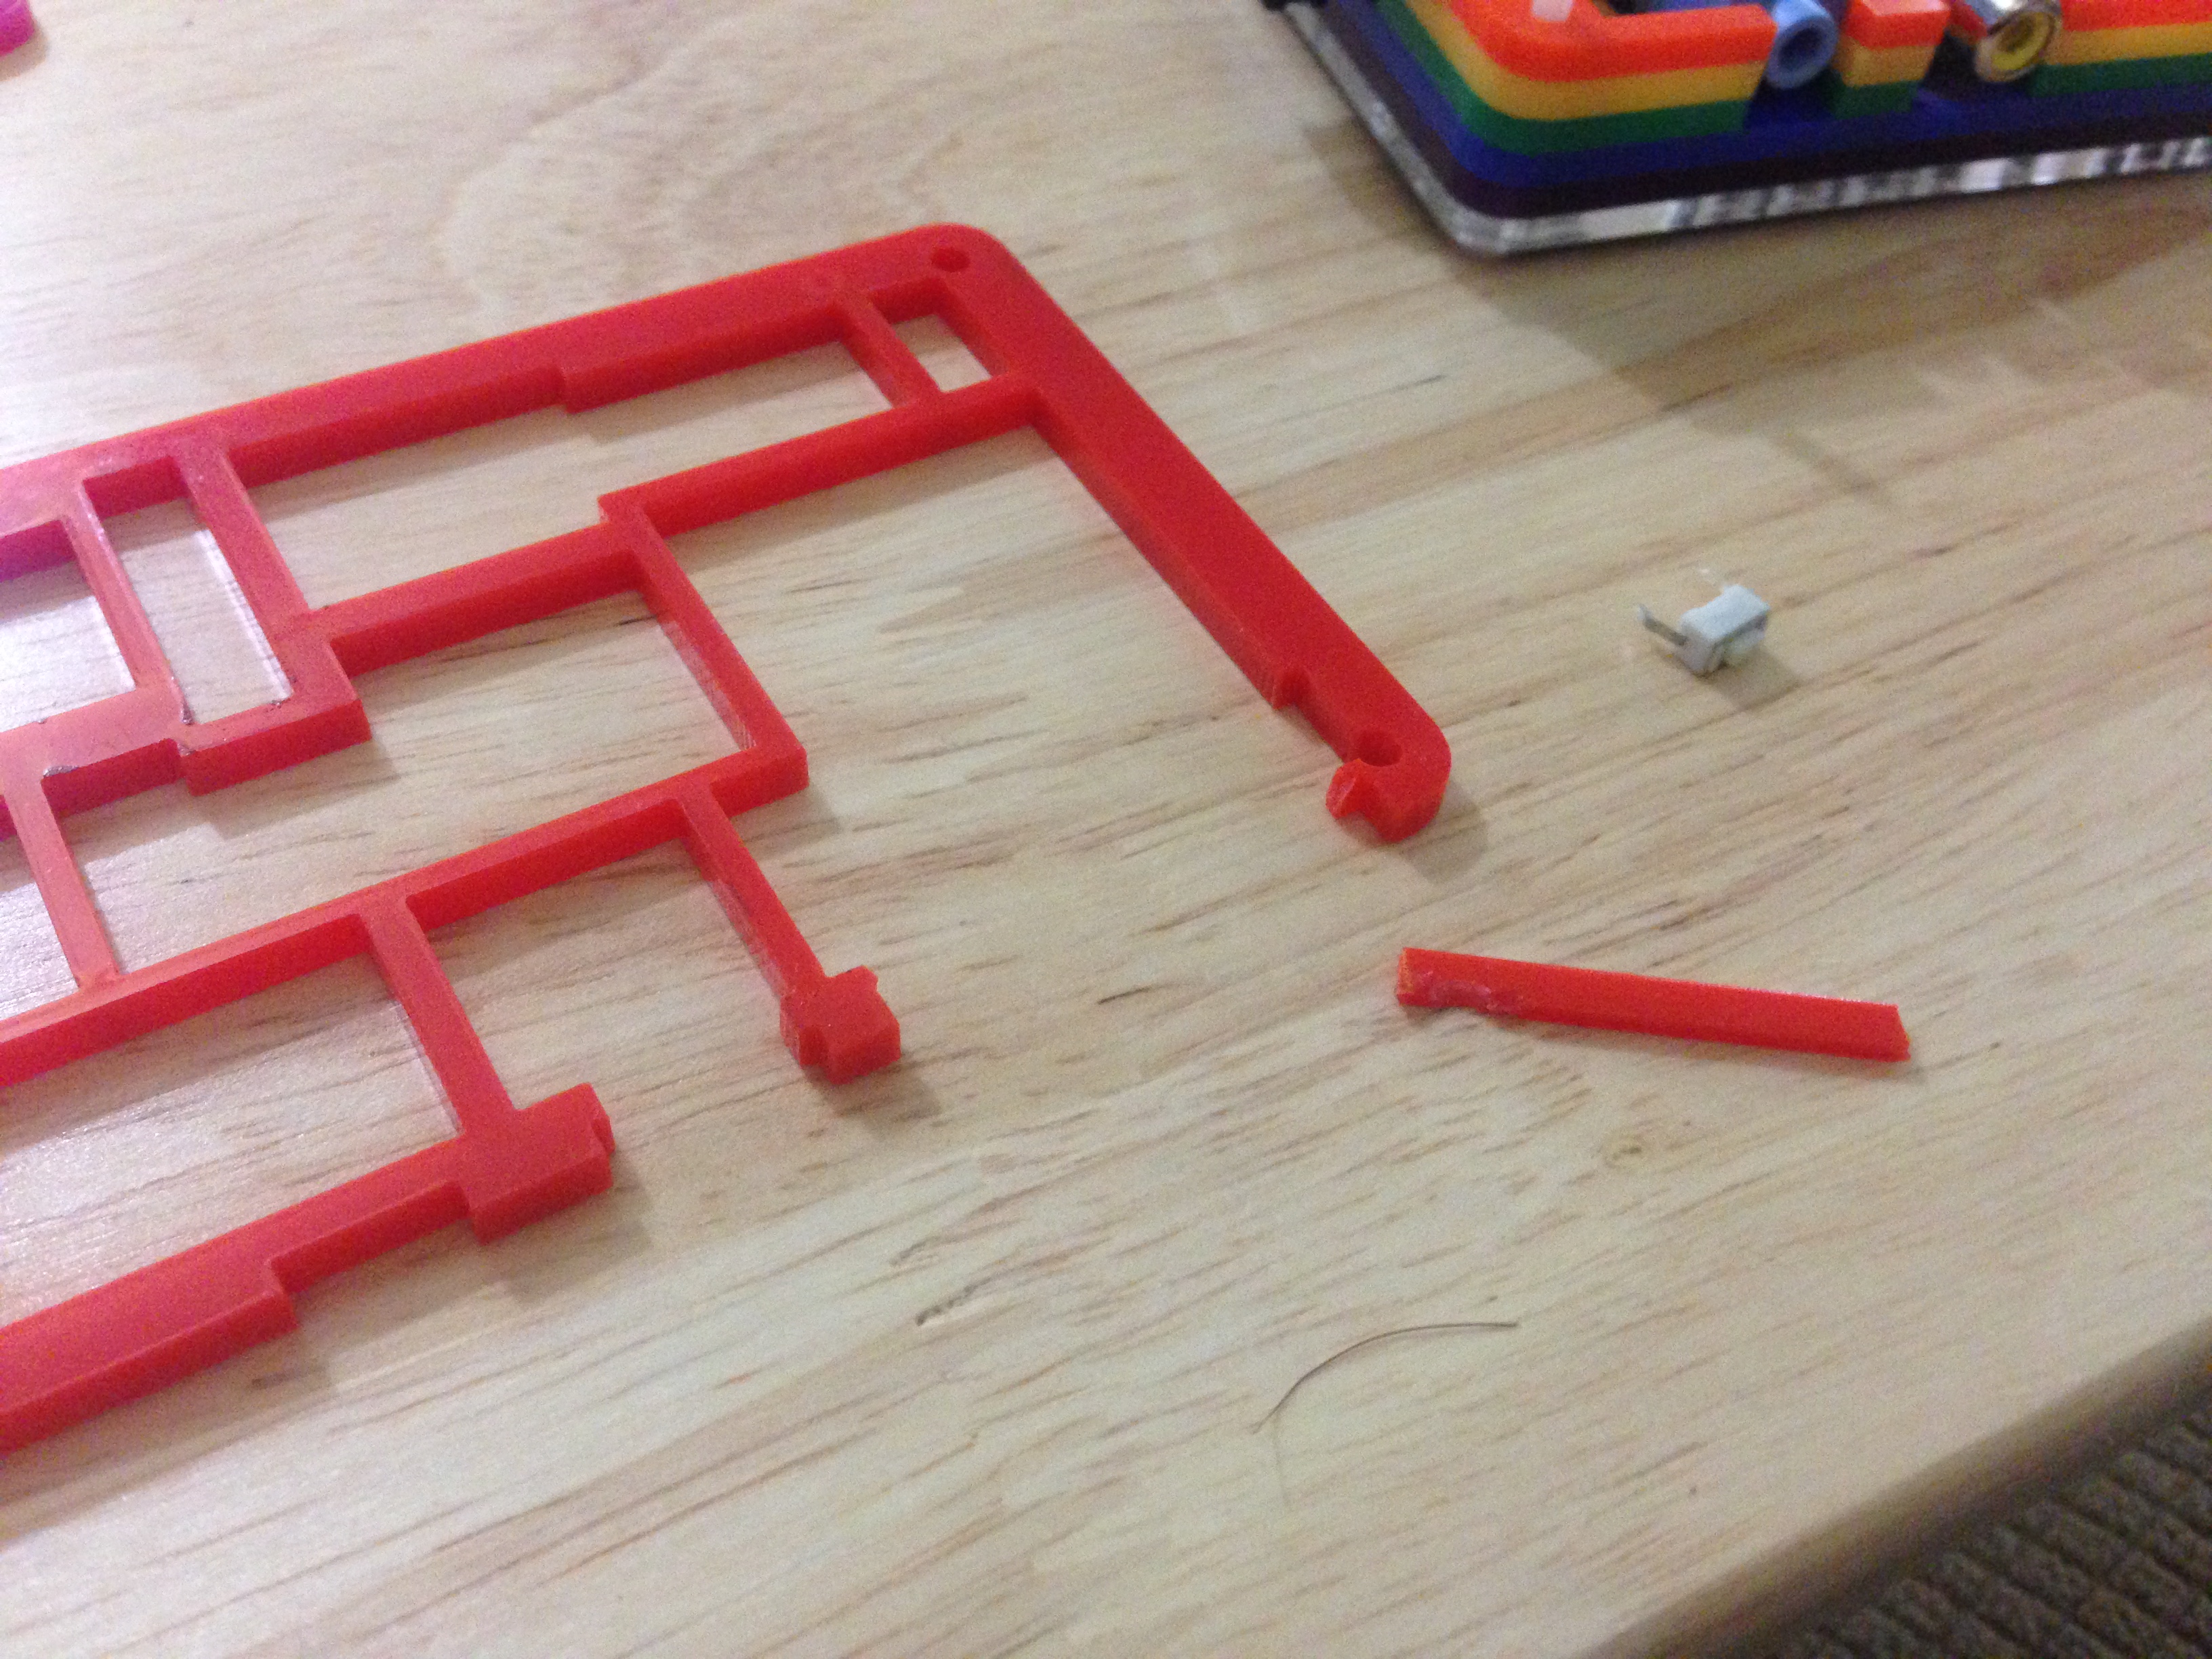
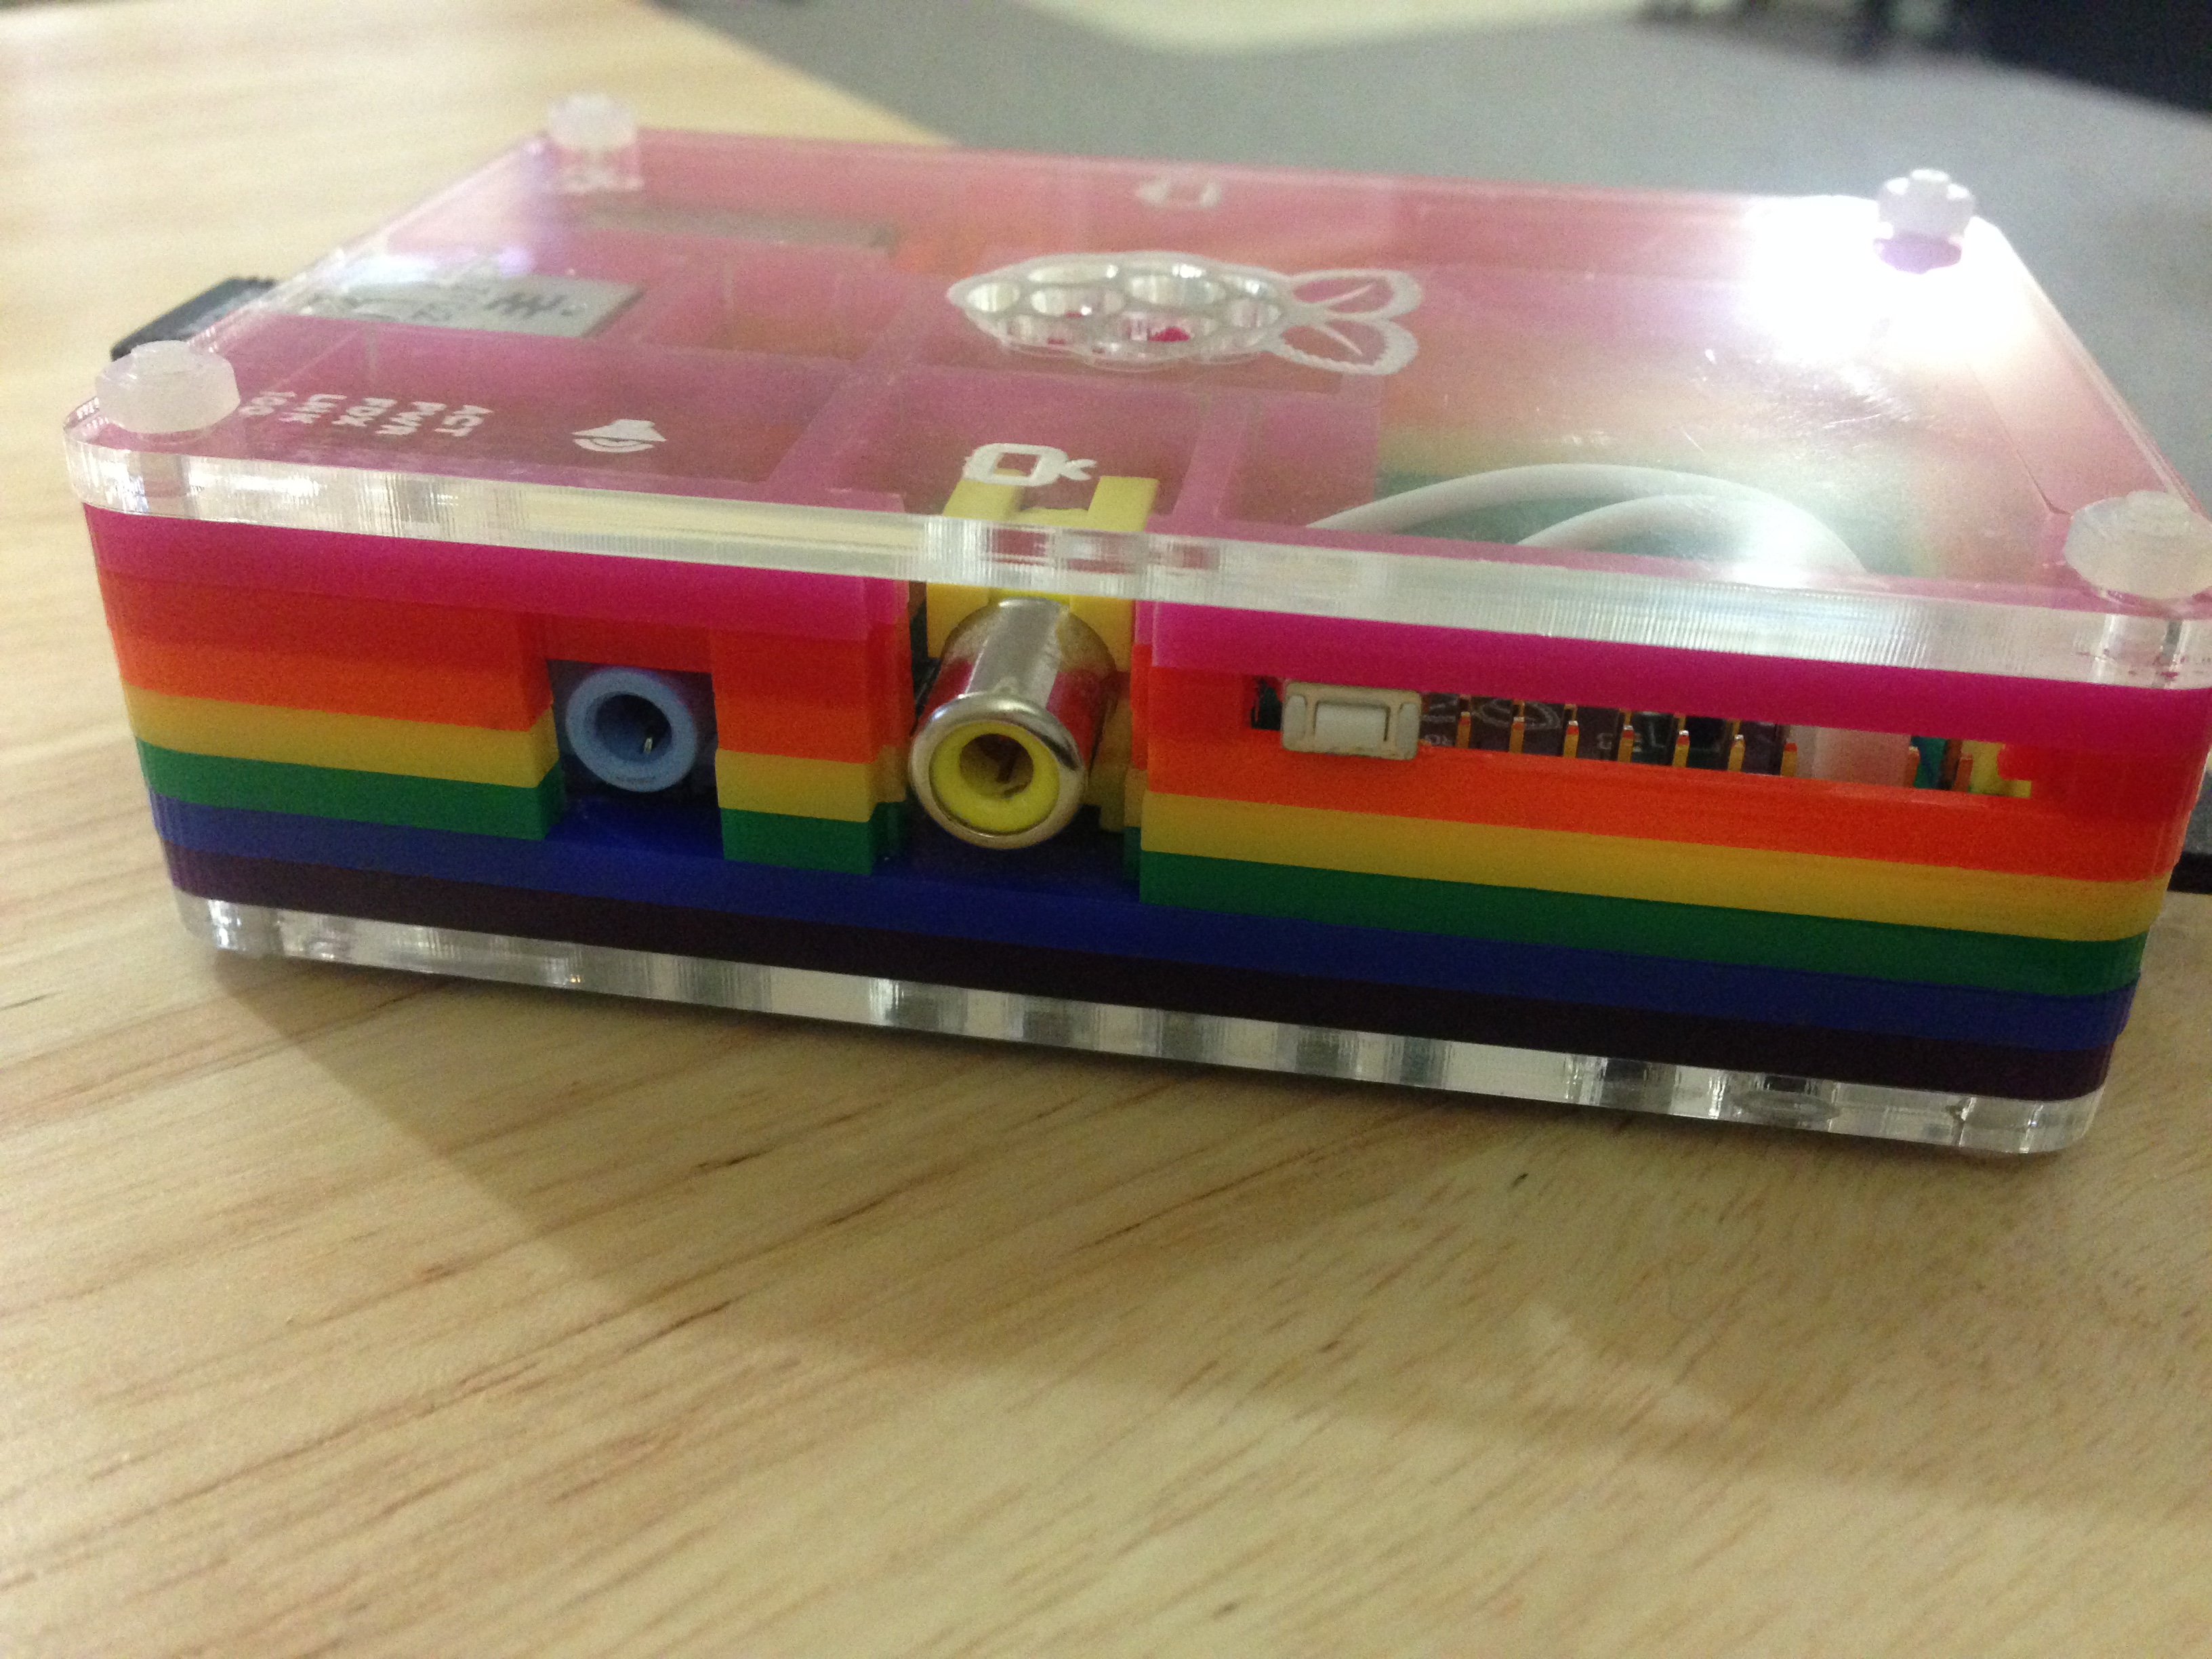
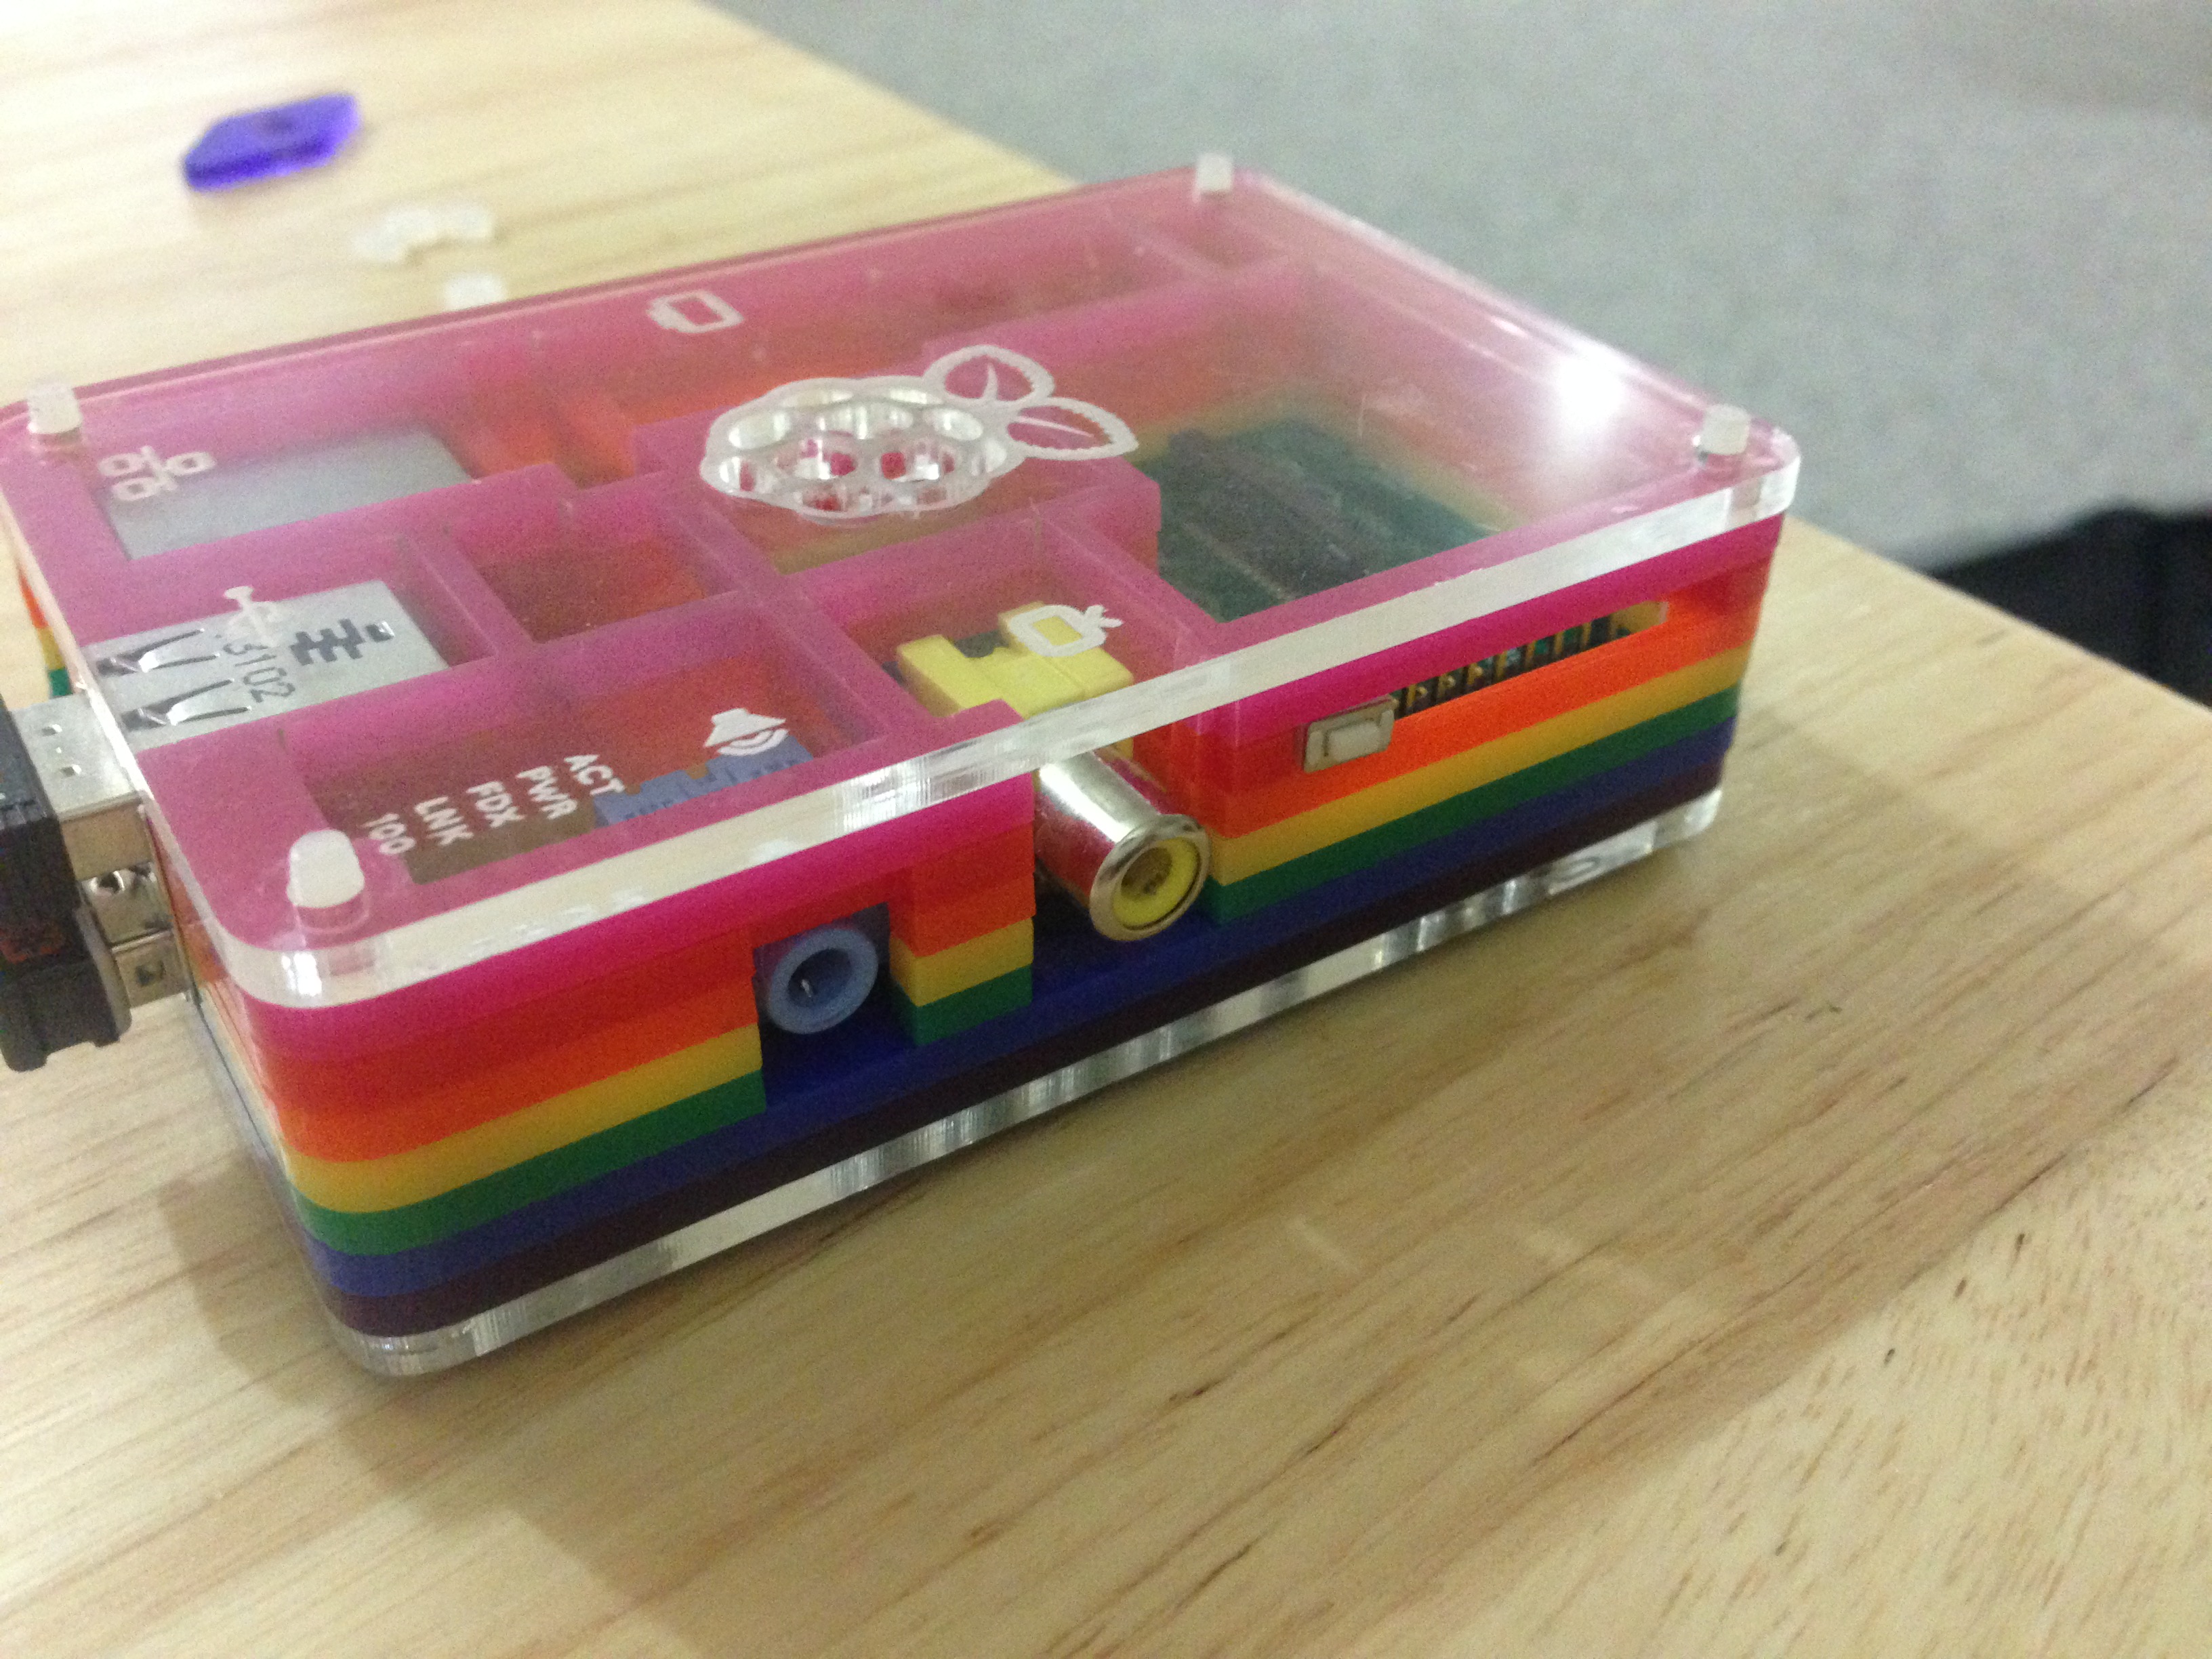
I cut the red layer where it creates the lip for the ribbon cable. This was quite easy and does not affect the stability of the layer.
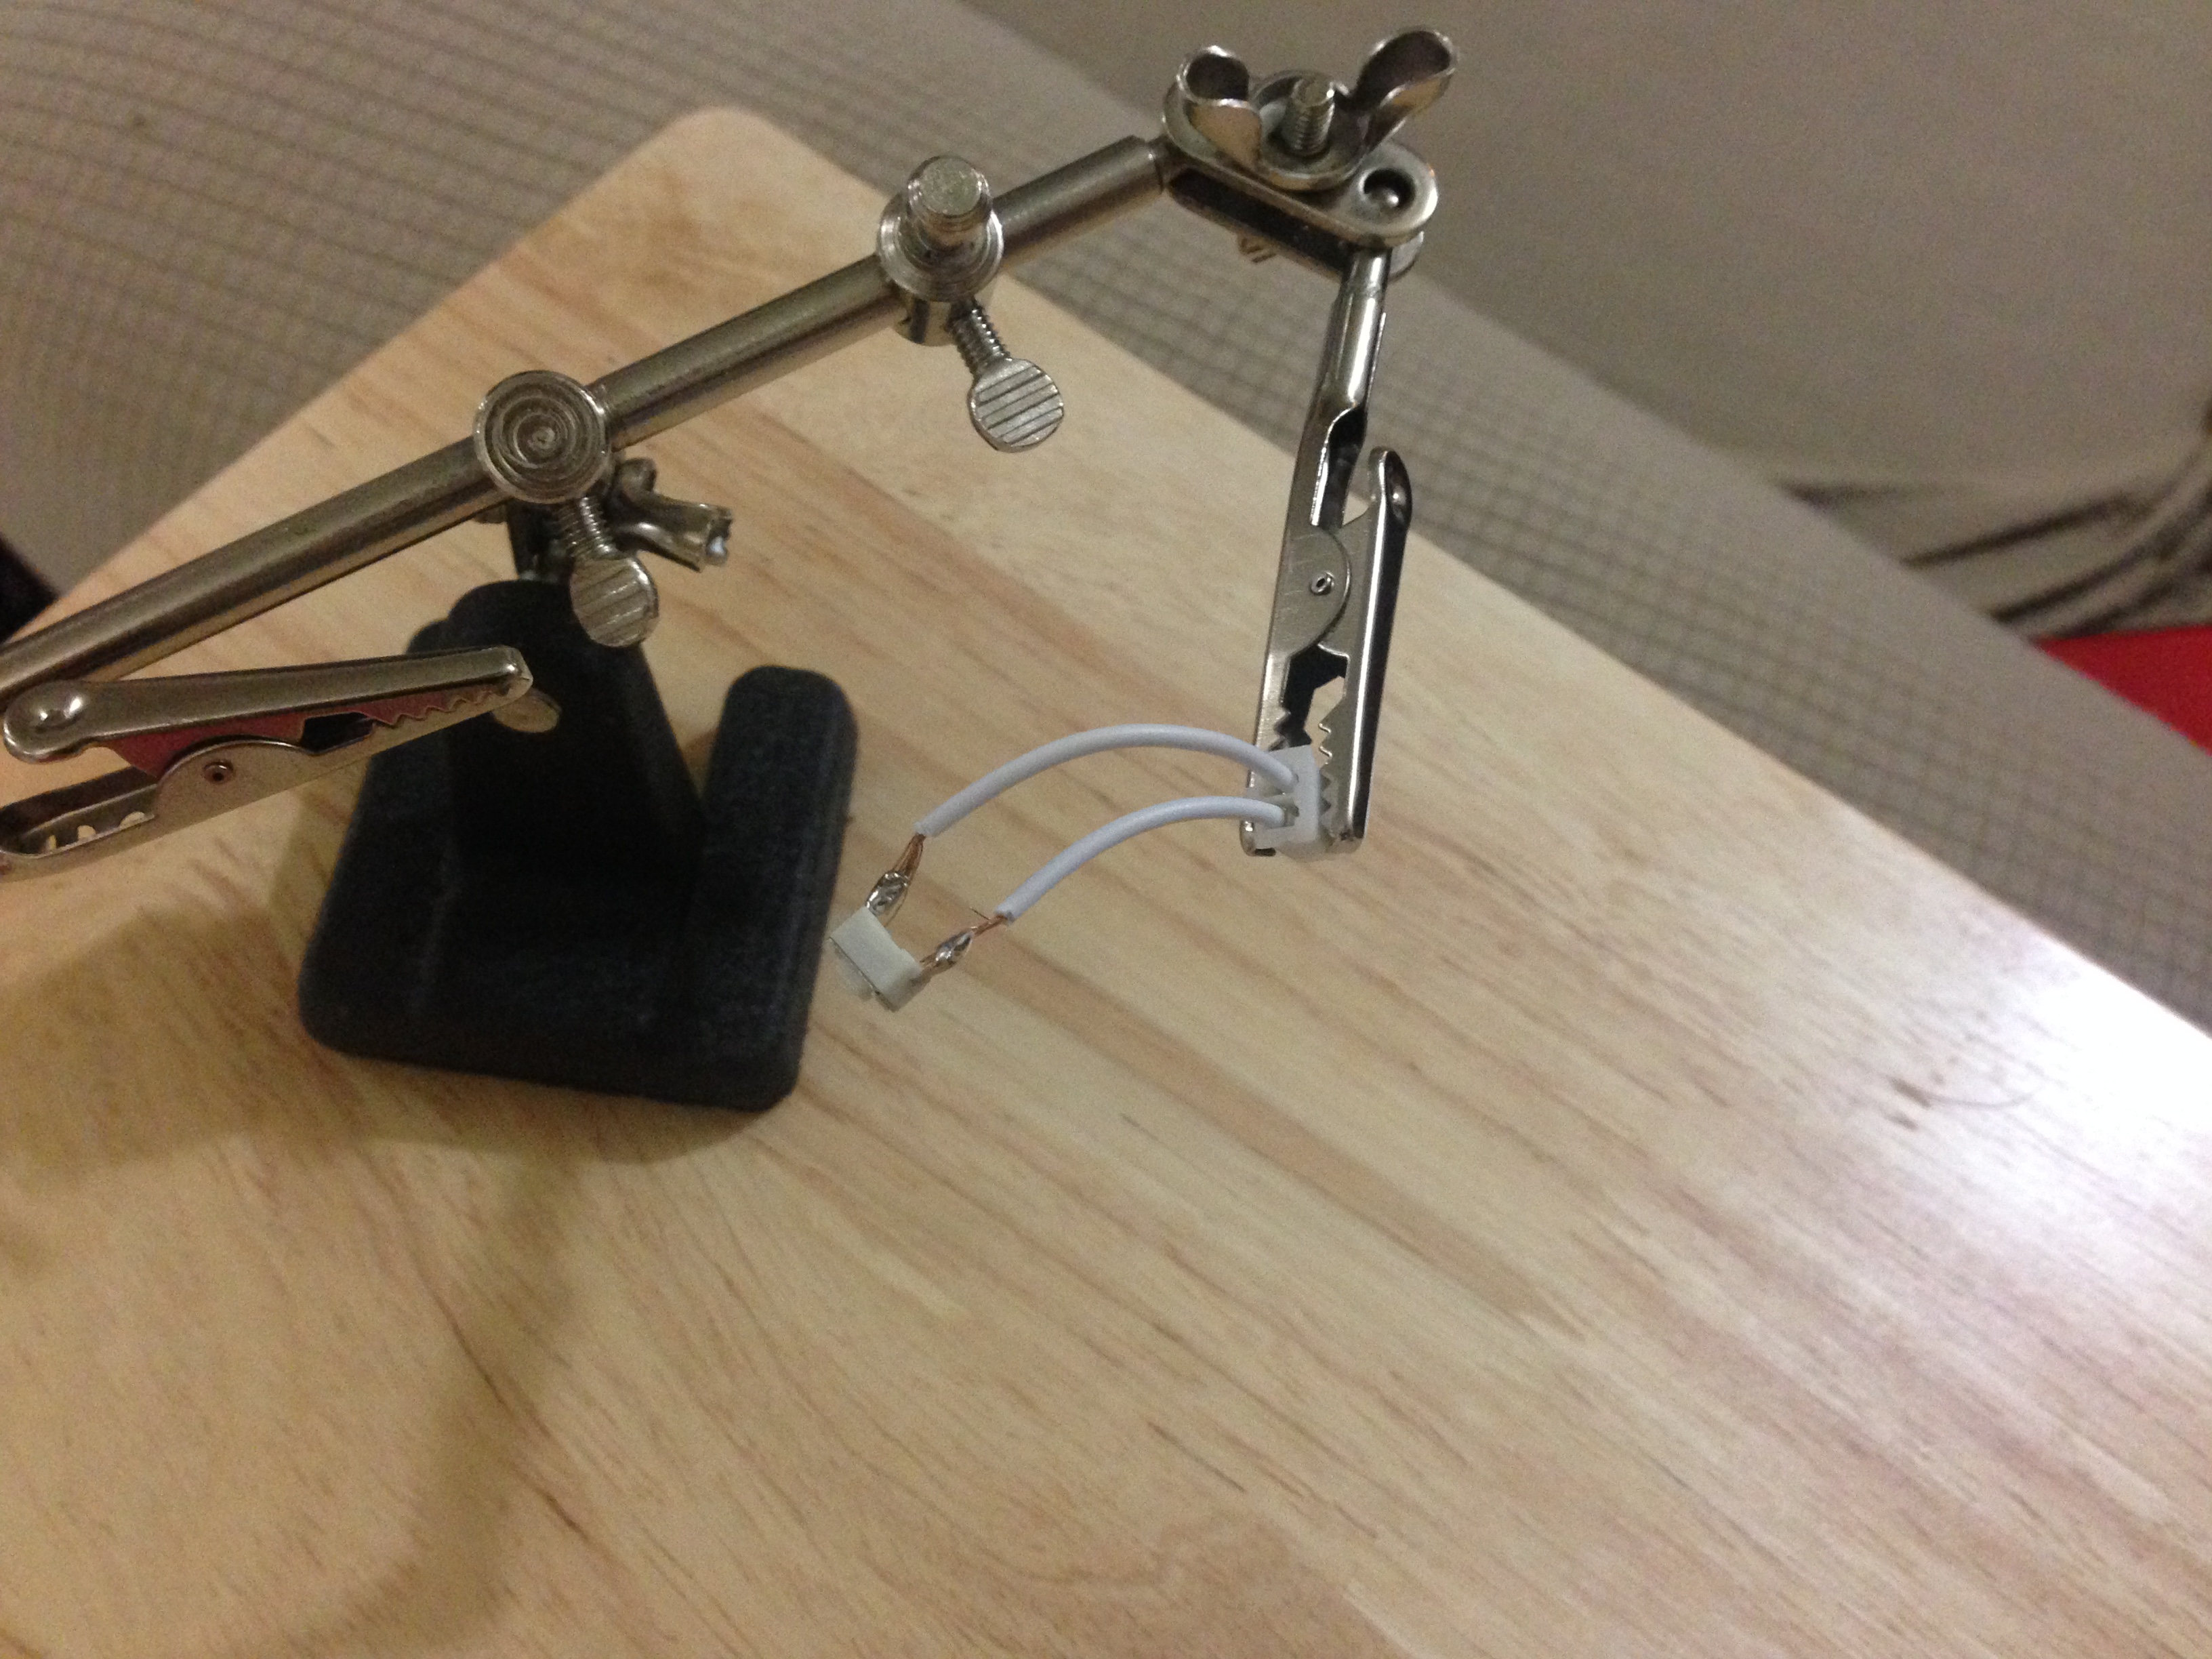
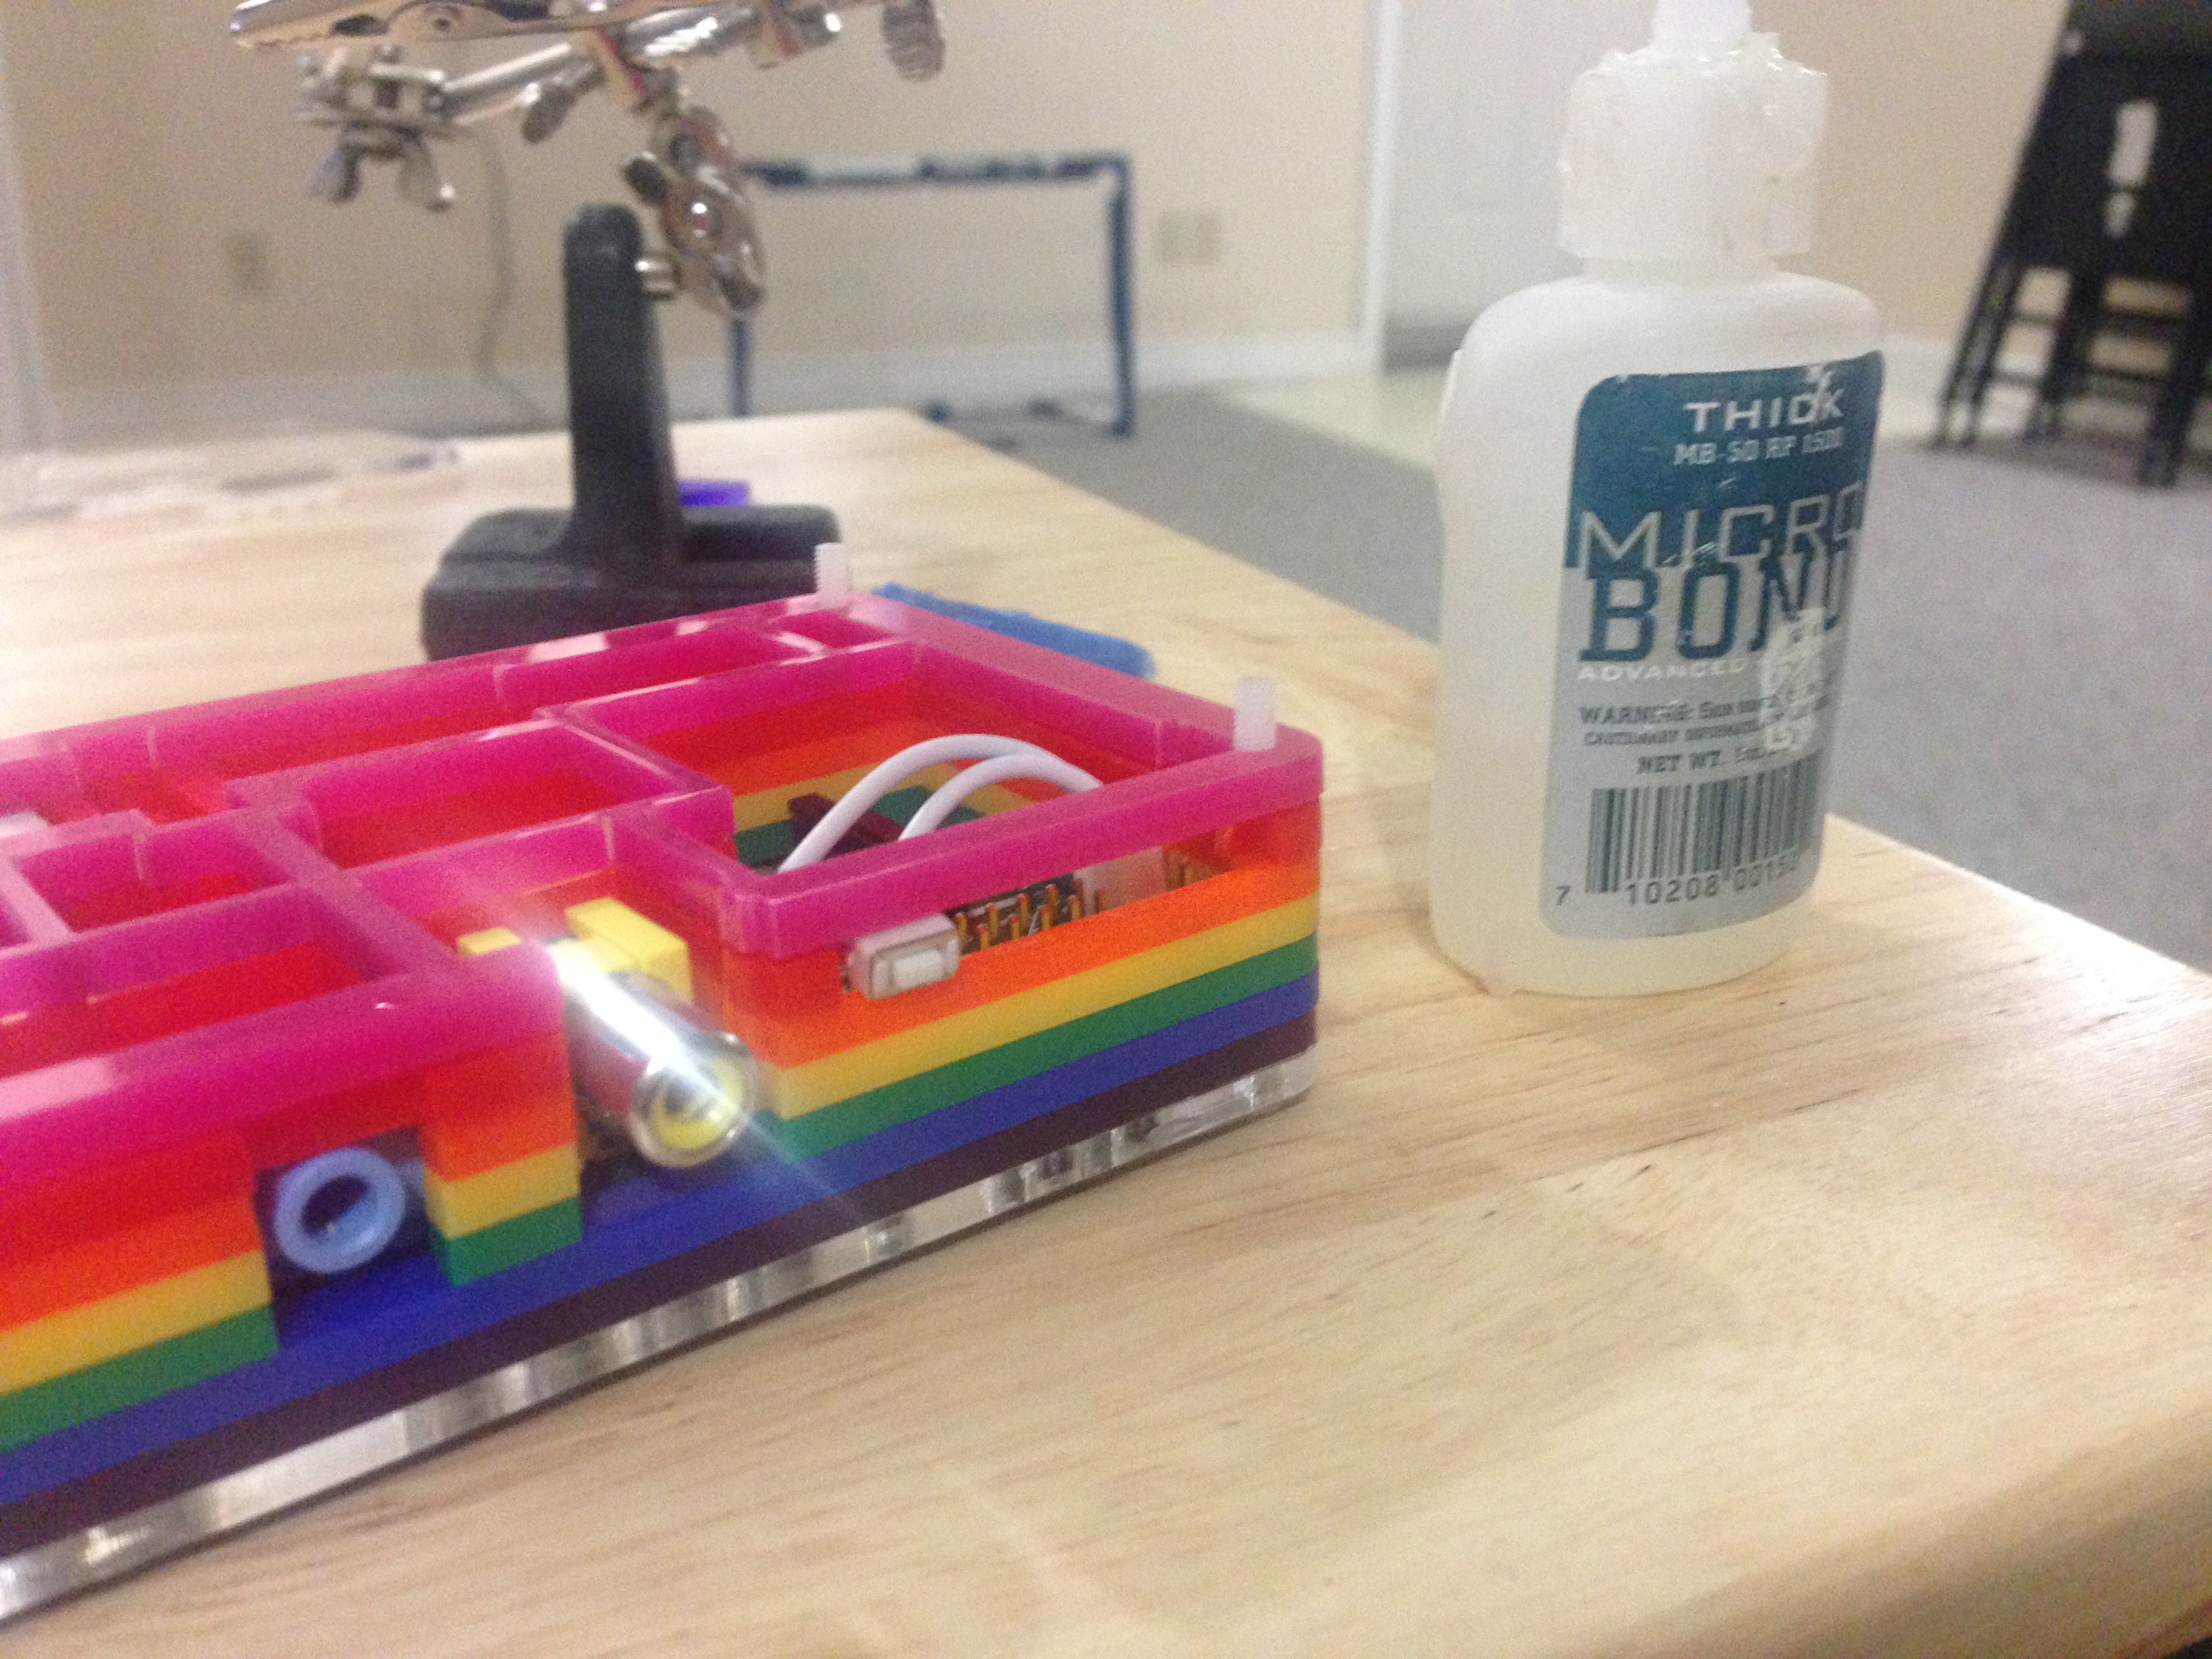
For the button I used one of the easy connector cables from Adafruit from my original button project and cut it to a shorter size and then soldered the wires to the pins.
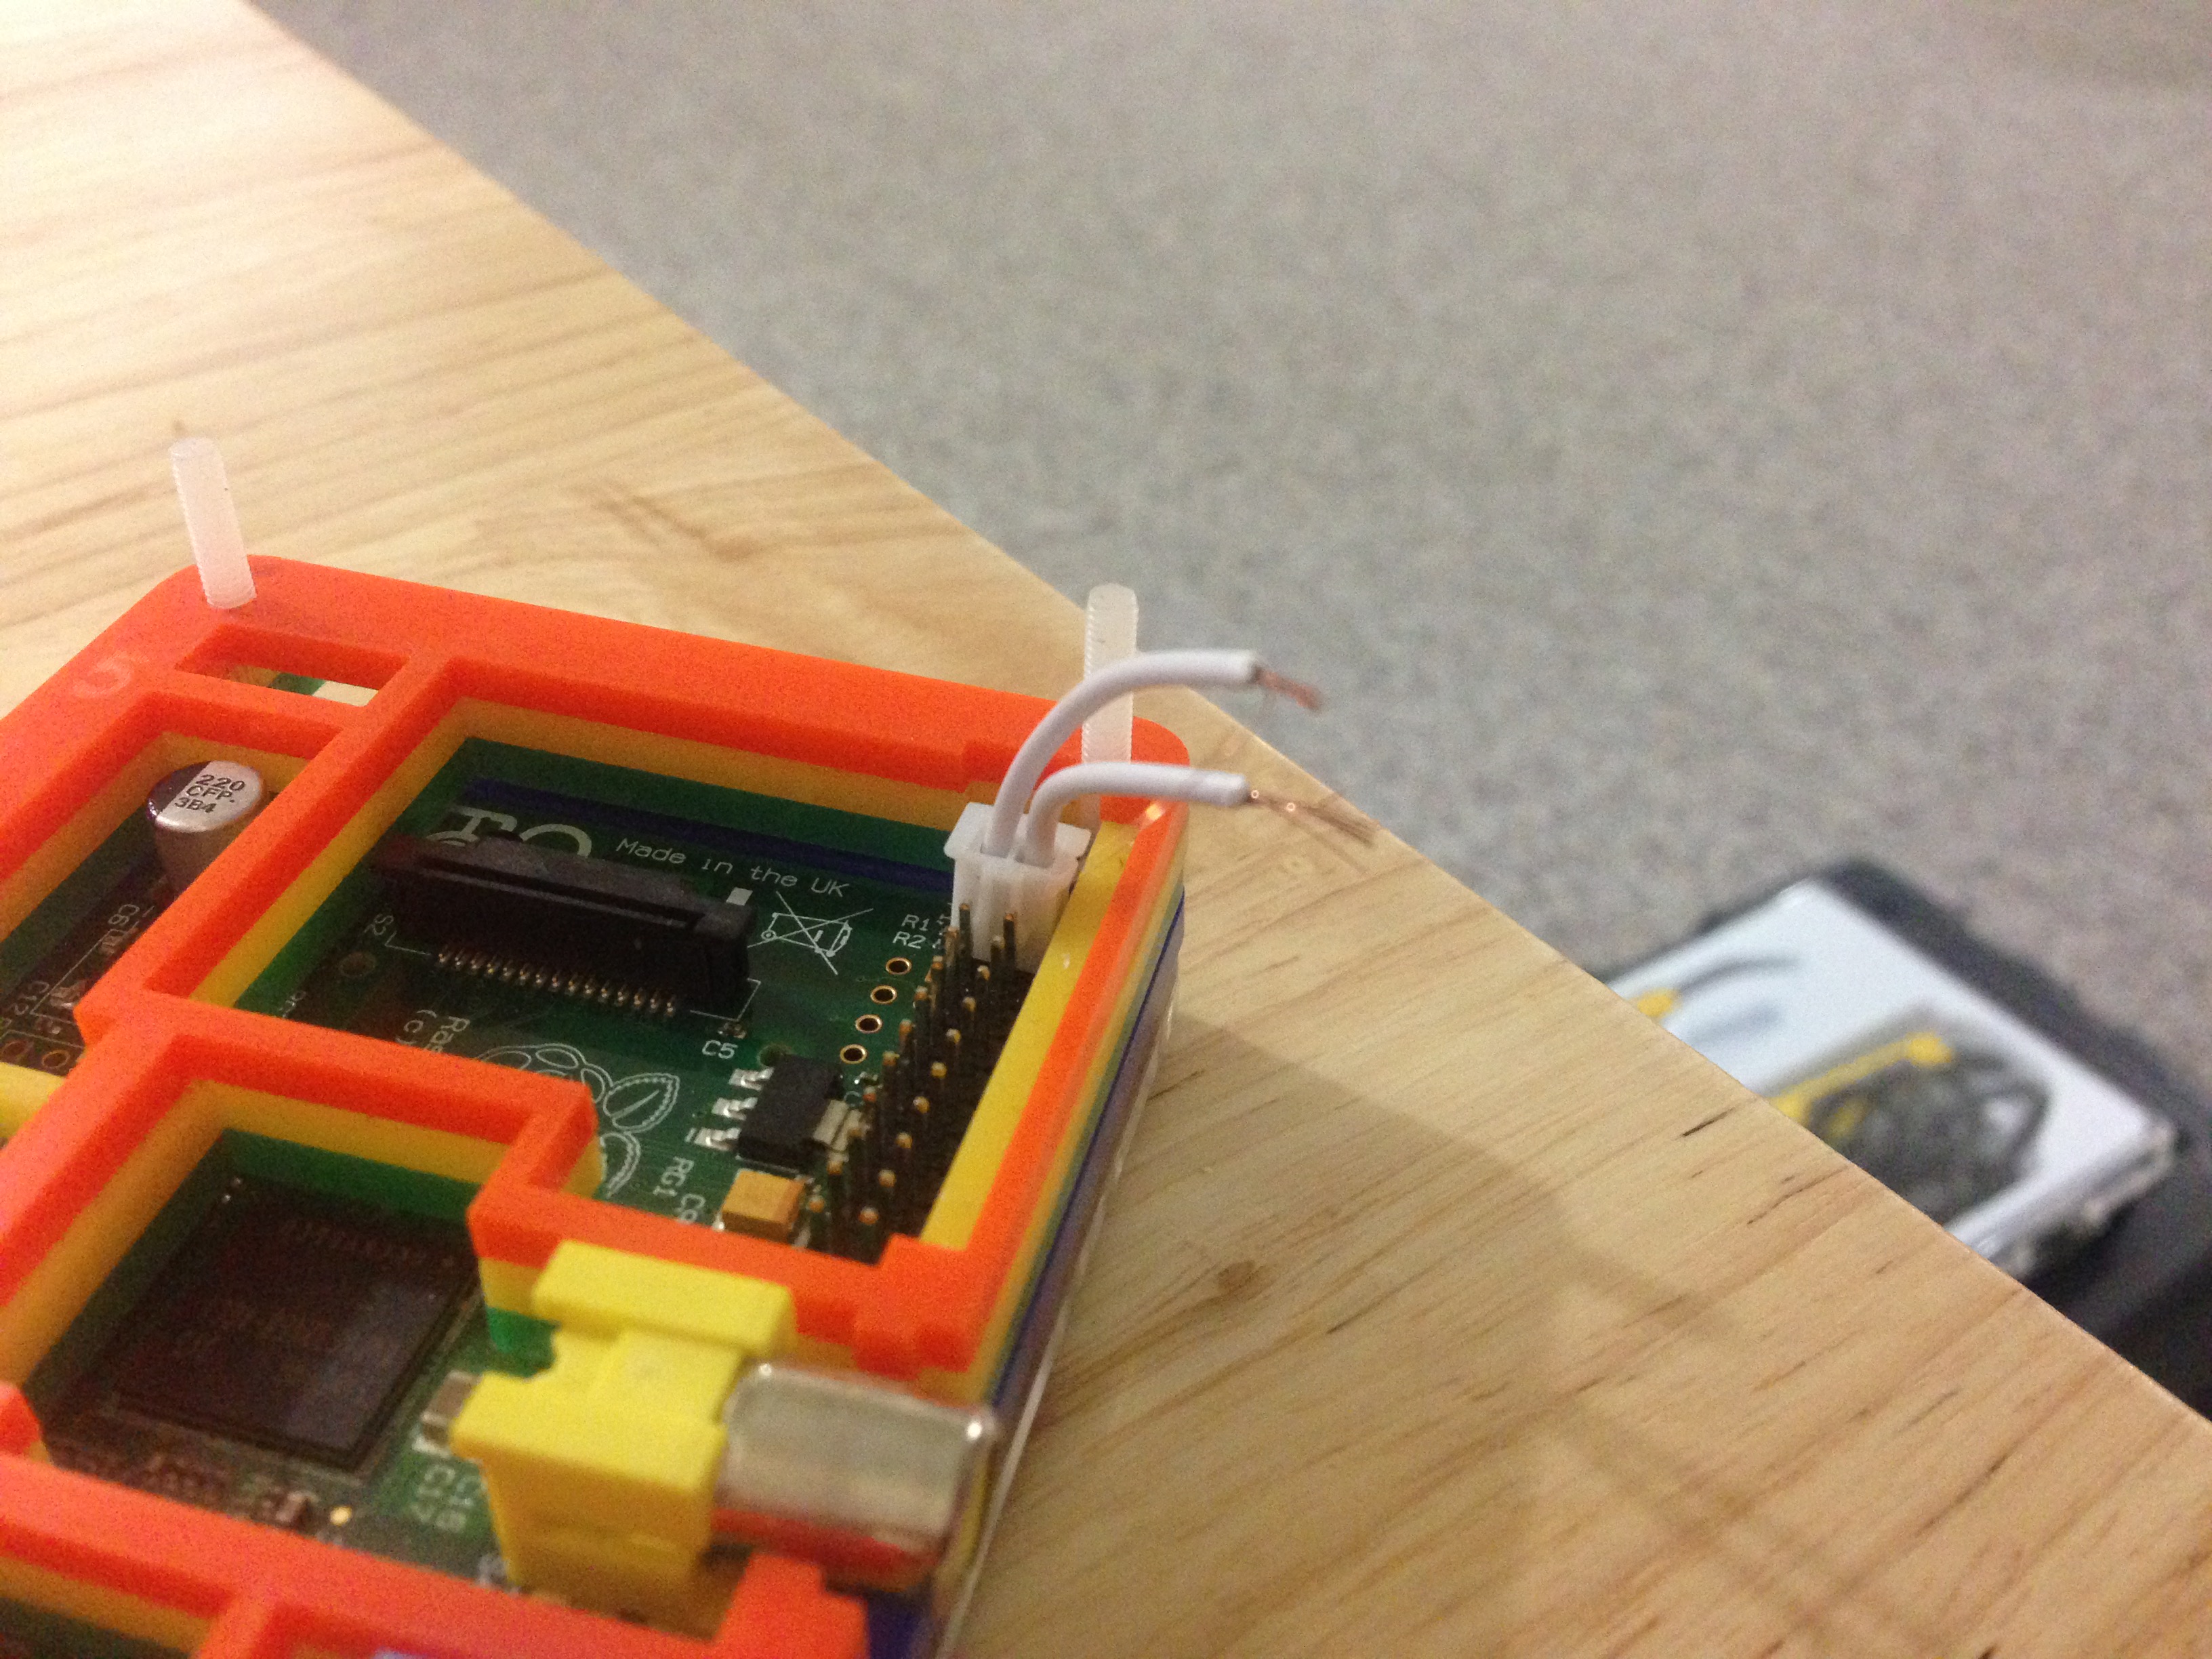
I then put the case back together and slid the button into place. on the bottom side of the button I also used some plastic adhesive to keep the button from sliding but still allowing me to remove the top layer.
Making it work
To make the button power on your pi when it is off (standby mode) make sure to put the button on Pin 5 (GPIO 3) this pin when activated will wake the Pi and start the boot process. For the shutdown feature I use retrogame a utility maintained by Adafruit for reading GPIO presses and interpreting them into keys or actions. My custom retrogame for shutdown is on my github here and you can find details about it here in another post.
Facebook Comments