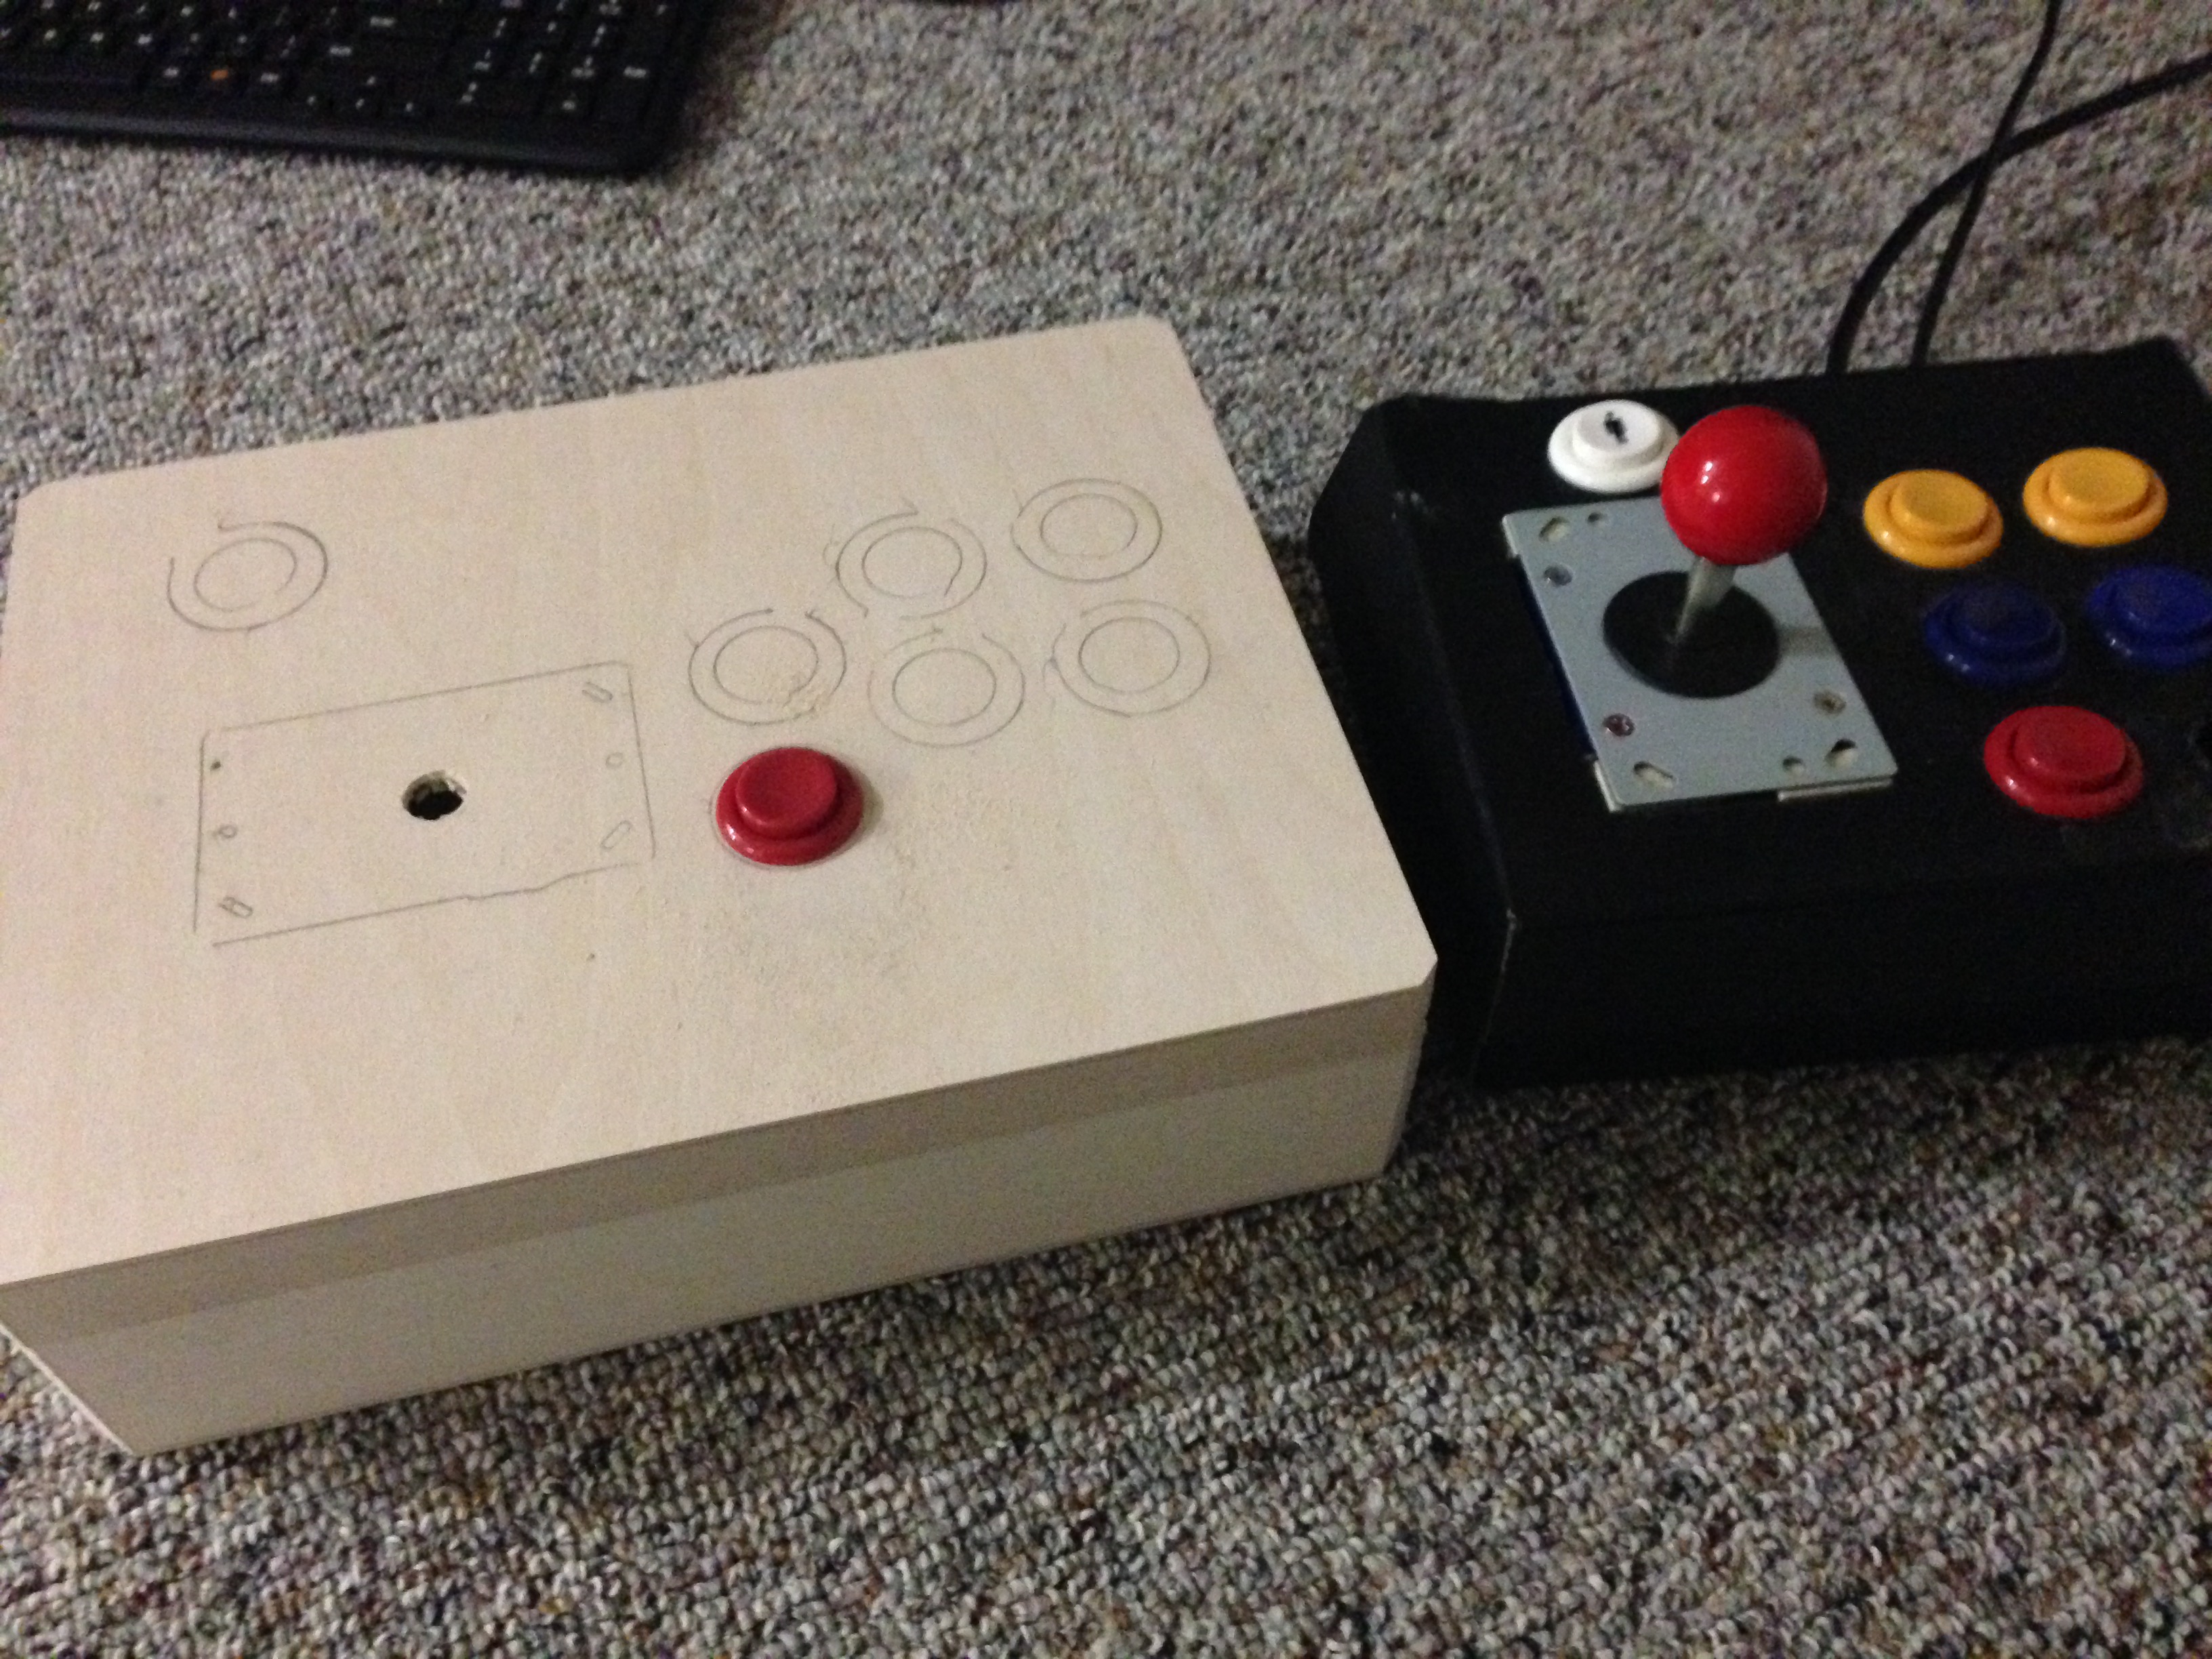
It’s been some time since I made any significant changes to my arcade emulator system. The last change of course being 2 years ago when I made a controller out of my 4 years service award box to replace my first shipping box arcade controller. It was time to build another!
This time around I wanted to put it in a more solid case. The service award had lasted much longer than its predecessor but it was beginning to sag as time dragged on. I found several pre made box styles available at local craft stores that would fit the bill for the replacement. I also wanted to get rid of the other problem with my previous 2 attempts. Cables. I wanted to be able to sit across the room and play and not be bogged up by cables. So for this I was looking into Bluetooth. Adafruit of course has several solutions to this dilemma already but the one that caught my attention was the Bluefruit EZ key.
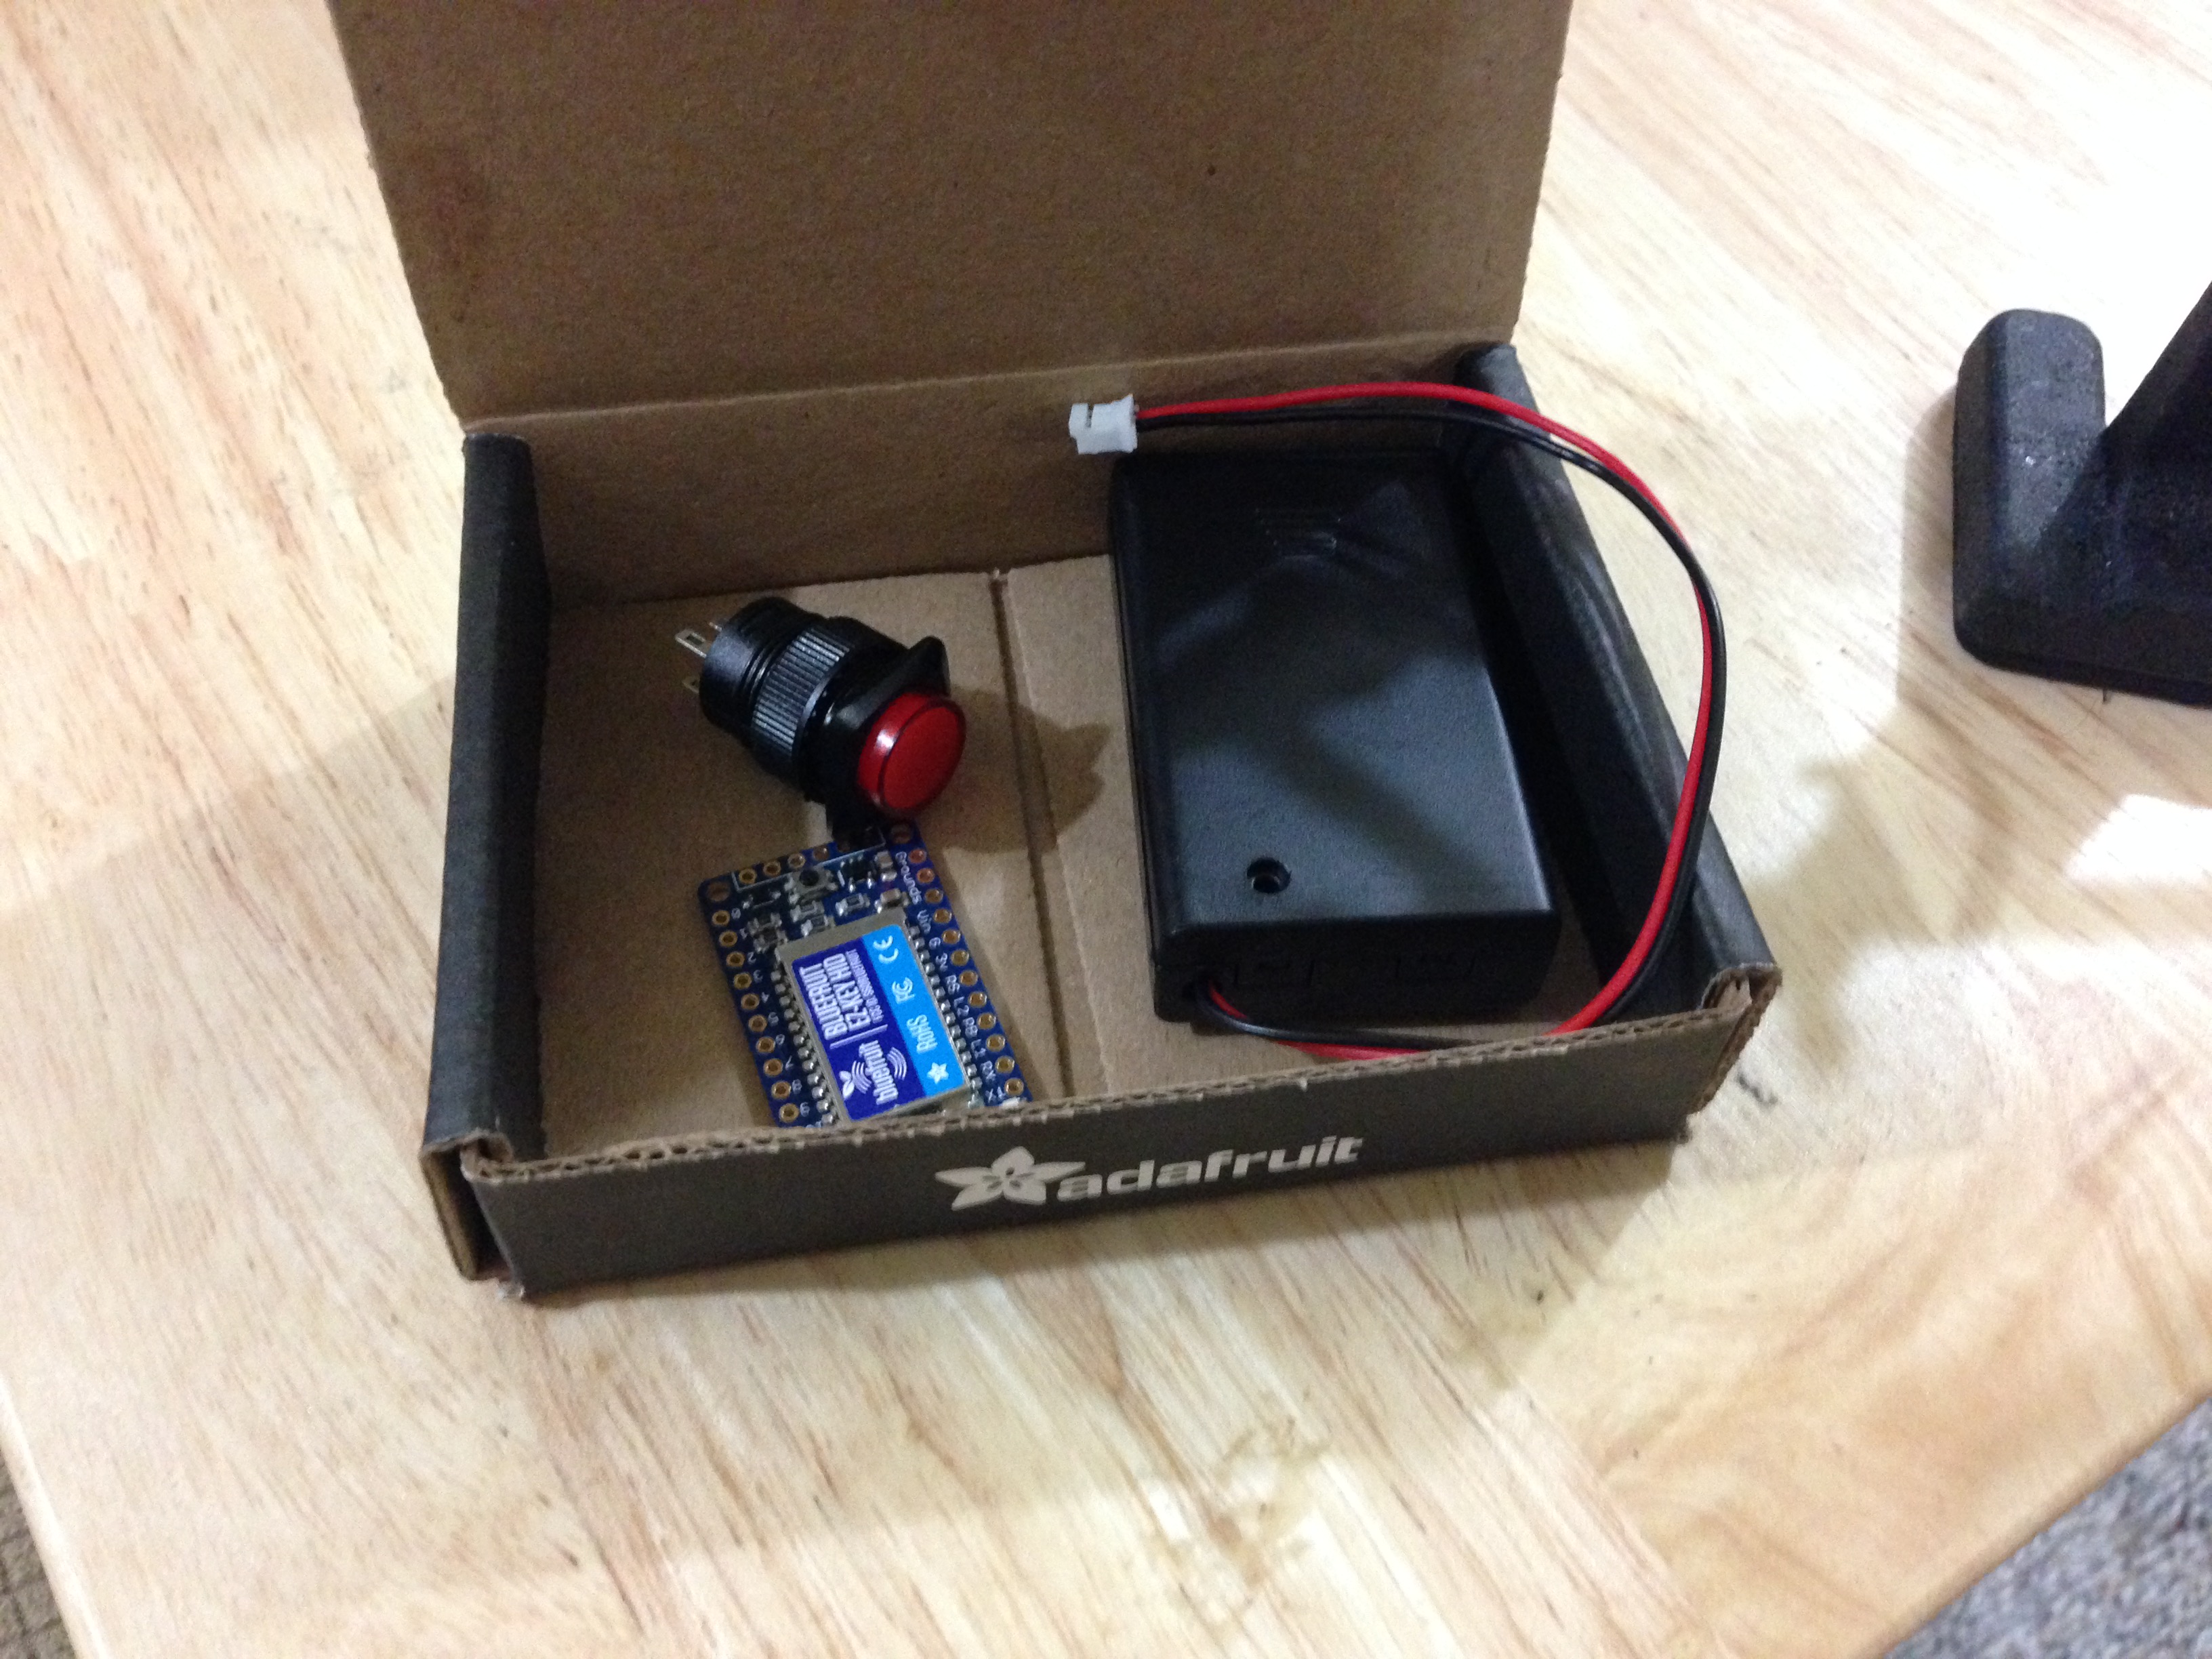
The Bluefruit EZ key is a 12 input breakout board that will appear as a Bluetooth keyboard to any device that supports bluetooth connections (v2.1 and higher). It was a perfect for the job! As always Adafruit also had a tutorial to go right along with this very idea. I took parts of the tutorial and modified them to suit my goals and I started to plan my new controller.
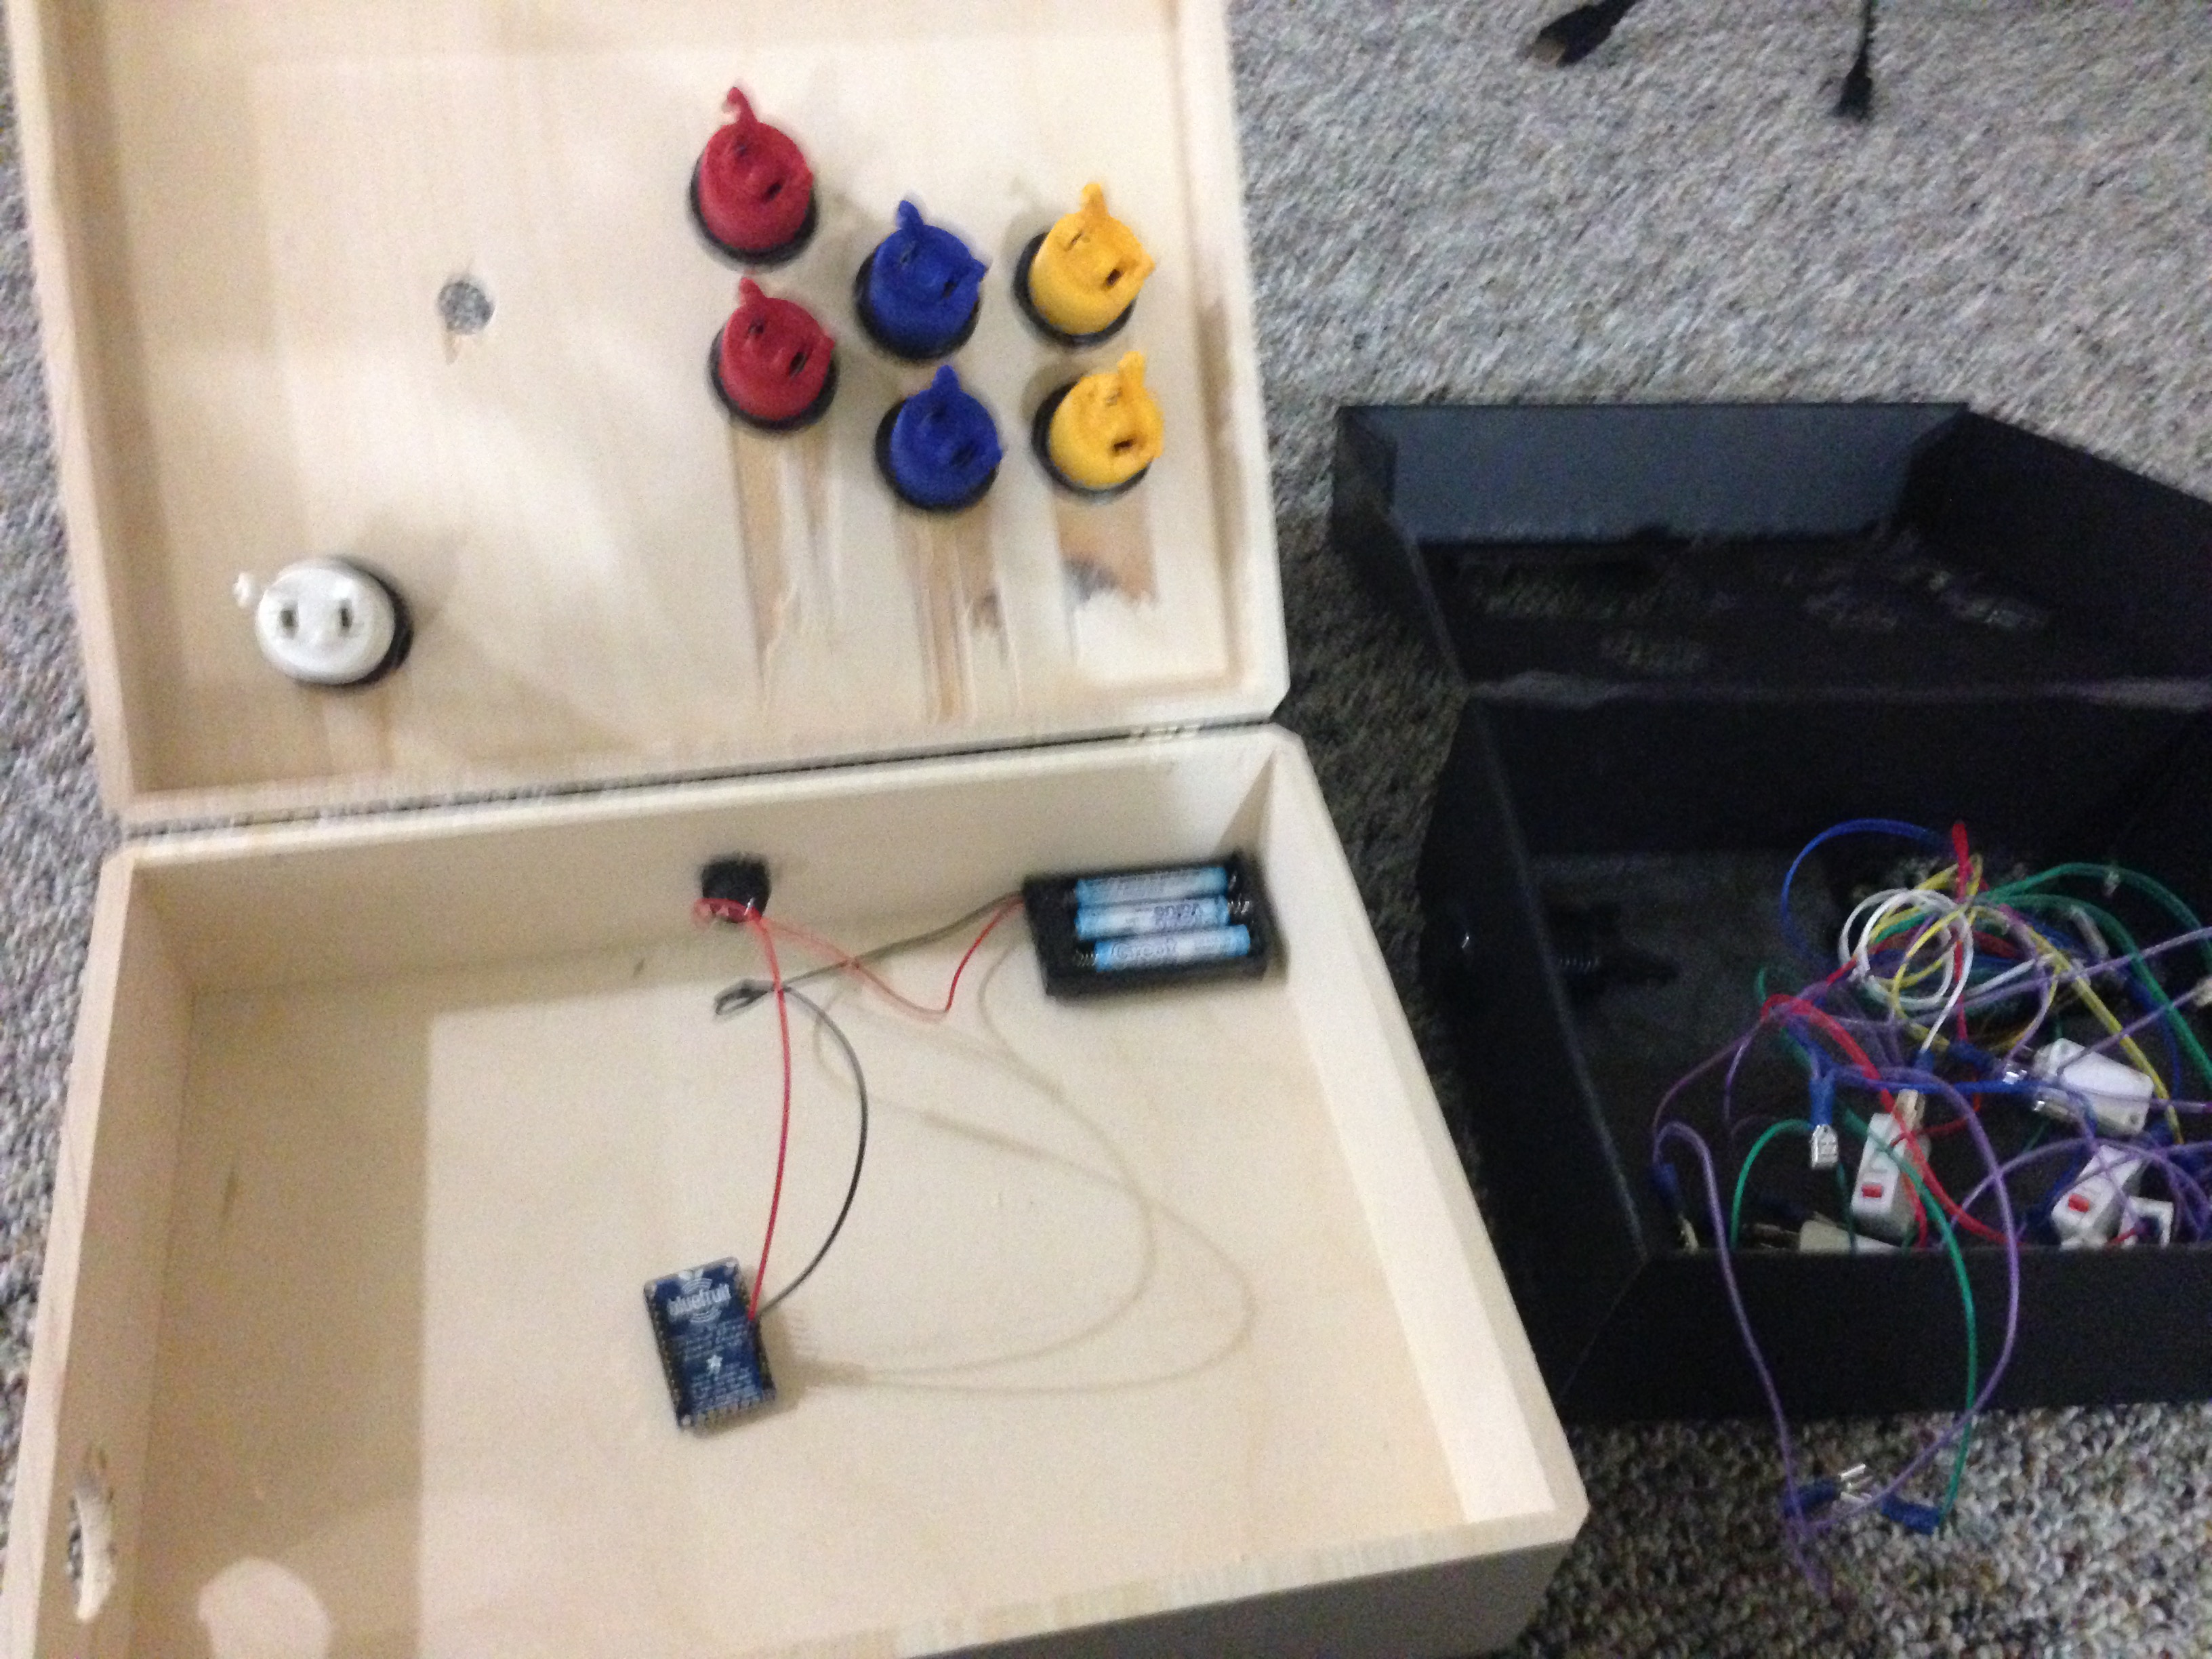
- First, I was going to have more buttons. All said and done I used all 12 inputs in my plan and I was able to have a Joystick, 6 play buttons, 1 player button and a coin button.
- Second, I used a bigger box
- Third, I use solderless terminals to connect my buttons, the main reason being is I tend to do rebuilds and remakes and being able to reuse my parts is handy and if I need to take it apart for any sort of reason it’s easier.
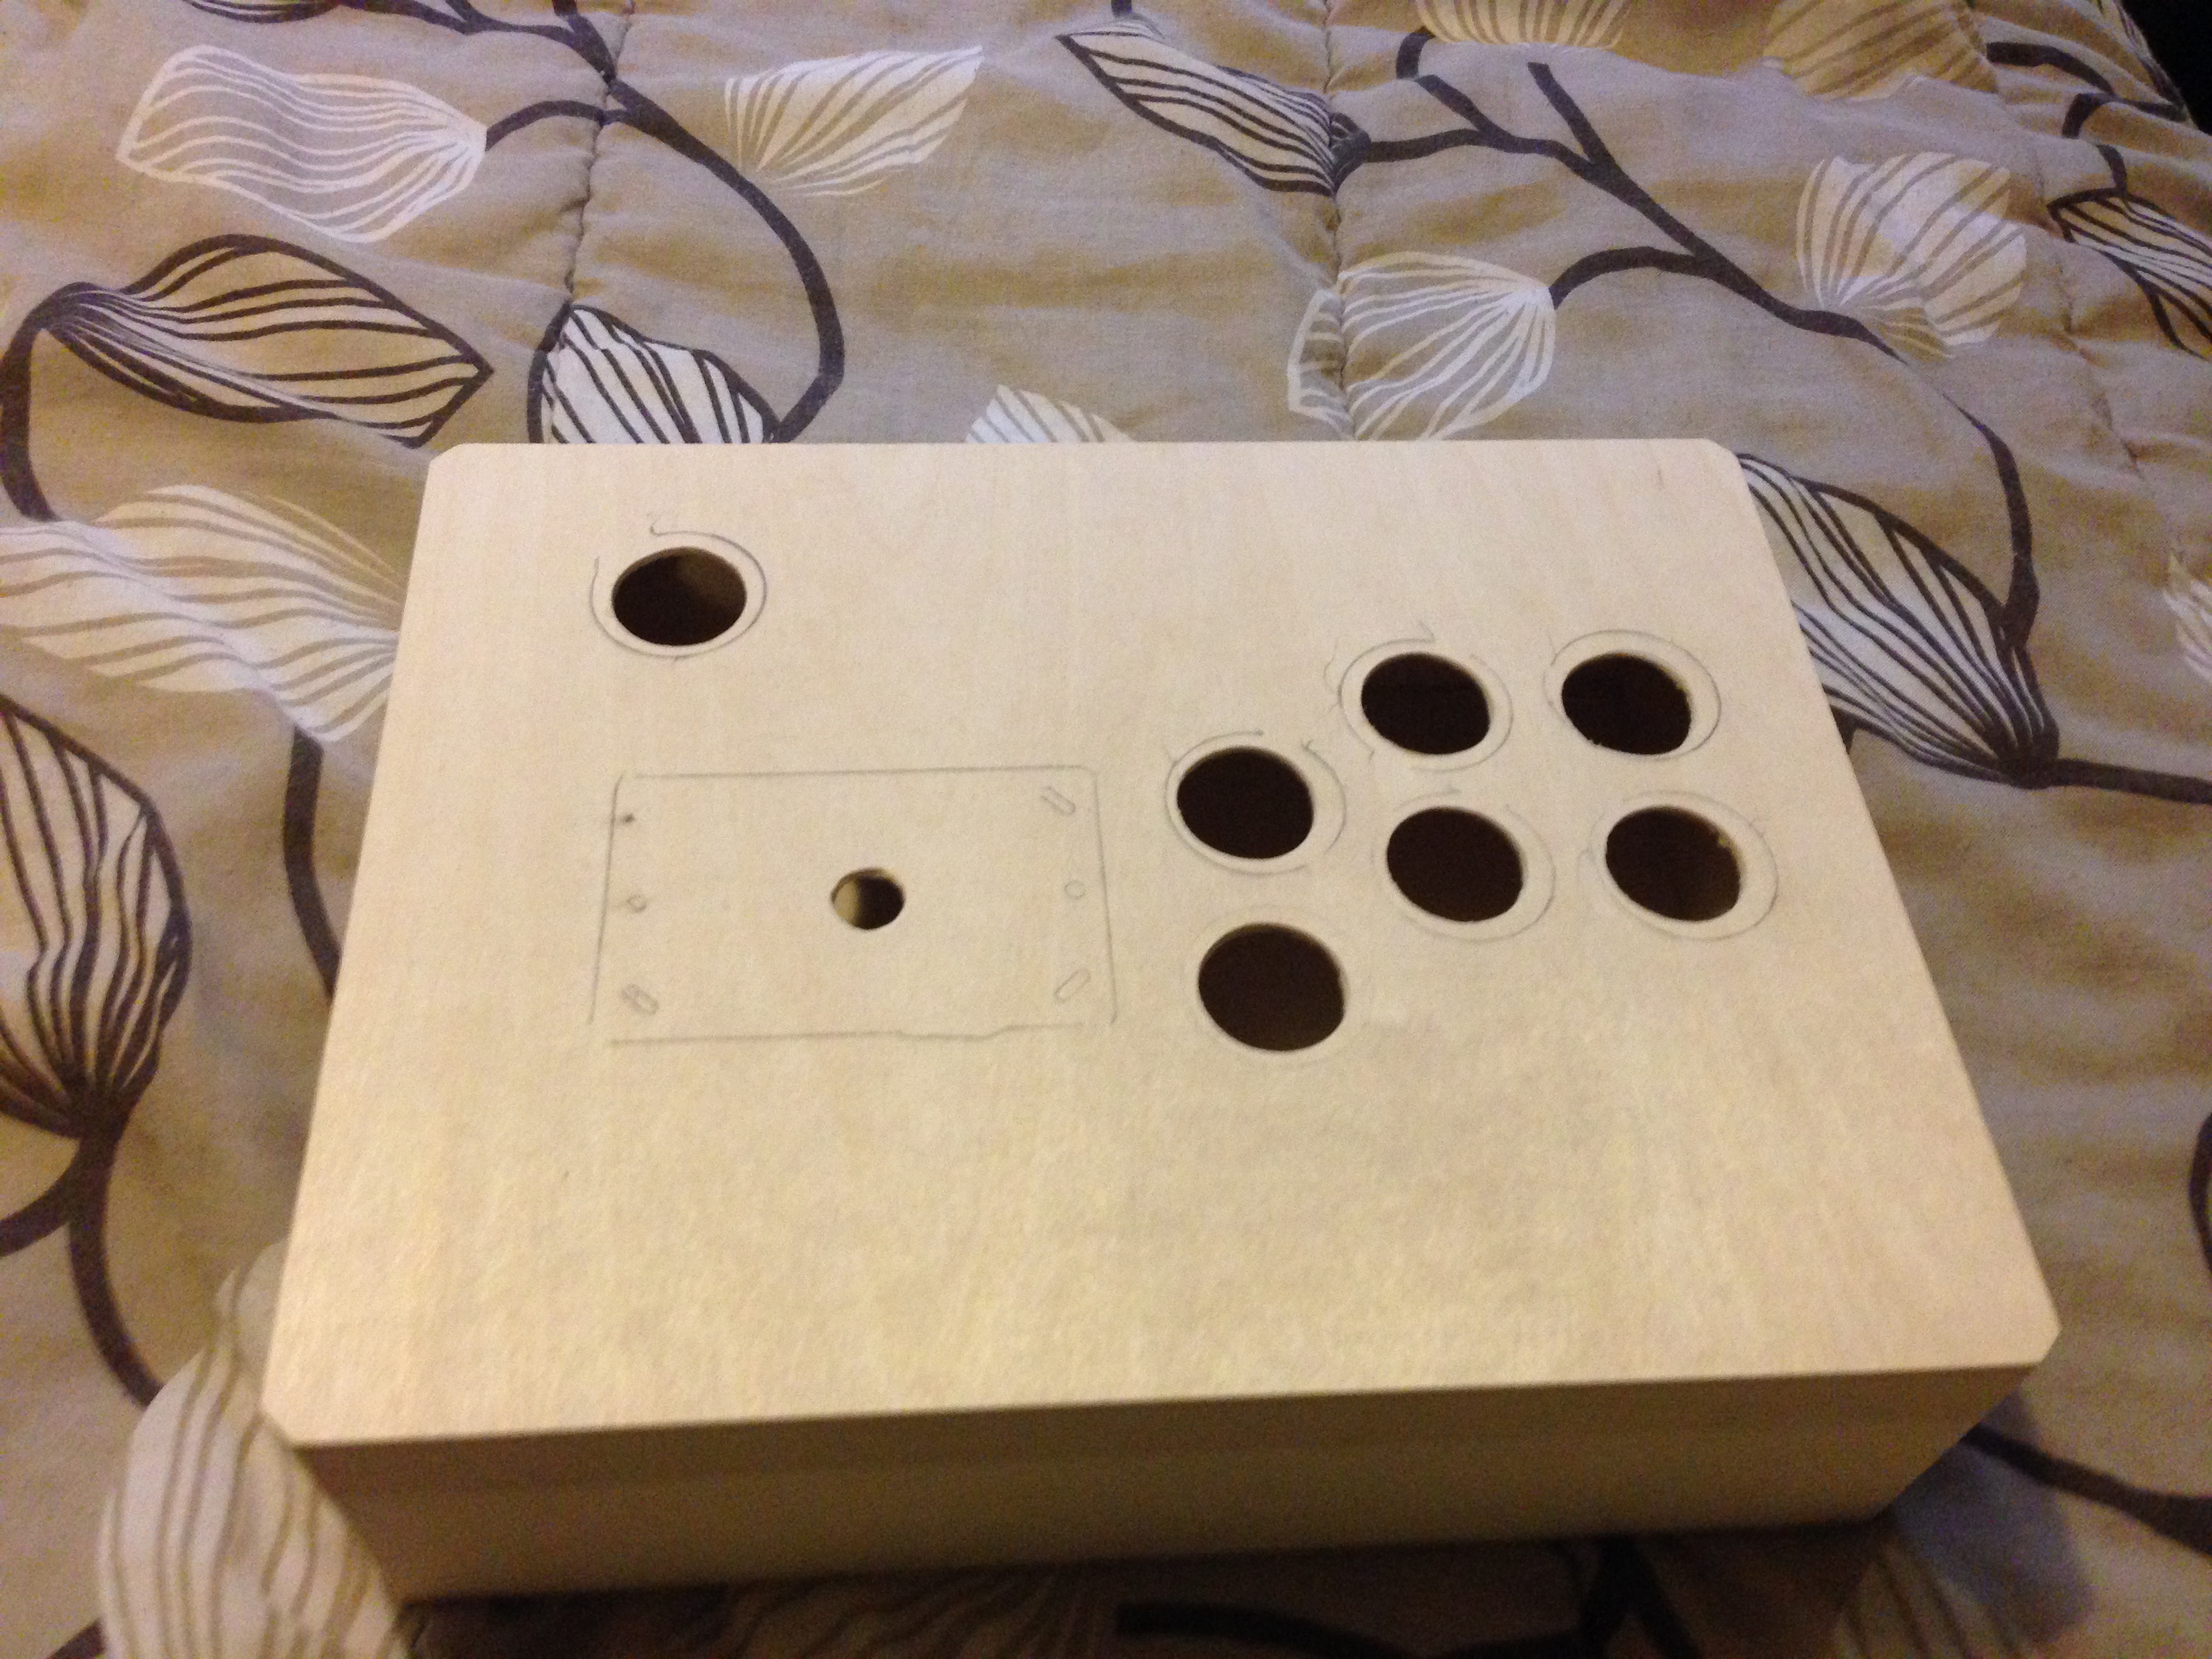
The box
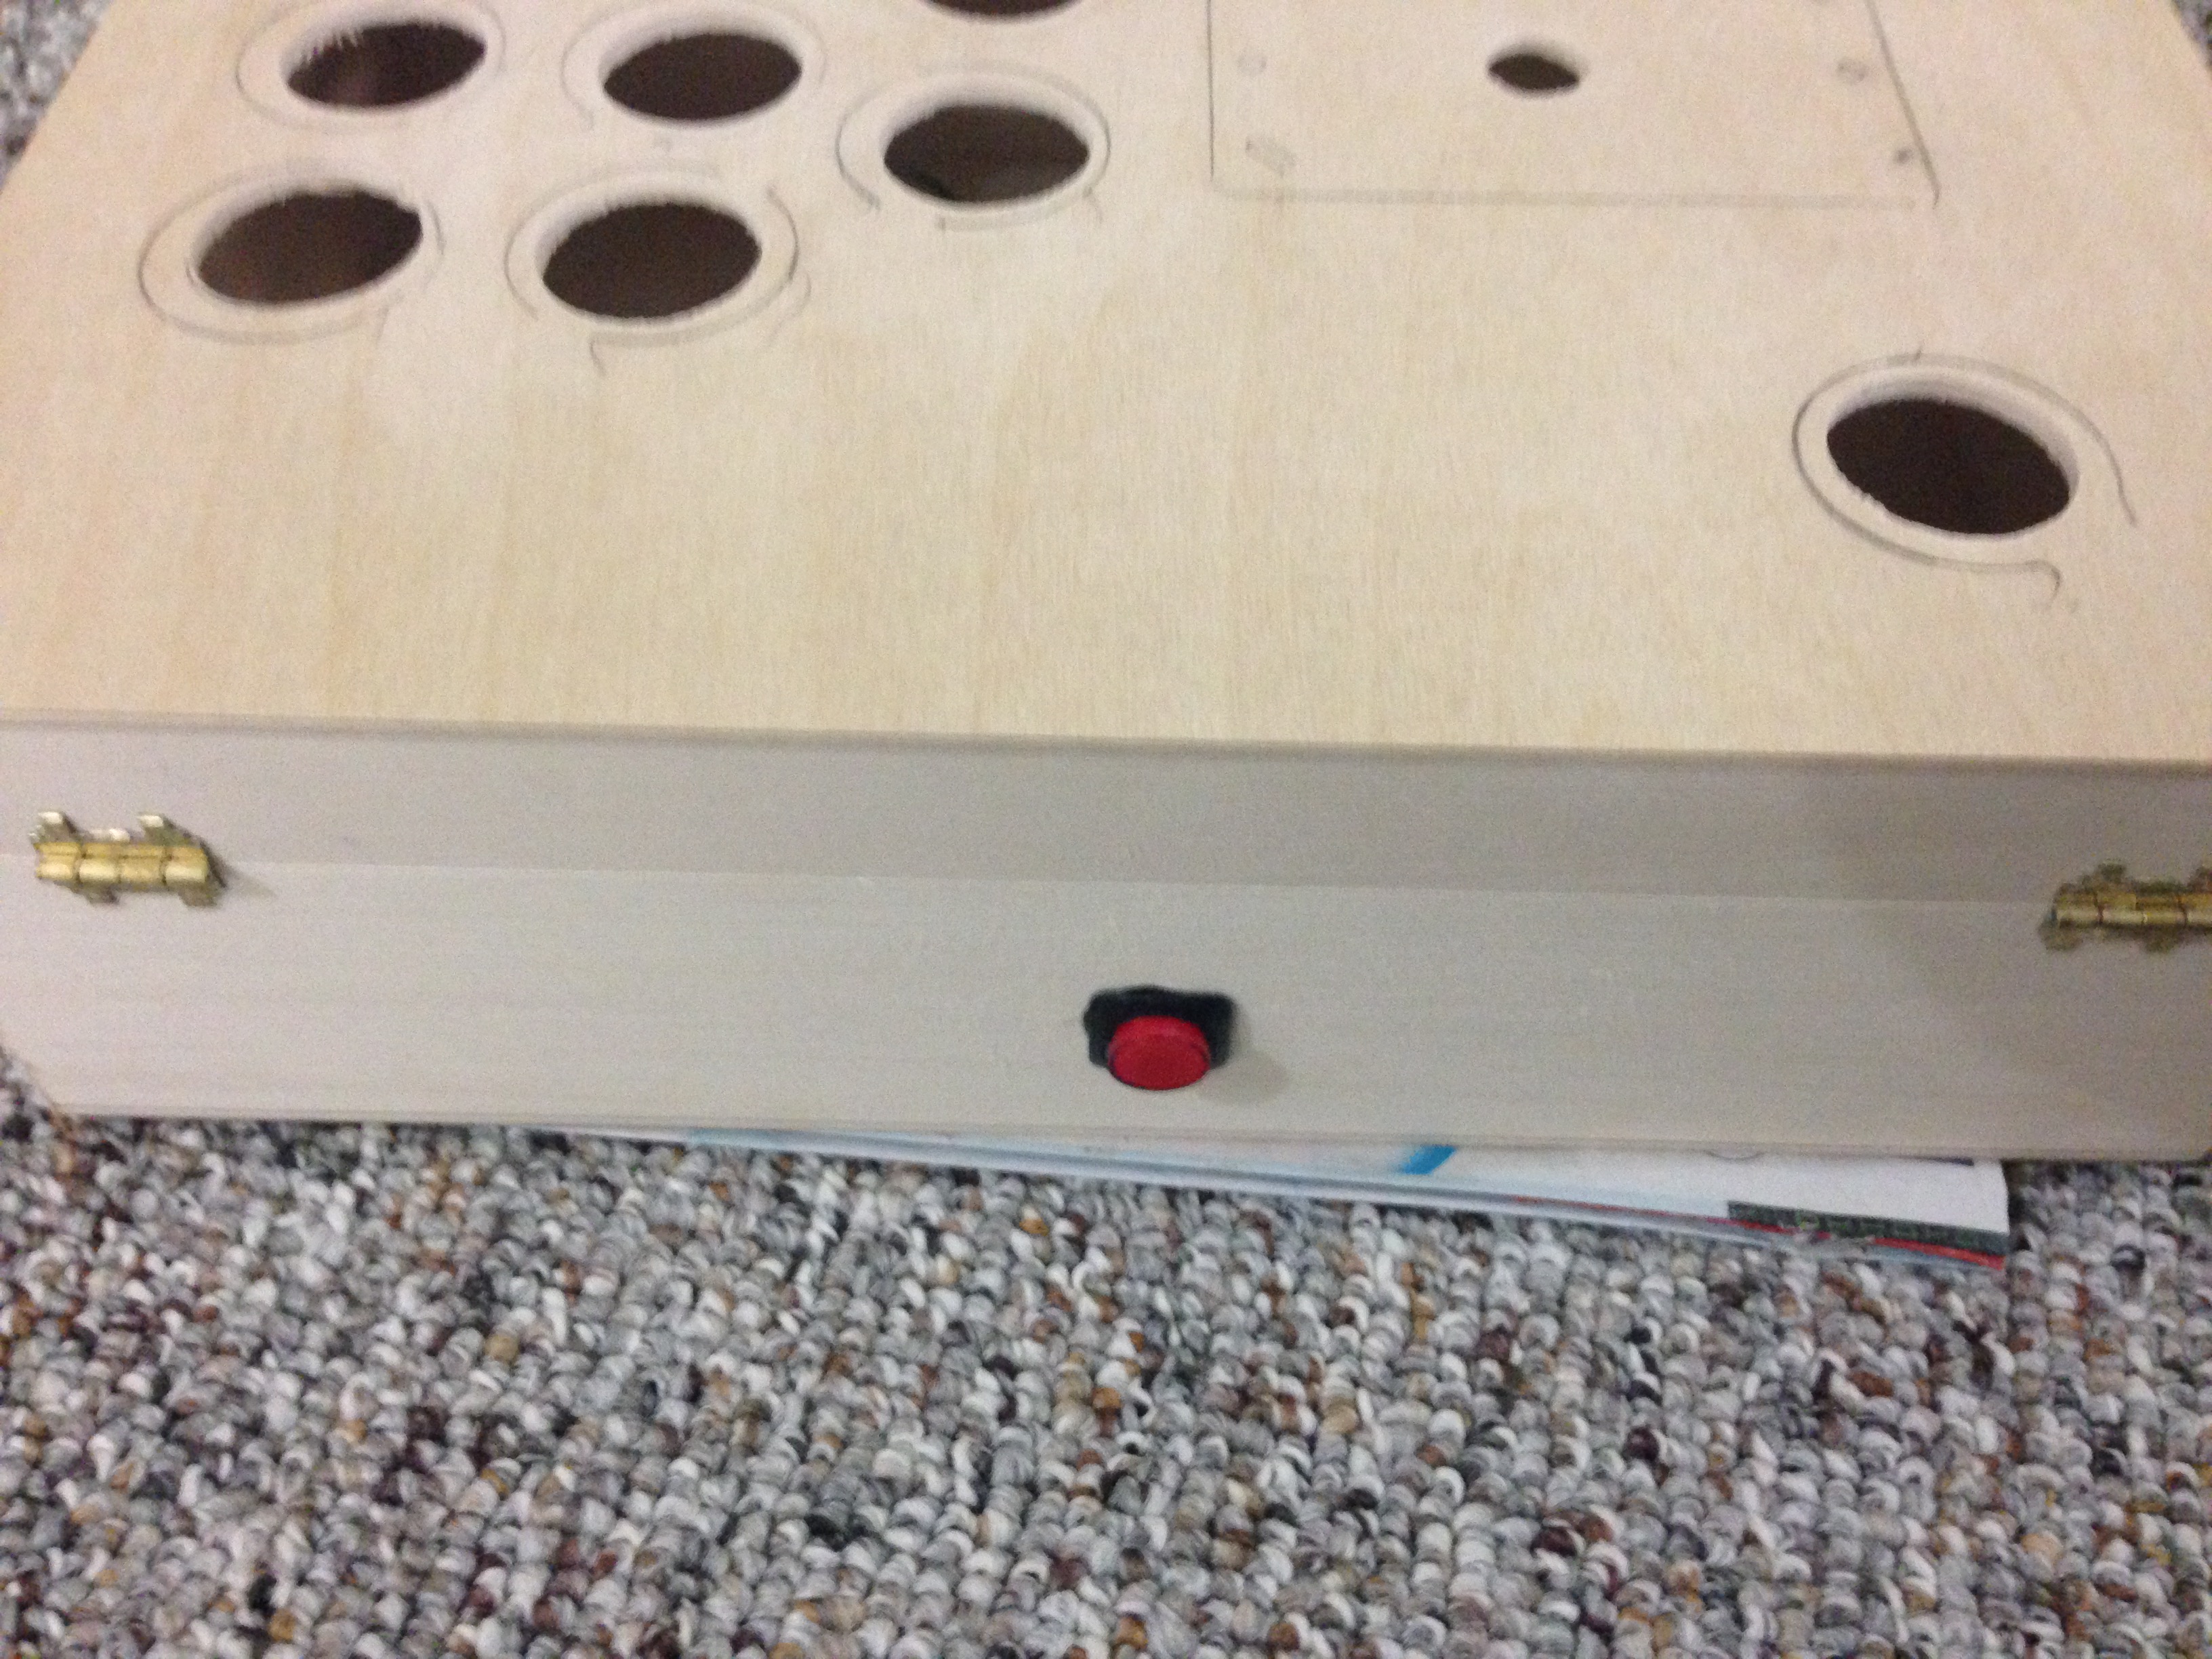
I traced out my layout on the box I had purchased. I used the plastic nut the buttons come with to trace the button sizes. For the joystick screw holes, after I drilled the stick pilot hole I placed the joystick in it upside down and traced it. To drill the button holes I had to buy a new paddle bit that was the correct size otherwise the buttons may fall through or not go in at all. The 1″1/8th is the perfect size for the button style I used and all 8 holes were drilled out without any problems. I then sanded the holes so that the buttons would fit easily. The top of the box was a bit thin so I had to make a minor compromise with the Joystick mounting. Normally you would want to mount the screws from underneath so that they weren’t visible. Since the Joystick is fairly heavy and the wood was thin this would not work so I bolted them from above. It doesn’t actually interfere with Joystick use it’s just slightly annoying from a cosmetic standpoint.
Bluefruit
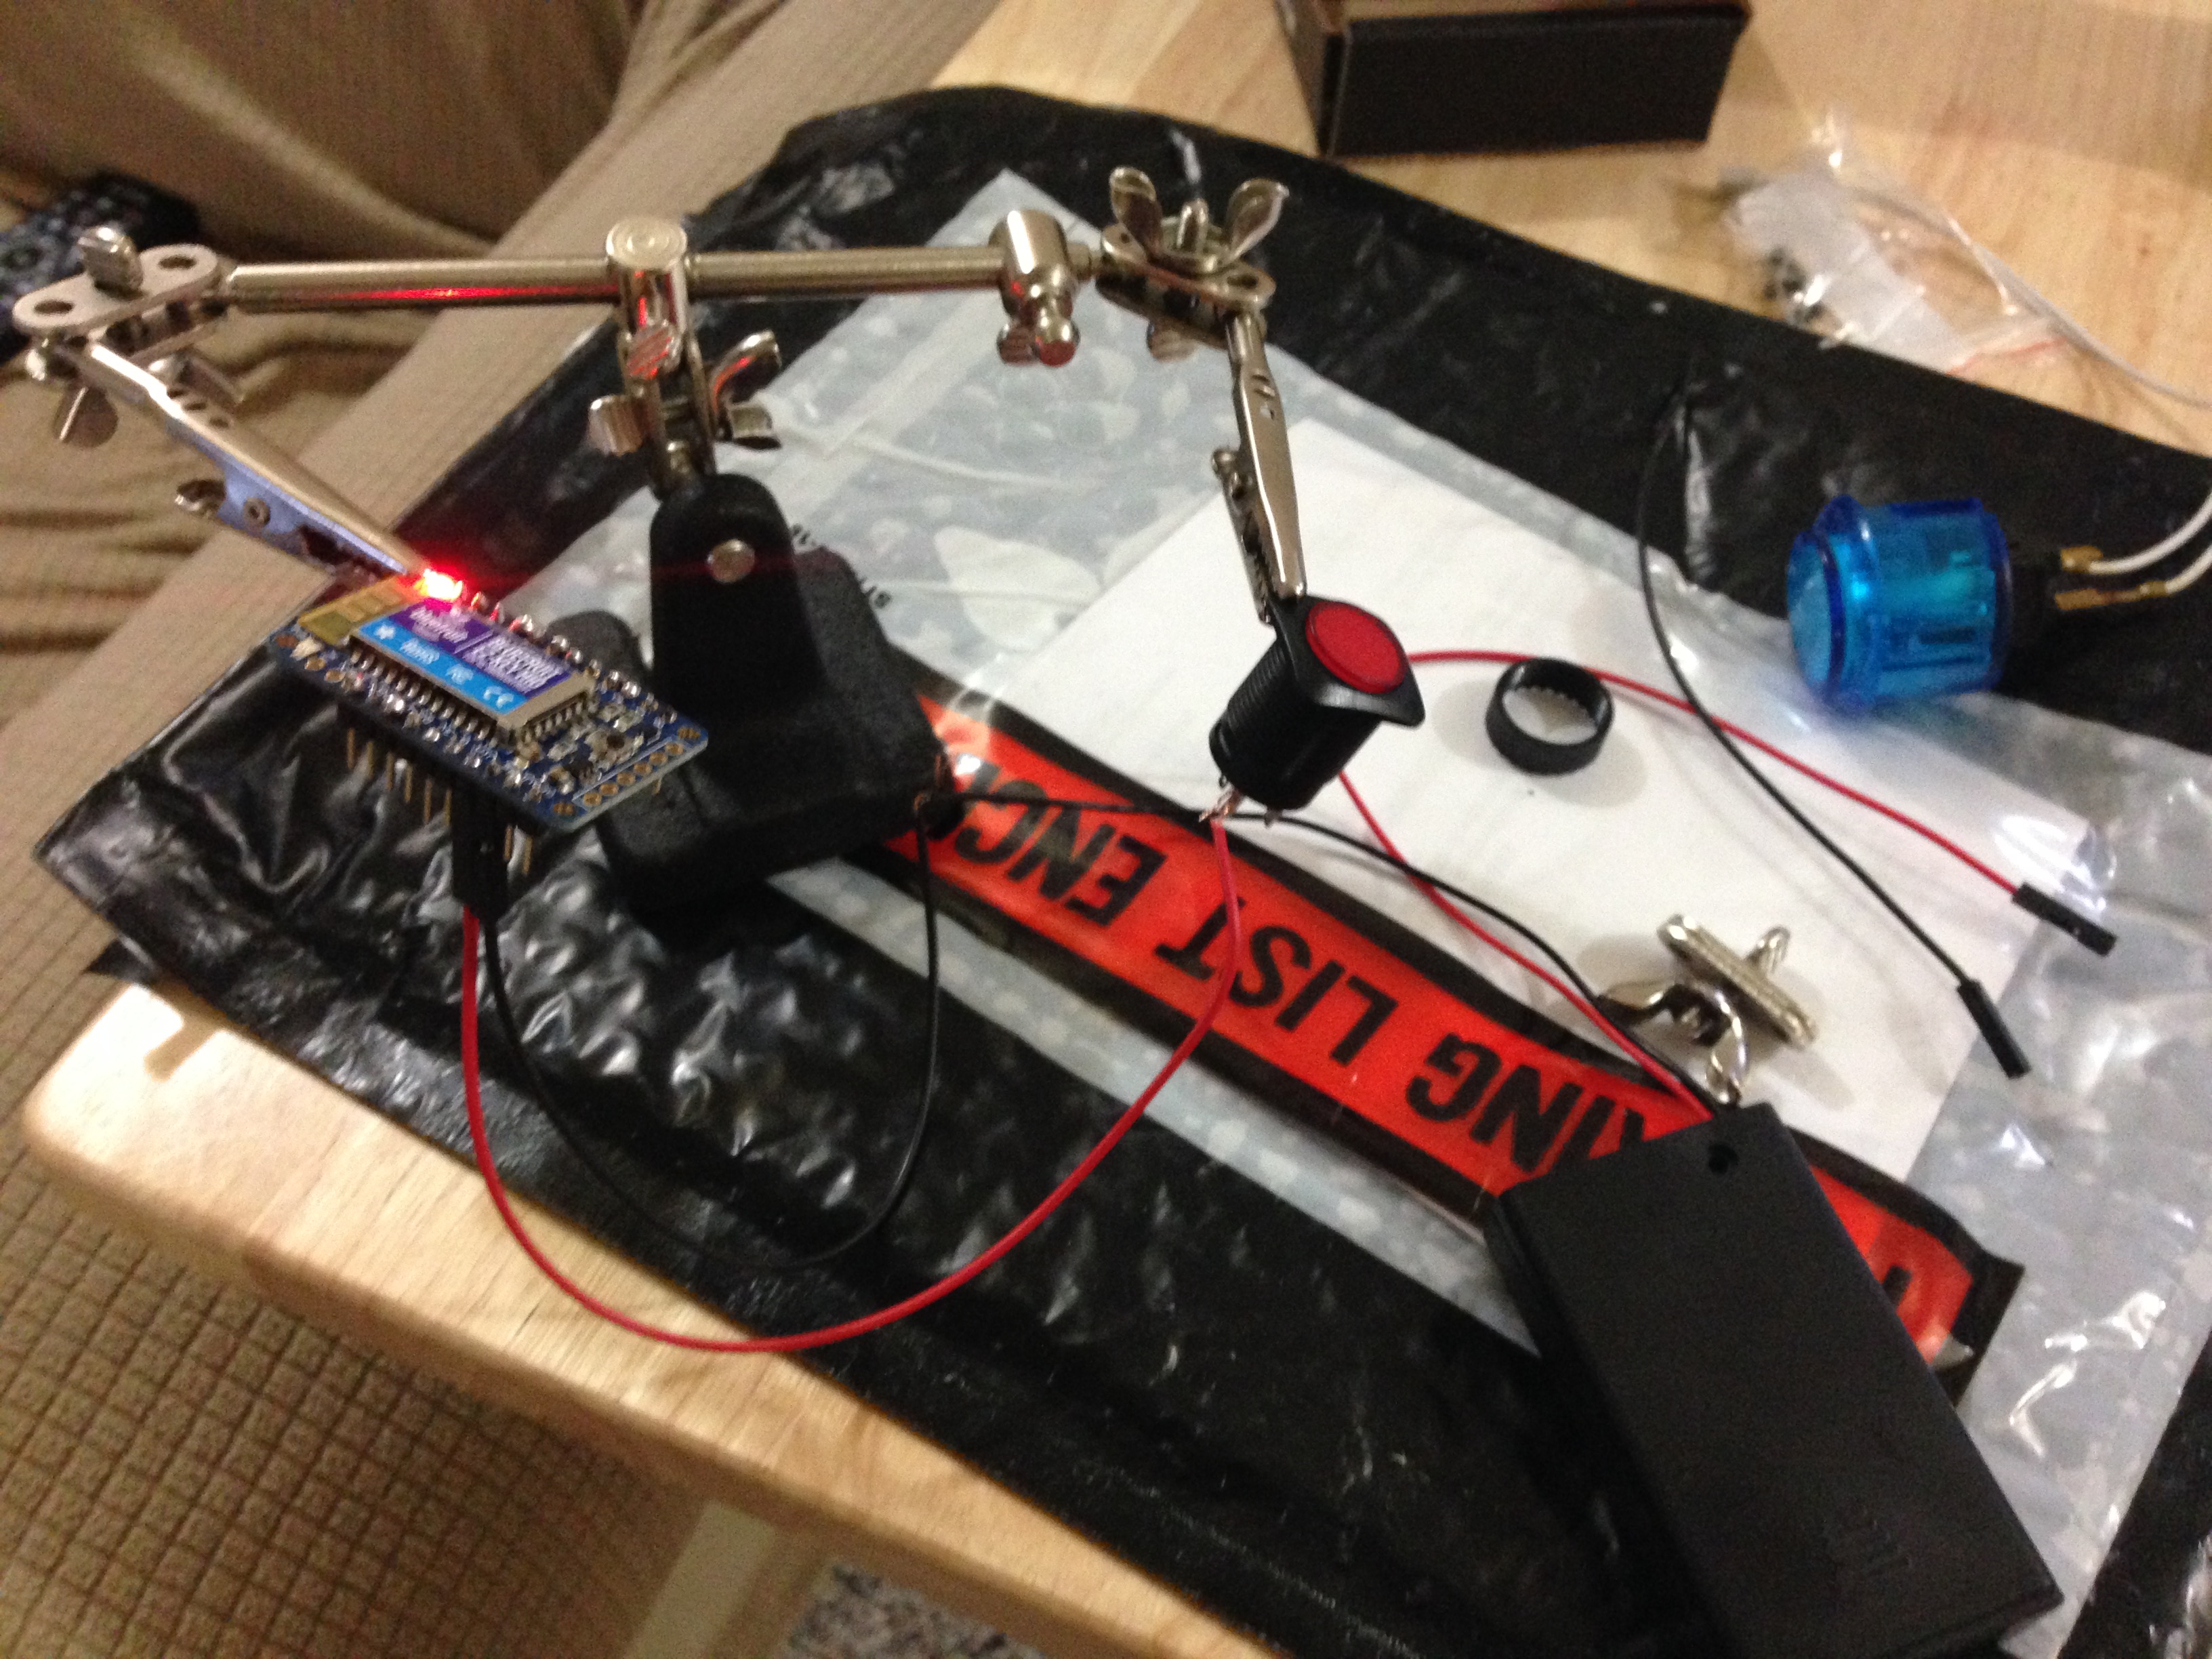
The Bluefruit comes as a breakout with 2 optional sets of headers you can solder in if you desire. The headers for the pinouts were too long and had to be cut, I am not sure if that’s normal it didn’t match the picture but it wasn’t a serious issue. Since I would be using the pins I needed to solder them to the Bluefruit. This was my fist attempt at soldering so if you happen to take a close look at the globs on the board I invoke the “It’s my first day” clause. After the pins were mounted I tested them before proceeding and things appeared to be working. I would later discover I had not made a good connection on a few pins and had to re solder the joints but after round 2 everything was great.
Battery pack
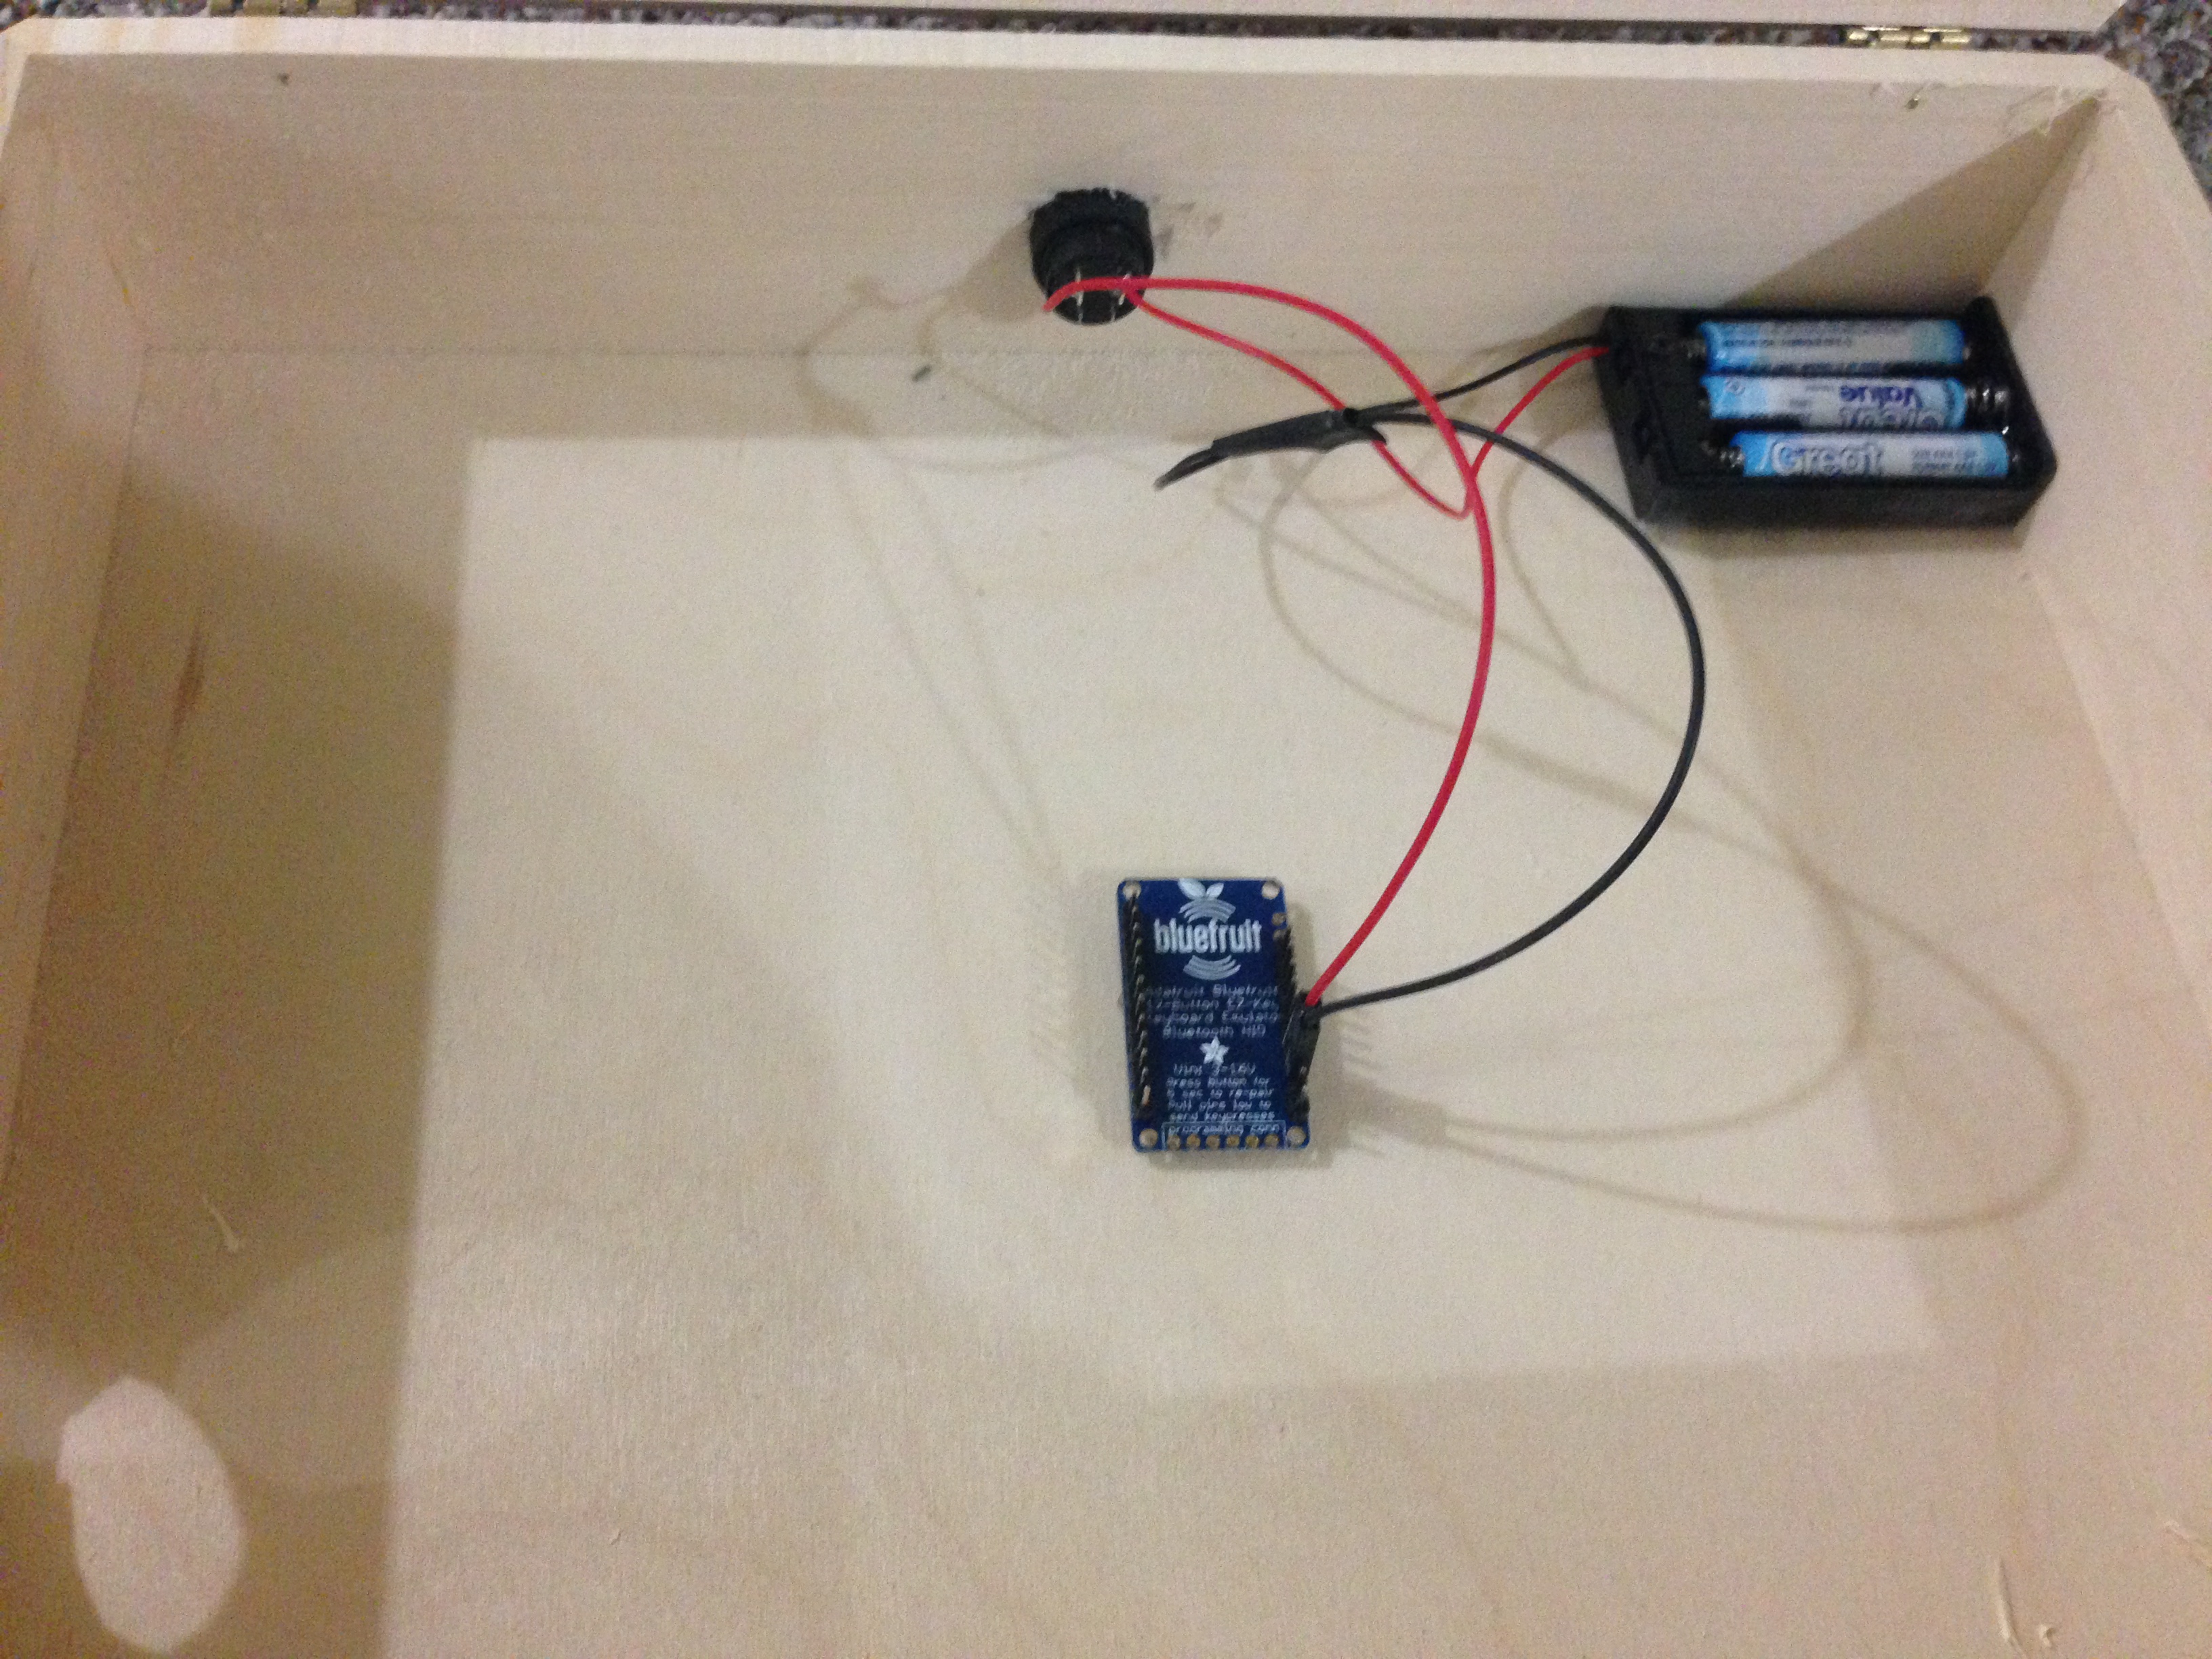
I had a 3xAAA battery pack for this project to power the Bluefruit. I had bought a power button to go with this project so that I could shut the device off when not using it because I thought it would be a nice feature and something new to try. The ground goes from the battery pack to one of the 3 grounds on the Bluefruit and the red wire goes to the power button terminal and then a second red wire continues from the opposite terminal to the Bluefruit. The button makes a connection when pressed for the power to be turned on.
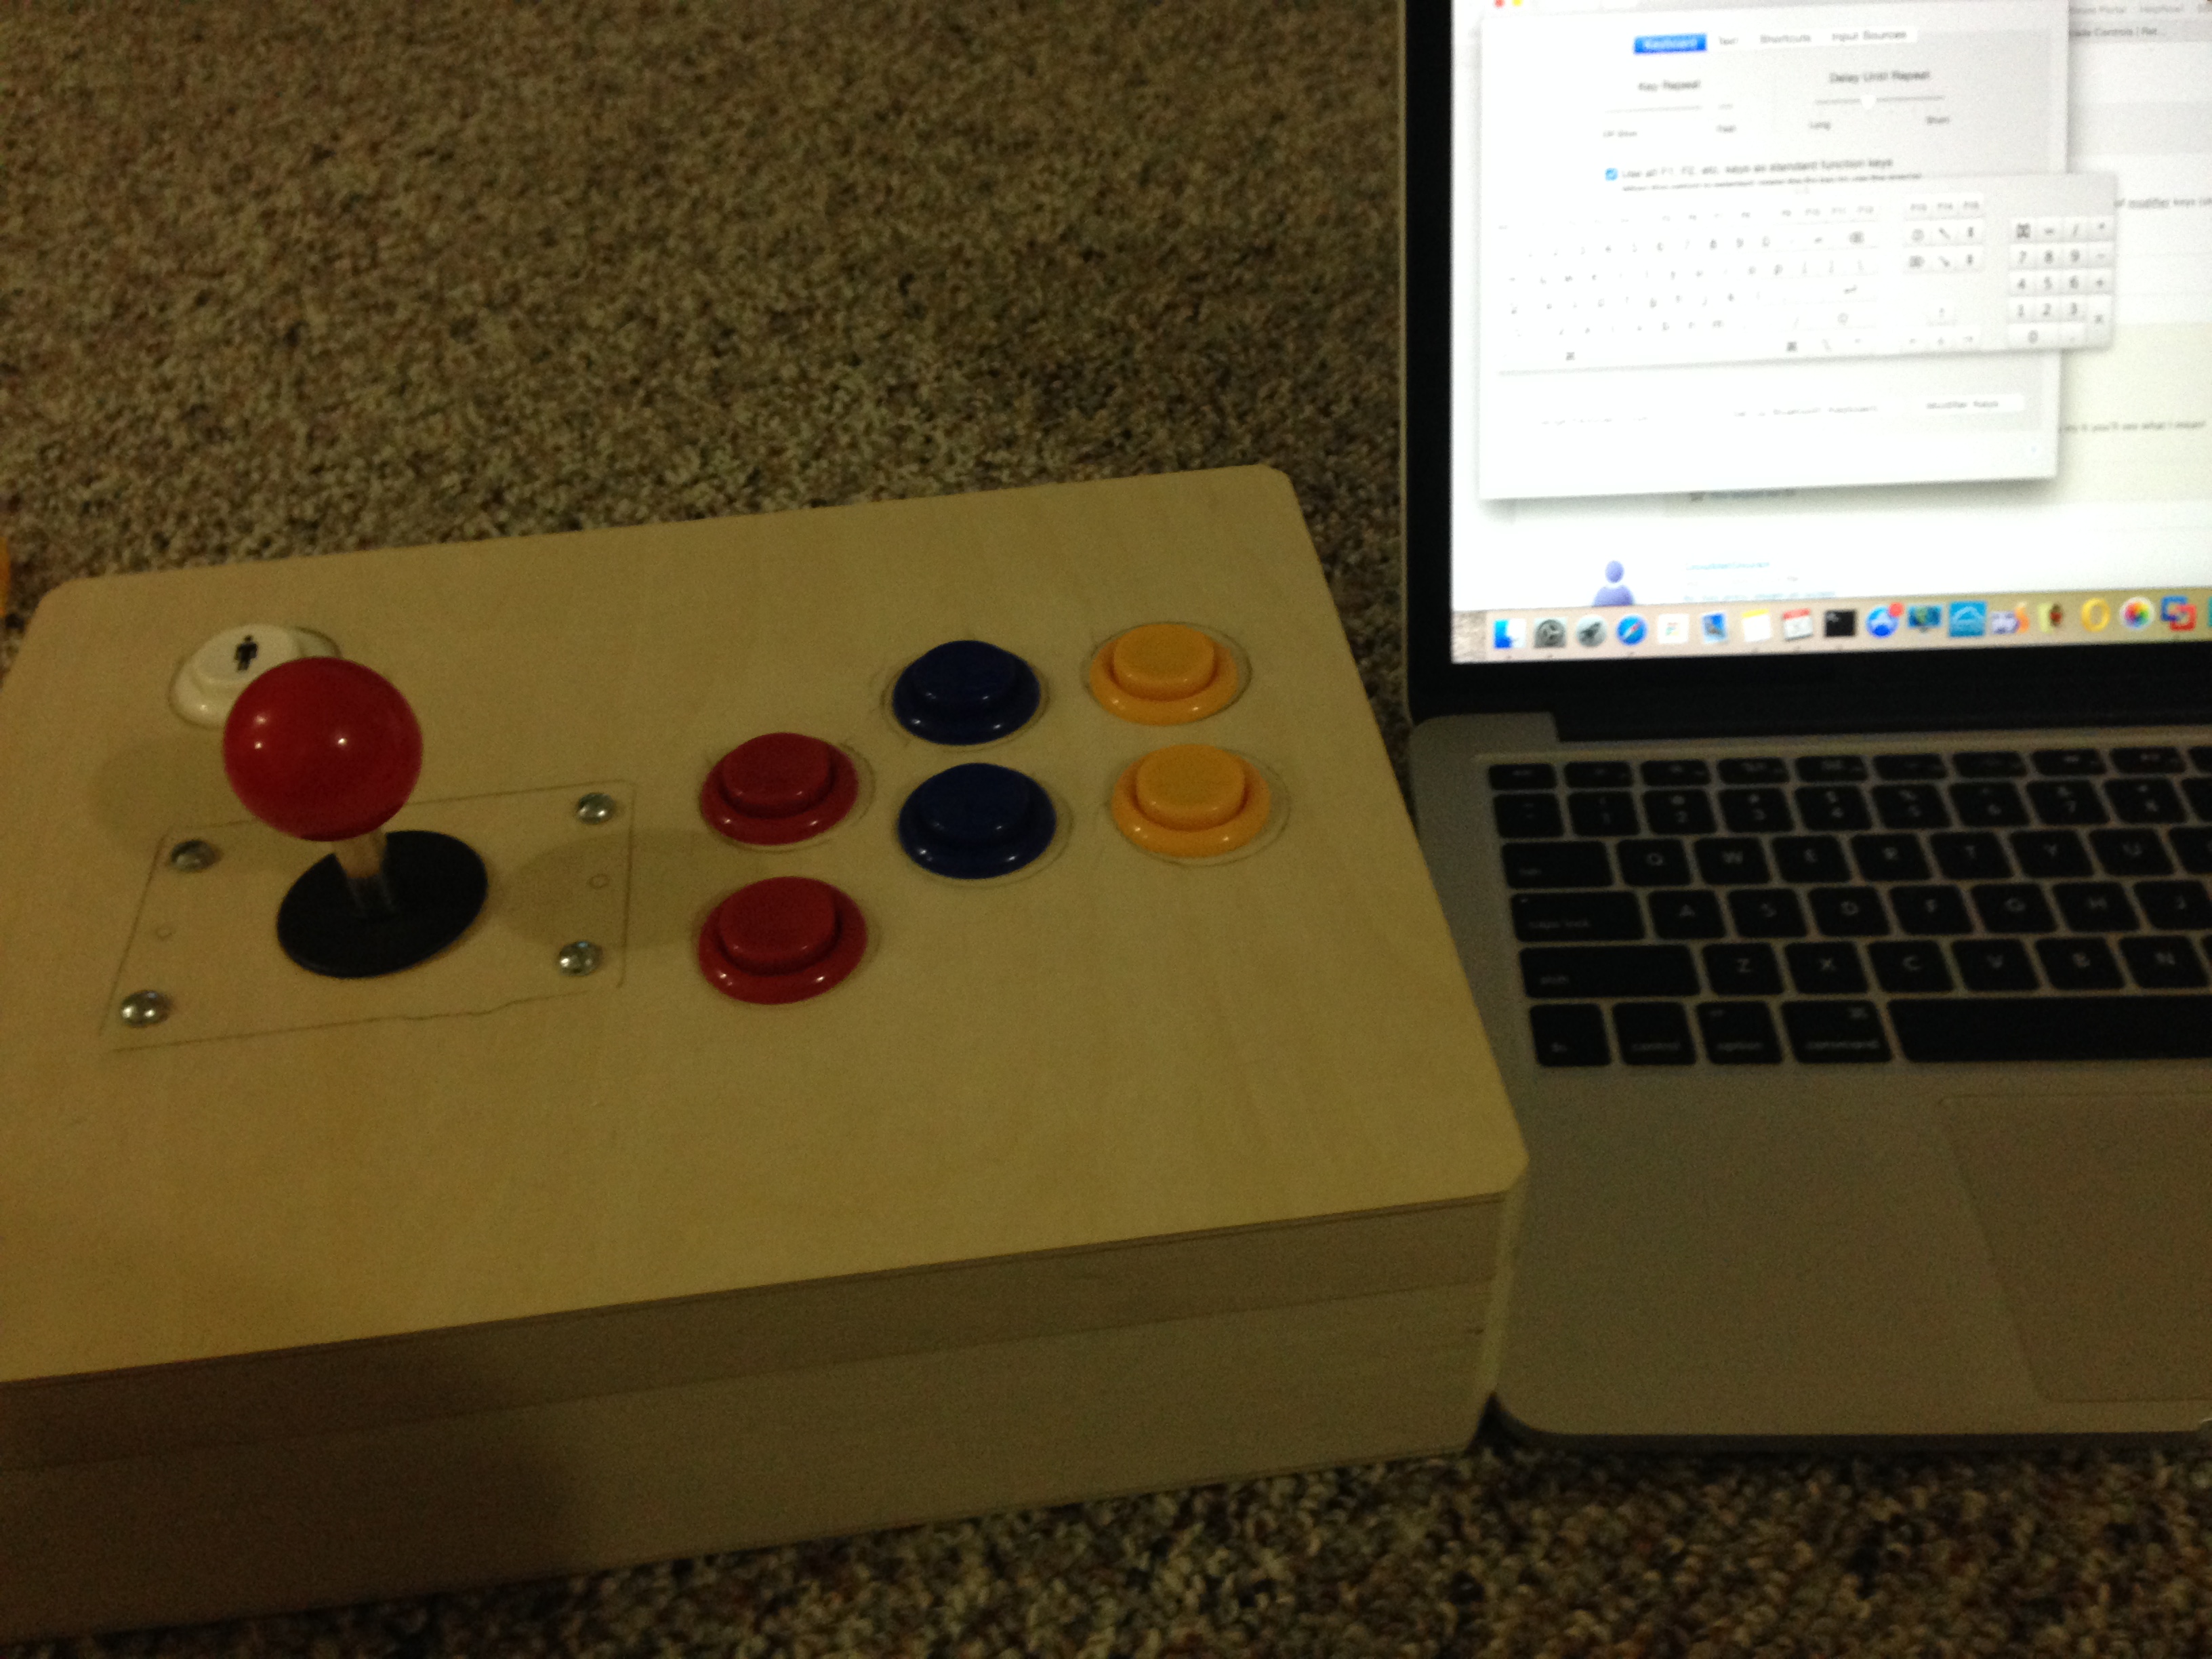
Configuring the Bluefruit
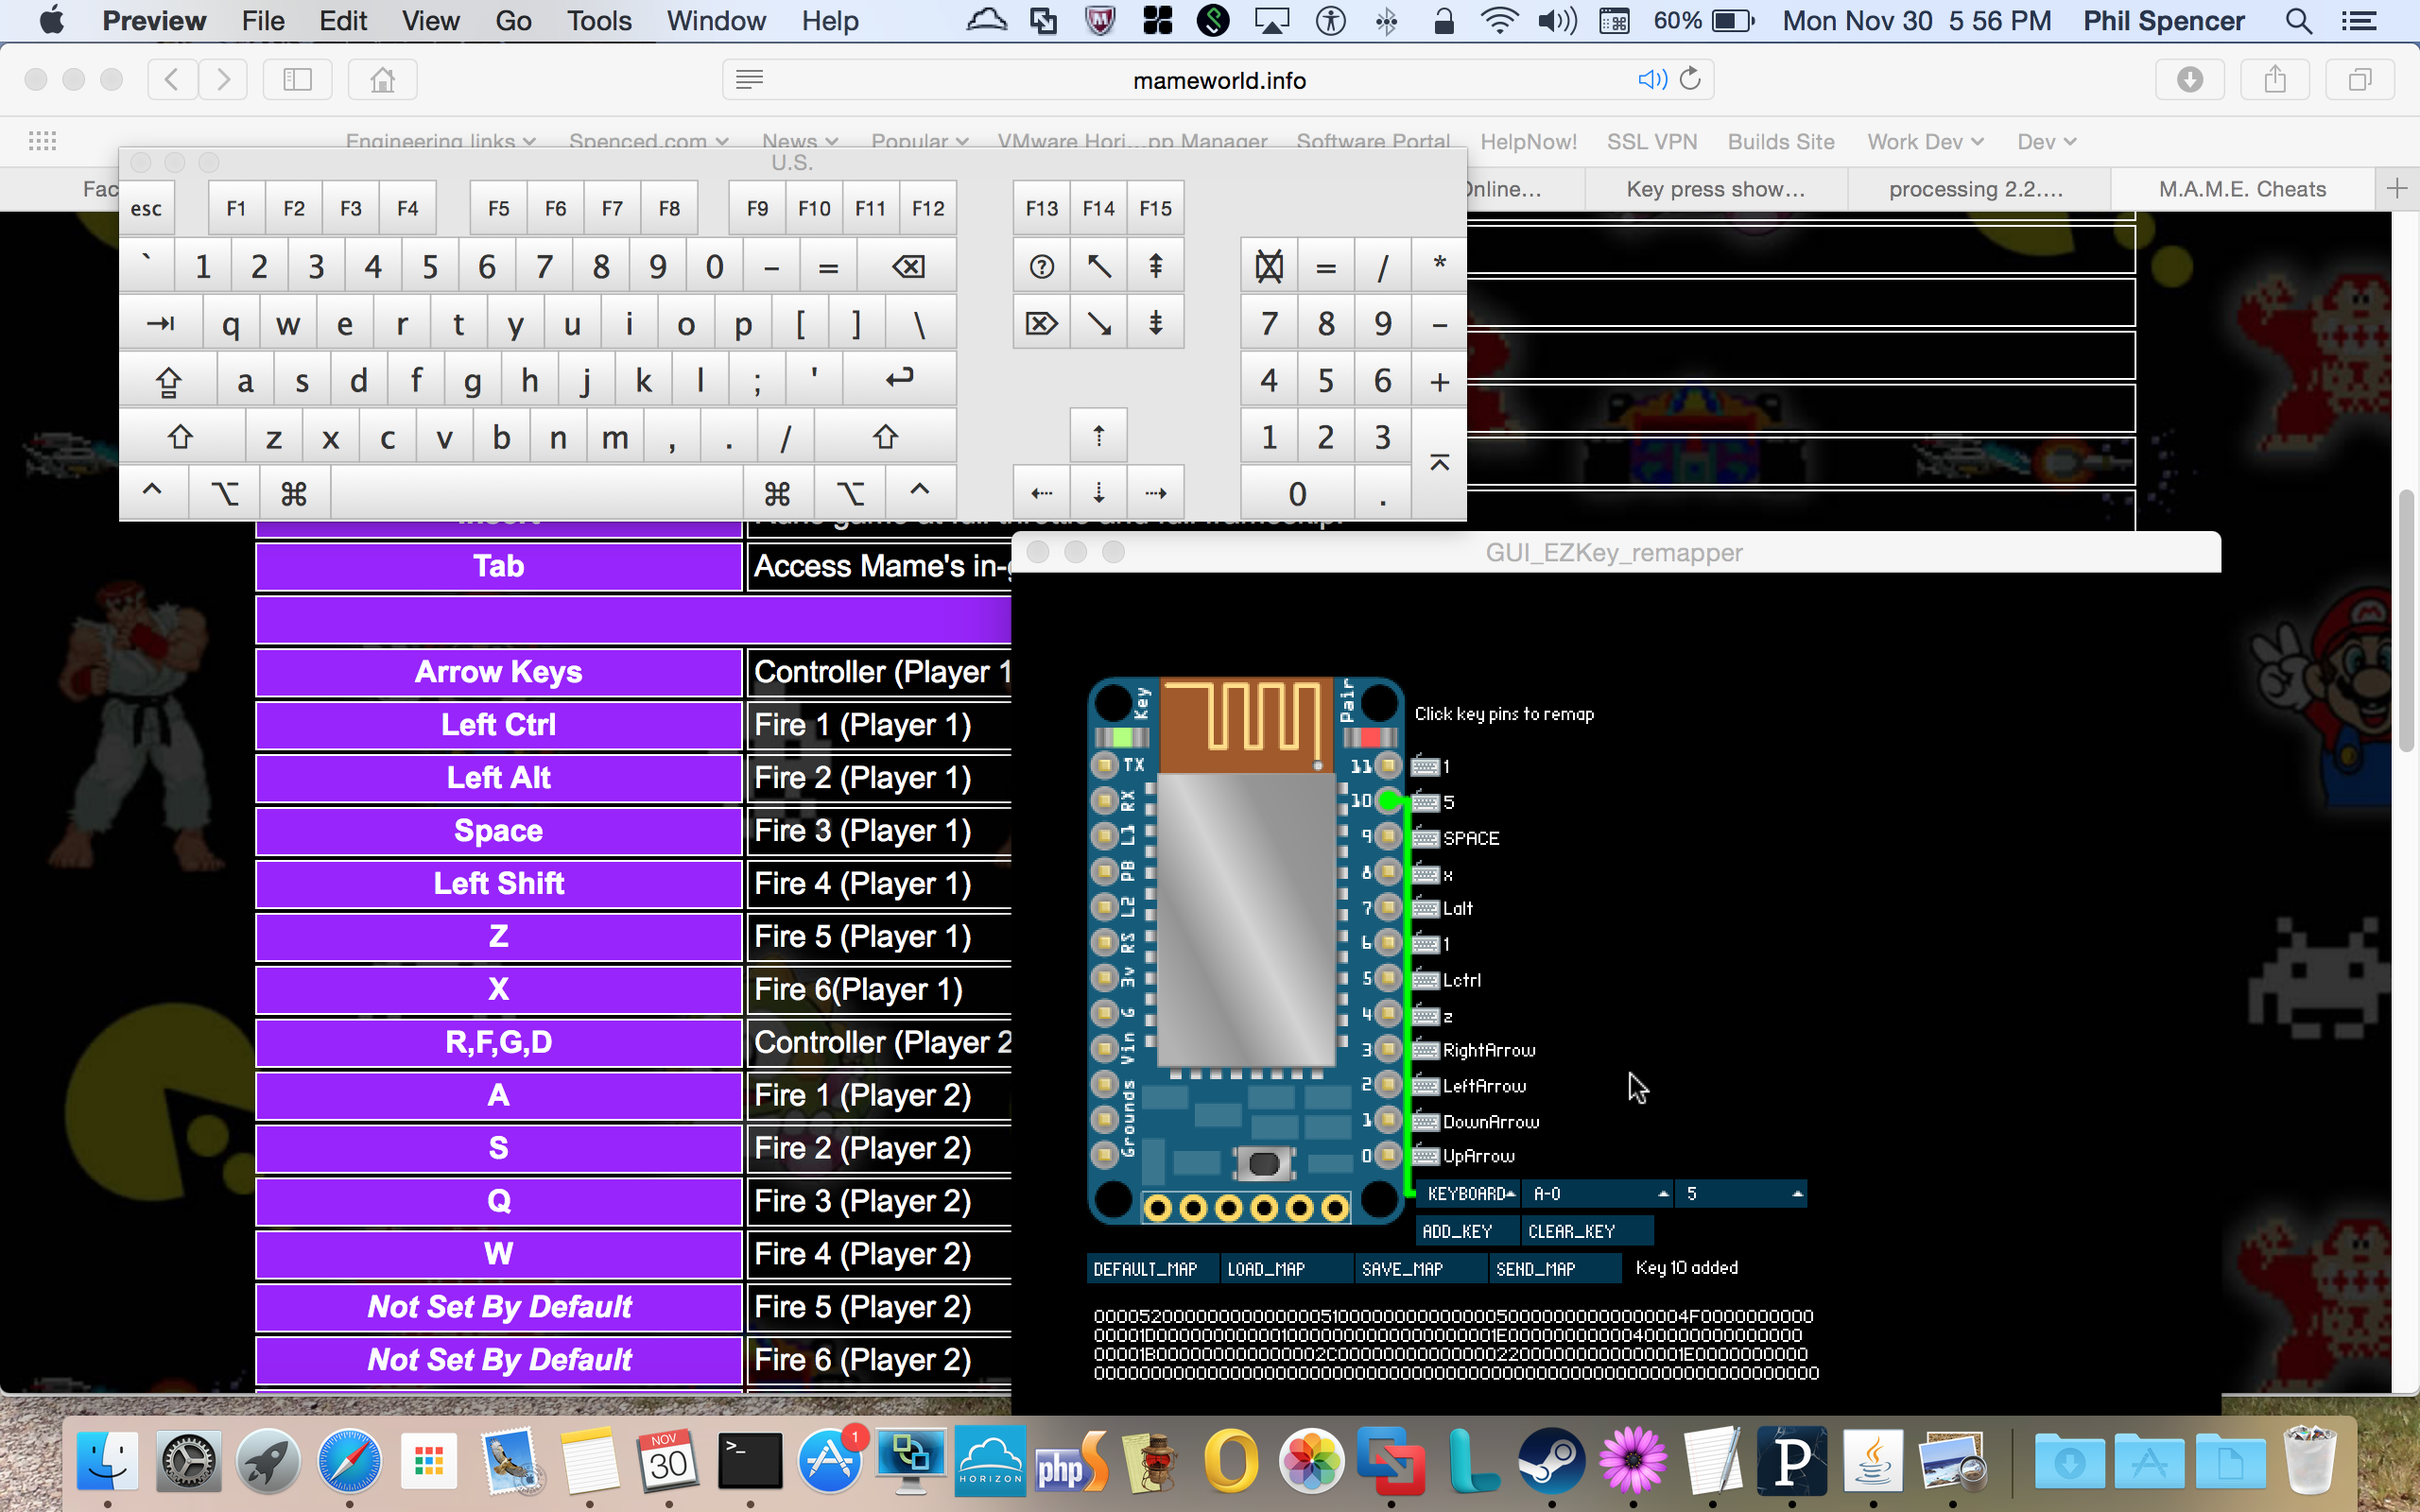
This revision of the Bluefruit allows you to configure the buttons over the air to a device that it is paired with. This allowed me to alter the keypresses to match the identical MAME player 1 controls so that this device should work with any MAME in default configuration. To achieve the configuration you need to install software called “Processing” and open a file from Adafruit to run within that application. This allows you to select pinouts on an image of the device and then assign a keyboard output to them.
For this to work make sure you install the exact version Adafruit mentions. The latest version of processing did not work. I had to downgrade it.
Pairing with most OS’s
With the device complete and functioning it should appear on any device with bluetooth enabled and searching as “Adafruit Bluefruit EZ key”. On Mac OS X pairing was painless and simple. The device connected with ease, reconnected when power cycled and all keys worked
Pairing with Linux…
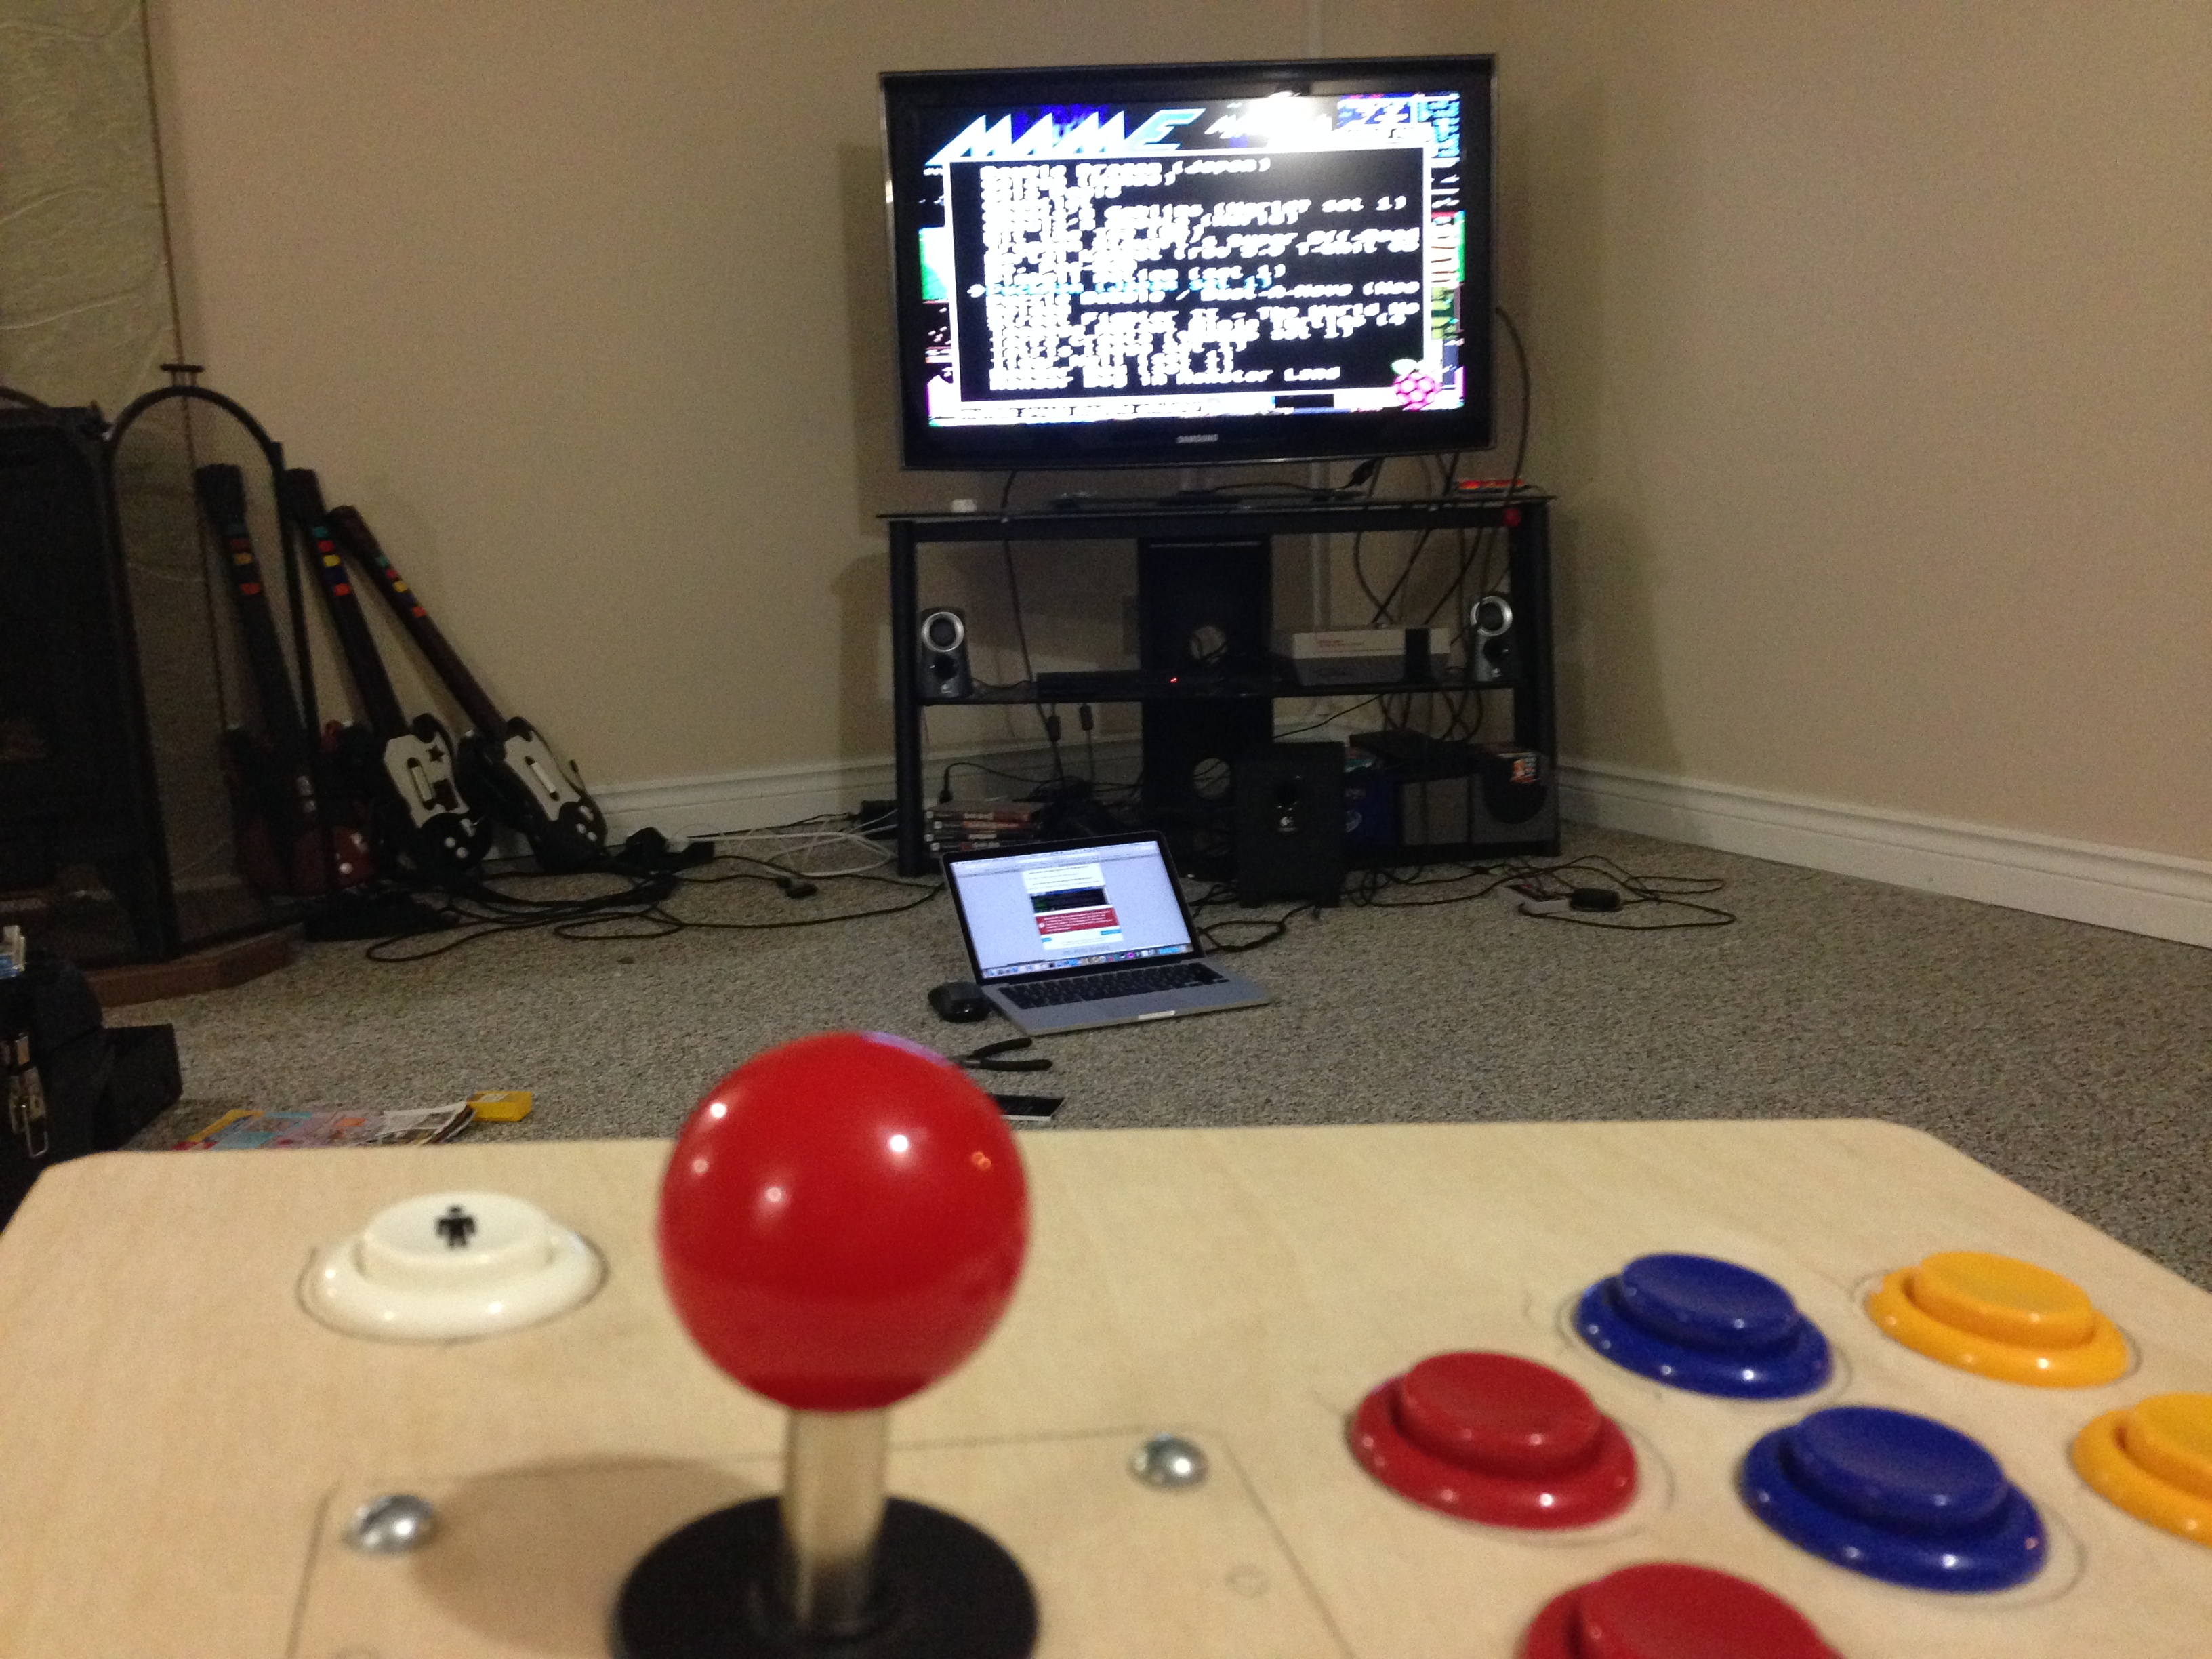
Since my main goal was to use this with my Raspberry Pi MAME emulator I of course need to be able to pair it with Linux. This was not so straight forward…. I installed the packages and got the bluetooth service running and I eventually got it to pair using the CLI but I ran into a very irritating problem. If I power cycled the device on Linux it did not reconnect as expected. I waited, 5, 10 min…an hour even. No reconnect. If I restarted the bluetooth service…reconnected. Clearly the issue was with the service so I headed to the internet to see what to do about it.
I found several suggestions of using cron to force the service to poll every X minutes, changing various settings in the configuration, lots of frustration but all in all not too many good answers. Then I found one post where a user mentioned Bluez 4 is junk, try 5. Now I am running Wheezy on my Pi so 4 is the apt version available to me so this meant a source build. I removed all the Bluez 4 packages and then downloaded the source for the 5.x branch and decided to give it a shot.
After an hour of compiling and then an hour of finding some relevant documentation on how to use the 5.x bluetooth stack and create a service file for it in init.d (it’s a systemd service by default) I was able to get the device paired and low and behold…it reconnects on a power cycle. Now the reconnect isn’t perfect, it takes 5-10 min sometimes but it does reconnect. I suppose I’ll just have to suffer through it.
Battery lifetime
I just recently had to replace the batteries after 2 weeks of use and I think I forgot to shut it off over night a couple times so it isn’t bad. I had a bluetooth mouse before that I had to replace weekly..
All in all this was a fun project and I got plenty out of it. I learnt more about bluetooth, how to solder, the underbellies and limitations of Linux bluetooth….and I got a sturdy cordless Arcade controller out of it. Now that’s Education!

[…] The A+ had spent about a year inside my arcade controller box which I just recently replaced with a Bluetooth controller so it was time to get the computer an official […]
[…] I like bluetooth don’t get me wrong. I made a bluetooth arcade controller not too long ago remember? But there is one slight issue with bluetooth and the Pi. Linux. […]